跳转到主内容
加入维修社区 - 创建账户

Lefant M210 Battery Replacement

你所需要的

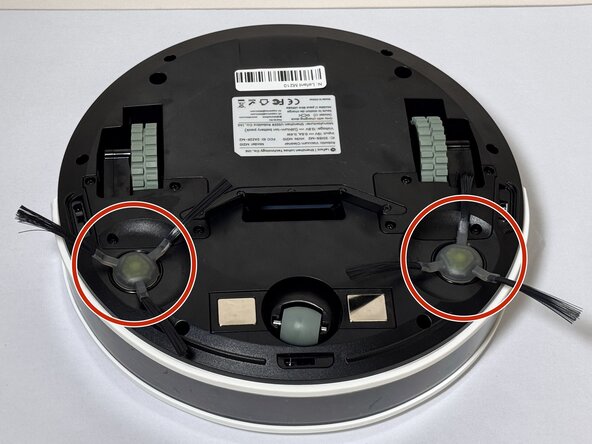
    1. Lefant M210 Battery Replacement, Brush: 步骤 1 中的图像 1,2 Lefant M210 Battery Replacement, Brush: 步骤 1 中的图像 2,2
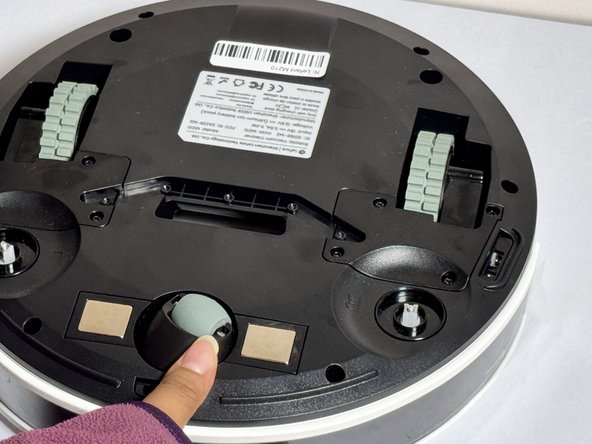
      • Turn off the Lefant M210 and disconnect it from the charging dock.

      • Flip the unit over so the bottom faces upward.

      • Locate the circular brush assemblies on the left and right sides of the underside.

      • Place the unit on a clean, flat surface to prevent scratching.

      询问修复机器人

      添加评论

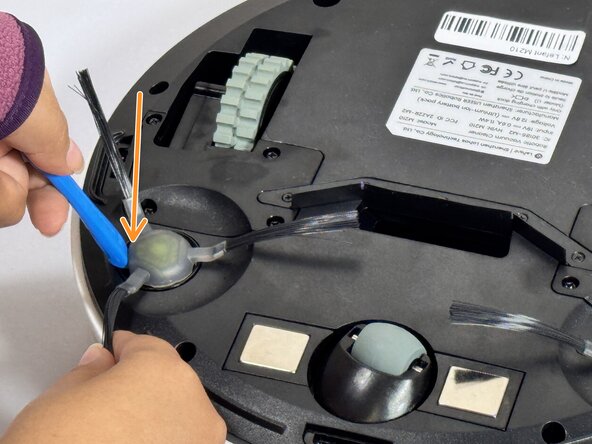
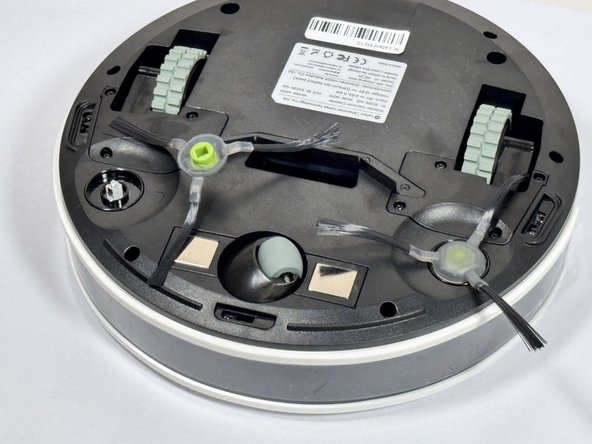
    2. Lefant M210 Battery Replacement: 步骤 2 中的图像 1,3 Lefant M210 Battery Replacement: 步骤 2 中的图像 2,3 Lefant M210 Battery Replacement: 步骤 2 中的图像 3,3
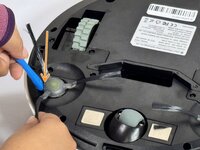
      • Insert the iFixit Opening Tool (or similar pry tool) under the circular edge of the brush assembly.

      • Apply gentle downward pressure on the opposite end of the tool to lever the brush component out of its housing.

      • Remove the brush assembly completely and set it aside.

      • If replacing both brush assemblies, repeat this process on the other side.

      • Avoid using excessive force, which may damage the mounting clips.

      询问修复机器人

      添加评论

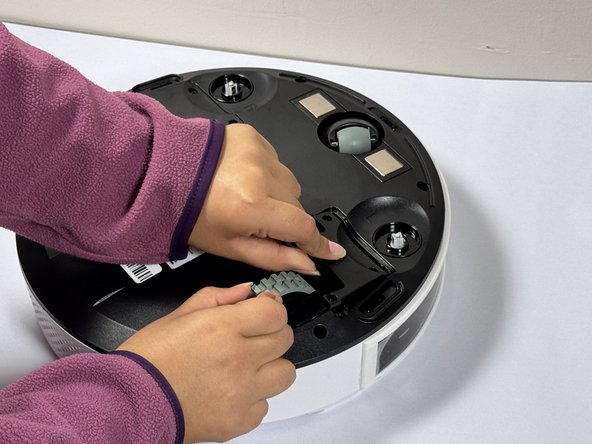
      • Position the new brush assembly above the square mounting peg.

      • Align the square cavity on the bottom of the brush with the corresponding square peg in the vacuum housing.

      • Press down firmly on the brush assembly until you hear or feel it click into place.

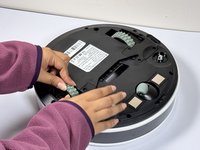
      • Gently tug on the brush to verify it is securely seated.

      • The brush should sit flush with the housing and not move when pulled gently.

      询问修复机器人

      添加评论

    1. Lefant M210 Battery Replacement, Wheel Assembly: 步骤 4 中的图像 1,1
      • Use a Phillips screwdriver to remove four screws near each wheel.

      询问修复机器人

      添加评论

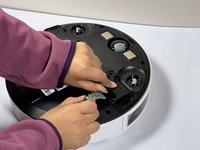
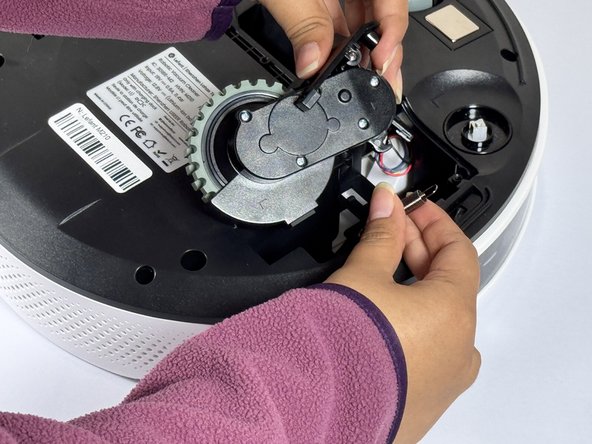
    2. Lefant M210 Battery Replacement: 步骤 5 中的图像 1,2 Lefant M210 Battery Replacement: 步骤 5 中的图像 2,2
      • Remove the plastic cover next to each wheel.

      • Grip both sides of the wheel and pull upwards.

      • The wheels of the device require some force to remove.

      • Don't pull the wheels too hard as they are attached to cables and may be damaged if yanked.

      询问修复机器人

      添加评论

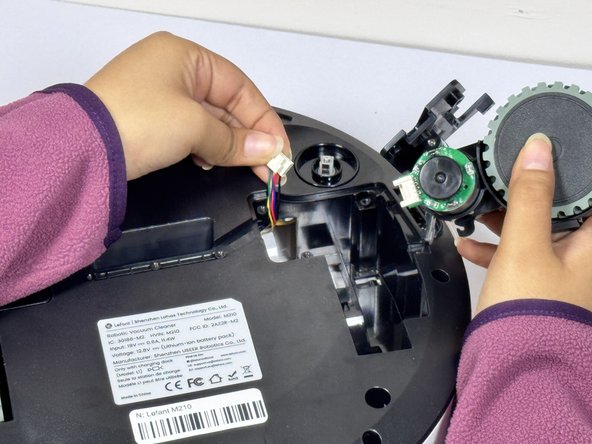
    3. Lefant M210 Battery Replacement: 步骤 6 中的图像 1,3 Lefant M210 Battery Replacement: 步骤 6 中的图像 2,3 Lefant M210 Battery Replacement: 步骤 6 中的图像 3,3
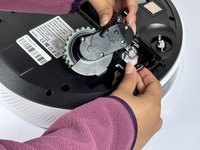
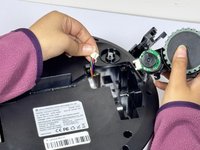
      • Hold the wheel up and detach the connector to release it from the device.

      询问修复机器人

      添加评论

    1. Lefant M210 Battery Replacement, Dustbin Filters: 步骤 7 中的图像 1,1
      • Open the dustbin compartment.

      询问修复机器人

      添加评论

    2. Lefant M210 Battery Replacement: 步骤 8 中的图像 1,2 Lefant M210 Battery Replacement: 步骤 8 中的图像 2,2
      • With your hands, gently pull the dustbin to remove it from its compartment.

      询问修复机器人

      添加评论

    3. Lefant M210 Battery Replacement: 步骤 9 中的图像 1,1
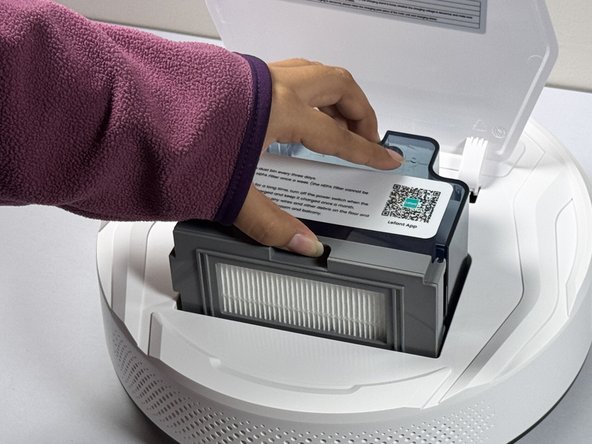
      • With your hands, pull off the filter compartment from the dustbin.

      询问修复机器人

      添加评论

    4. Lefant M210 Battery Replacement: 步骤 10 中的图像 1,1
      • Pull off the filter from the filter compartment.

      询问修复机器人

      添加评论

    1. Lefant M210 Battery Replacement, Battery: 步骤 11 中的图像 1,1
      • Use a Phillips #1 screwdriver to remove the six screws around the bottom edge of the device.

      询问修复机器人

      添加评论

    2. Lefant M210 Battery Replacement: 步骤 12 中的图像 1,2 Lefant M210 Battery Replacement: 步骤 12 中的图像 2,2
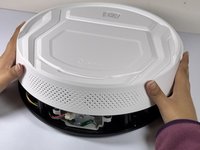
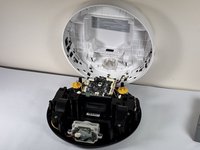
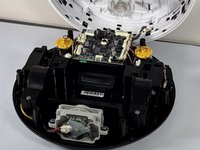
      • Carefully flip the vacuum back right-side-up, making sure you're holding it all together so that the bottom portion doesn't fall out.

      • Rotate the vacuum so that the Lefant logo is facing you.

      • Carefully lift the white cover of the vacuum, opening it like a laptop, from front to back.

      • Rest the open cover something stable, like a wall.

      询问修复机器人

      添加评论

    3. Lefant M210 Battery Replacement: 步骤 13 中的图像 1,2 Lefant M210 Battery Replacement: 步骤 13 中的图像 2,2
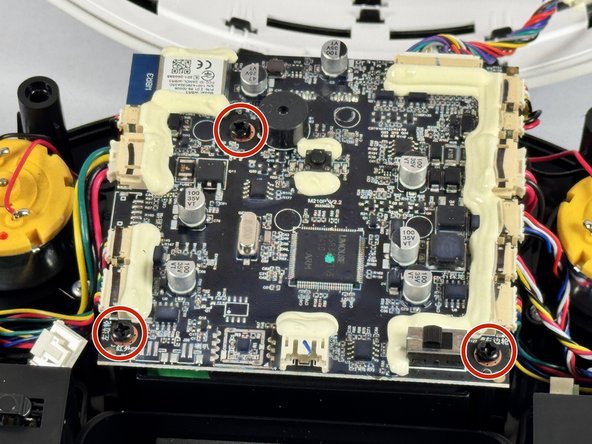
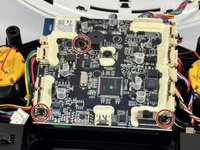
      • Use a Phillips #1 screwdriver to remove the three screws securing the motherboard to the device.

      询问修复机器人

      添加评论

    4. Lefant M210 Battery Replacement: 步骤 14 中的图像 1,1
      • Carefully lift the motherboard, ensuring you don't rip any cables that are connected to it.

      • The battery should be under the motherboard.

      添加评论

    5. Lefant M210 Battery Replacement: 步骤 15 中的图像 1,2 Lefant M210 Battery Replacement: 步骤 15 中的图像 2,2
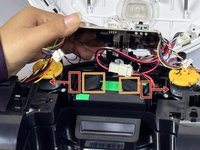
      • Push the two retaining clips away from the battery while pulling the battery up from the tabs attached to it to free it.

      • Retaining clips

      • Battery tabs

      • Work on freeing one side at a time so that it's easier to free the battery.

      询问修复机器人

      添加评论

    6. Lefant M210 Battery Replacement: 步骤 16 中的图像 1,1
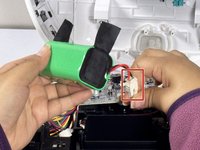
      • When the battery is free from it's housing, lift it out completely using its pull tabs.

      询问修复机器人

      添加评论

    7. Lefant M210 Battery Replacement: 步骤 17 中的图像 1,2 Lefant M210 Battery Replacement: 步骤 17 中的图像 2,2
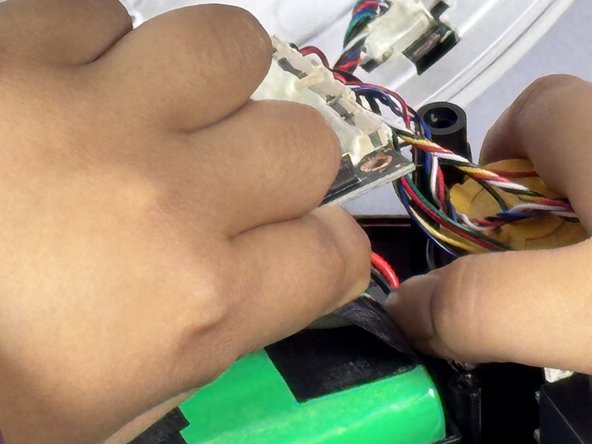
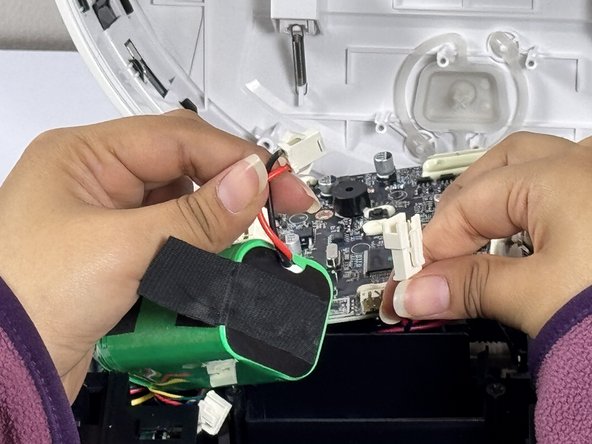
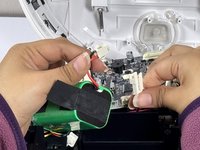
      • Locate the battery connection wire and carefully pull apart the connection.

      • Pinch the motherboard's wire connector and pull the connection apart.

      • The connection is secured by a clothespin-like mechanism.

      • When you replace your battery with a new one, allow the robot vacuum to fully charge for a few hours before using it again.

      添加评论

结论

To reassemble your device, follow these instructions in reverse order.

取消:我没有完成这个指南。

5等其他人完成本指南。

团队

CSU Los Angeles, Team 2-4, Kershman Fall 2024 CSU Los Angeles, Team 2-4, Kershman Fall 2024 的会员

CSULA-KERSHMAN-F24S2G4

4 名成员

创作了13篇指南

5指南评论

Great guide! Any knowledge on how or why mine beeps twice even when it is on the ground?

Jonathan Manuel - 回复 分享

Thank you for the helpful guide, however, after replacing my battery, it definitely has a much shorter lifespan, and it is unable to find the charger before it dies.

Tee Cee - 回复 分享

I thought it was because I needed a new battery. My stops about 1min after start. When I put it back to the charger it indicates battery charged by showing the blue light. Still after 1 min of operation it dies. That's the reason why i want to replace the battery. Is that what yours is doing too even after replacing the battery?

Zed - 回复 分享

Thanks for the guide.
As for those that stumble upon this, mind that ******if you only want to access the battery, steps 10 to 16 are the only on you need.

Sylvain “Neoblasphem” Mourot - 回复 分享

Bought new batt, installed it and same problem. Red light, not charging. I guess it’s dead for good.

Kelly In Cali - 回复 分享

添加评论

浏览统计数据:

过去 24 小时: 36

过去 7 天: 212

过去 30 天: 884

总计 15,362