跳转到主内容
加入维修社区 - 创建账户

LG G5 Charging Port Replacement

你所需要的

  1. LG G5 Charging Port Replacement, Battery: 步骤 1 中的图像 1,3 LG G5 Charging Port Replacement, Battery: 步骤 1 中的图像 2,3 LG G5 Charging Port Replacement, Battery: 步骤 1 中的图像 3,3
    • Power down the phone by holding the power button for several seconds.

    • While holding the battery release button, pull the bottom end of the phone out of the body.

    询问修复机器人

    添加评论

  2. LG G5 Charging Port Replacement: 步骤 2 中的图像 1,2 LG G5 Charging Port Replacement: 步骤 2 中的图像 2,2
    • Separate the battery from bottom half.

    • Insert the new battery in the same position and orientation as the old battery. Match up the arrows to be sure the orientation is correct.

    添加评论

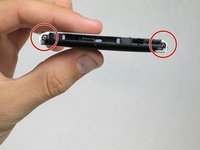
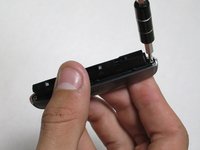
  3. LG G5 Charging Port Replacement, Charging Port: 步骤 3 中的图像 1,2 LG G5 Charging Port Replacement, Charging Port: 步骤 3 中的图像 2,2
    • Remove the two 5.5mm Phillips #00 screws from the base of the phone.

    询问修复机器人

    添加评论

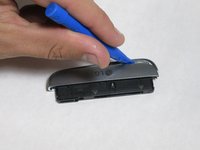
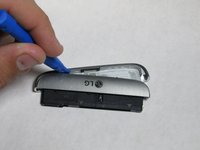
  4. LG G5 Charging Port Replacement: 步骤 4 中的图像 1,2 LG G5 Charging Port Replacement: 步骤 4 中的图像 2,2
    • Insert the plastic opening tool into the bottom seam

    • Pry the plastic from the base only a slight amount.

    询问修复机器人

    添加评论

  5. LG G5 Charging Port Replacement: 步骤 5 中的图像 1,2 LG G5 Charging Port Replacement: 步骤 5 中的图像 2,2
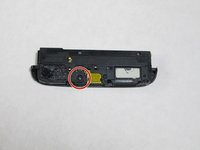
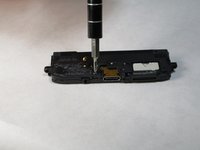
    • Remove the one 5.5mm Phillips #000 screw.

    询问修复机器人

    添加评论

  6. LG G5 Charging Port Replacement: 步骤 6 中的图像 1,3 LG G5 Charging Port Replacement: 步骤 6 中的图像 2,3 LG G5 Charging Port Replacement: 步骤 6 中的图像 3,3
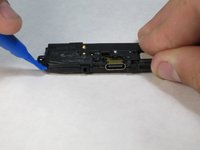
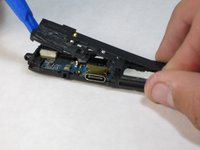
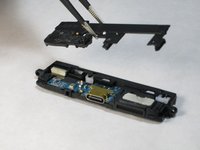
    • Insert the plastic opening tool into the seam between the two plastic layers.

    • Pry the plastic from the body.

    询问修复机器人

    添加评论

  7. LG G5 Charging Port Replacement: 步骤 7 中的图像 1,2 LG G5 Charging Port Replacement: 步骤 7 中的图像 2,2
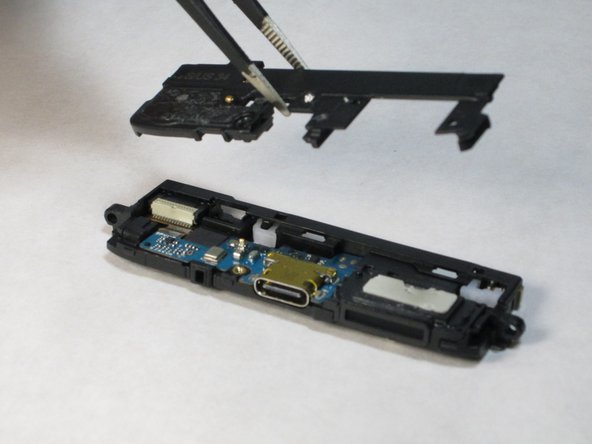
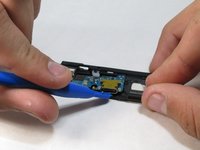
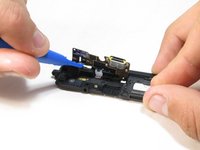
    • Insert the plastic opening tool into the seam under the metal charging port.

    • Pry the metal charging port from the body.

    询问修复机器人

    添加评论

结论

To reassemble your device, follow these instructions in reverse order.

取消:我没有完成这个指南。

24等其他人完成本指南。

团队

Cal Poly, Team 18-2, Forte Fall 2016 Cal Poly, Team 18-2, Forte Fall 2016 的会员

CPSU-FORTE-F16S18G2

4 名成员

创作了21篇指南

13指南评论

I would love steps to show not only pulling out the usb port, but also putting the new one in and re-assembly. Also maybe tips about things to avoid doing -- easy slip ups people make when doing it. Why replace just the usb port instead of the whole board assembly or instead of the entire bottom module? Thanks! Great pics

jessicacollins267 - 回复 分享

Anyone know how to bypass the "insert a supported module" error that comes up after changing the charging port?

Rene - 回复 分享

Do you solve the problem? Can you help me, please?

Budai Daniel - 回复 分享

I need to do this repair on my phone, but Rene's comment worries me. Does this error message come up often? Can it be fixed?

Brad - 回复 分享

Hello. I have the same problem like Rene . I changed the usb port and when I try to power on my smartphone it shows me the picture that said “insert a supported module” like what Rene said earlier. Please, I need help.

Budai Daniel - 回复 分享

添加评论

浏览统计数据:

过去 24 小时: 1

过去 7 天: 16

过去 30 天: 71

总计 25,098