跳转到主内容
加入维修社区 - 创建账户

Kodak PixPro AZ251 Back Cover Replacement

你所需要的

    1. Kodak PixPro AZ251 Back Cover Replacement, Batteries: 步骤 1 中的图像 1,2 Kodak PixPro AZ251 Back Cover Replacement, Batteries: 步骤 1 中的图像 2,2
      • Slide switch to open lock position.

      添加评论

    2. Kodak PixPro AZ251 Back Cover Replacement: 步骤 2 中的图像 1,2 Kodak PixPro AZ251 Back Cover Replacement: 步骤 2 中的图像 2,2
      • Press down on the battery cover and slide outwards to open.

      询问修复机器人

      添加评论

    3. Kodak PixPro AZ251 Back Cover Replacement: 步骤 3 中的图像 1,1
      • Remove the batteries.

      询问修复机器人

      添加评论

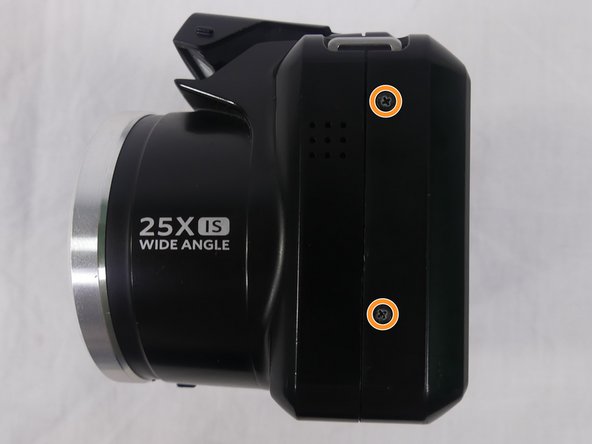
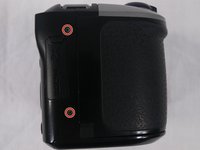
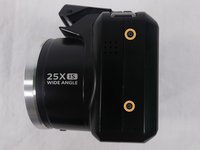
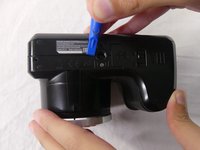
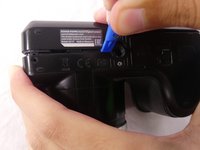
    1. Kodak PixPro AZ251 Back Cover Replacement, Back Cover: 步骤 4 中的图像 1,3 Kodak PixPro AZ251 Back Cover Replacement, Back Cover: 步骤 4 中的图像 2,3 Kodak PixPro AZ251 Back Cover Replacement, Back Cover: 步骤 4 中的图像 3,3
      • Remove a total of four 5mm JIS #000 screws from around the camera:

      • Two screws from the right side.

      • Two screws from the left side.

      询问修复机器人

      添加评论

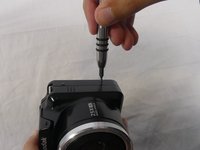
    2. Kodak PixPro AZ251 Back Cover Replacement: 步骤 5 中的图像 1,1
      • Remove the single 5mm Phillips #00 screw from the bottom.

      询问修复机器人

      添加评论

    3. Kodak PixPro AZ251 Back Cover Replacement: 步骤 6 中的图像 1,2 Kodak PixPro AZ251 Back Cover Replacement: 步骤 6 中的图像 2,2
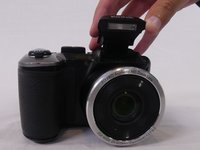
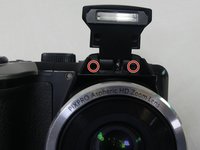
      • Open the flash module.

      • Remove the two 6mm JIS #00 screws found inside of the flash housing.

      询问修复机器人

      添加评论

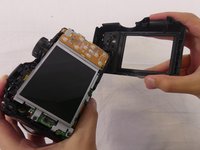
    4. Kodak PixPro AZ251 Back Cover Replacement: 步骤 7 中的图像 1,3 Kodak PixPro AZ251 Back Cover Replacement: 步骤 7 中的图像 2,3 Kodak PixPro AZ251 Back Cover Replacement: 步骤 7 中的图像 3,3
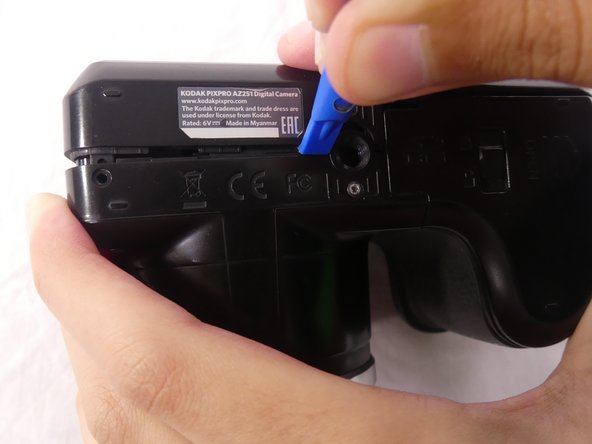
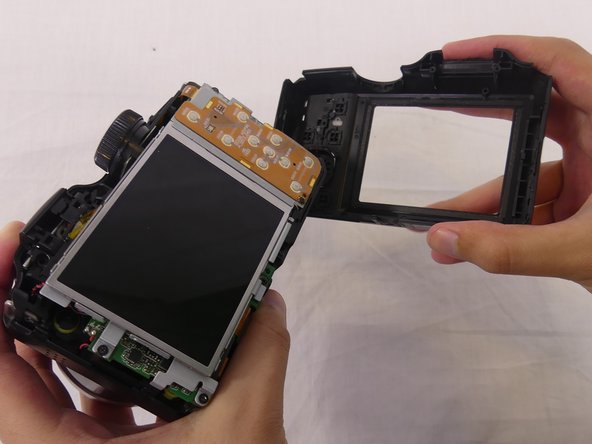
      • Use a plastic opening tool to pry apart both halves of the camera.

      • Remove the back panel.

      询问修复机器人

      添加评论

结论

To reassemble your device, follow these instructions in reverse order.

取消:我没有完成这个指南。

另外一个人完成了本指南。

团队

USF Tampa, Team S1-G1, Cagle Spring 2018 USF Tampa, Team S1-G1, Cagle Spring 2018 的会员

USFT-CAGLE-S18S1G1

4 名成员

创作了7篇指南

0指南评论

添加评论

浏览统计数据:

过去 24 小时: 0

过去 7 天: 6

过去 30 天: 36

总计 1,200