跳转到主内容
加入维修社区 - 创建账户

KitchenAid KSB5CR Motor Replacement

你所需要的

    1. KitchenAid KSB5CR Motor Replacement, Removing the Back Panel Part 1: 步骤 1 中的图像 1,3 KitchenAid KSB5CR Motor Replacement, Removing the Back Panel Part 1: 步骤 1 中的图像 2,3 KitchenAid KSB5CR Motor Replacement, Removing the Back Panel Part 1: 步骤 1 中的图像 3,3
      • Remove the glass container and place the blender upside down on a solid surface.

      • Remove the four rubber feet using the needle nose pliers.

      • Remove the four #7.5 Phillips 25mm screws that were located underneath the rubber feet using the Phillips #2 screwdriver.

      询问修复机器人

      添加评论

    2. KitchenAid KSB5CR Motor Replacement, Removing the Back Panel Part 2: 步骤 2 中的图像 1,1
      • Lift the back panel up, sliding it along the power cord.

      询问修复机器人

      添加评论

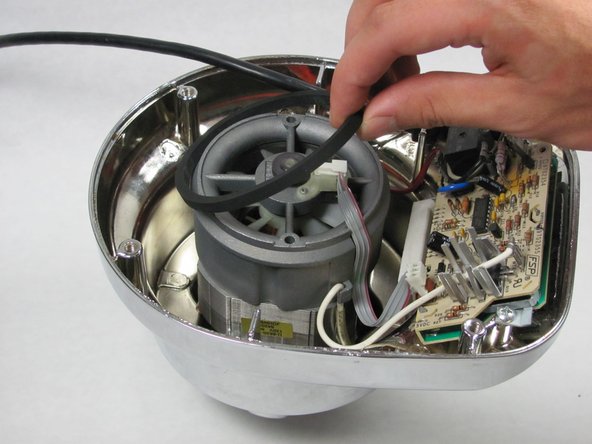
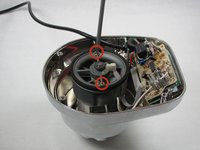
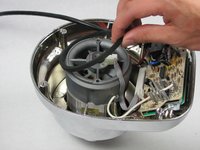
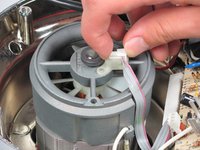
    1. KitchenAid KSB5CR Motor Replacement, Removing the Fan Chassis Part 1: 步骤 3 中的图像 1,3 KitchenAid KSB5CR Motor Replacement, Removing the Fan Chassis Part 1: 步骤 3 中的图像 2,3 KitchenAid KSB5CR Motor Replacement, Removing the Fan Chassis Part 1: 步骤 3 中的图像 3,3
      • Remove the two #5 Phillips 95 mm machine screws using the Phillips #2 screwdriver.

      • Remove the rubber O-ring by lifting it up.

      • Remove the ribbon cable from the chassis by lifting it up.

      询问修复机器人

      添加评论

    2. KitchenAid KSB5CR Motor Replacement, Removing the Fan Chassis Part 2: 步骤 4 中的图像 1,3 KitchenAid KSB5CR Motor Replacement, Removing the Fan Chassis Part 2: 步骤 4 中的图像 2,3 KitchenAid KSB5CR Motor Replacement, Removing the Fan Chassis Part 2: 步骤 4 中的图像 3,3
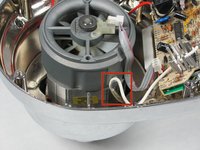
      • Unhook the white wire that is looped around the peg by pulling it out of the clip.

      • Repeat this process with the red wire on the other side of the chassis.

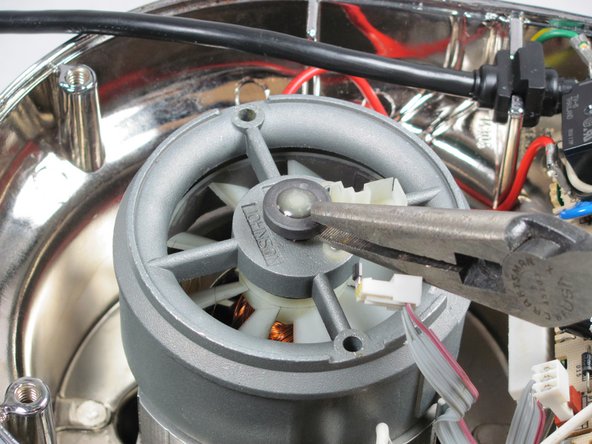
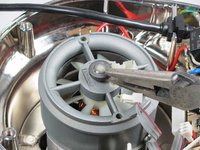
      • Remove the end cap using the 8" needle nose pliers.

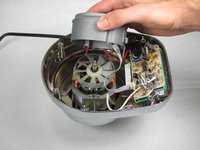
      • Pull up the fan chassis.

      询问修复机器人

      添加评论

    3. KitchenAid KSB5CR Motor Replacement, Removing the Fan: 步骤 5 中的图像 1,1
      • Remove the fan by lifting it upwards.

      • This step is difficult and requires force. Use of both hands is recommended.

      询问修复机器人

      添加评论

    1. KitchenAid KSB5CR Motor Replacement, Removing the Metal Cap: 步骤 6 中的图像 1,1
      • Use the needle nose pliers to turn the coupling clockwise to loosen it.

      询问修复机器人

      添加评论

    2. KitchenAid KSB5CR Motor Replacement, Removing the Screws: 步骤 7 中的图像 1,1
      • Rotate the blender 90 degrees clockwise.

      • Remove the two #8 Phillips 12 mm screws using the Phillips #2 screwdriver.

      询问修复机器人

      添加评论

    3. KitchenAid KSB5CR Motor Replacement, Detatching the Wire: 步骤 8 中的图像 1,1
      • Slide the knife in the metal loop holding the insulation before the white copper wire, and wiggle the knife back and forth until it loosens.

      • Pull the wire out from the metal loop that you loosened.

      询问修复机器人

      添加评论

    4. KitchenAid KSB5CR Motor Replacement, Removing the Motor: 步骤 9 中的图像 1,1
      • Lift the motor up out of the chassis.

      询问修复机器人

      添加评论

结论

To reassemble your device, follow these instructions in reverse order.

取消:我没有完成这个指南。

另外一个人完成了本指南。

团队

Cal Poly, Team 12-5, Forte Fall 2014 Cal Poly, Team 12-5, Forte Fall 2014 的会员

CPSU-FORTE-F14S12G5

5 名成员

创作了12篇指南

0指南评论

添加评论

浏览统计数据:

过去 24 小时: 1

过去 7 天: 10

过去 30 天: 46

总计 4,806