简介
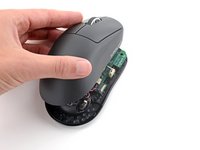
Use this guide to open your Logitech G Pro X Superlight wireless gaming mouse.
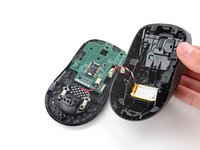
Opening your mouse gives you access to clean its internals, troubleshoot mechanical problems, or replace a part.
你所需要的
-
-
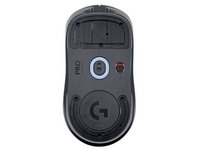
Slide your mouse's power switch down so it's in the OFF position.
-
Unplug all cables from your mouse.
-
Flip the mouse over so the feet are facing up.
-
-
-
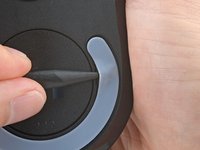
Heat an iOpener and lay it on the mouse feet for one minute to heat the adhesive.
-
-
-
-
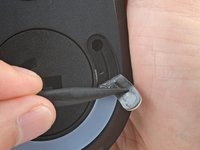
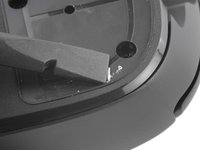
Use a spudger to carefully scrape up and remove any remaining adhesive bits.
-
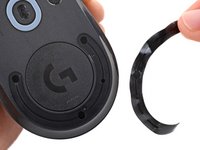
Use isopropyl alcohol and a microfiber cloth to thoroughly clean all adhesive residue from the foot recesses. Allow the surface to completely dry.
-
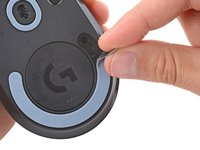
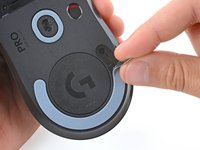
Remove the feet from their backing and firmly press them into place.
-
-
-
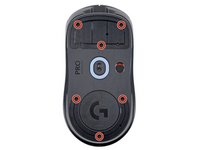
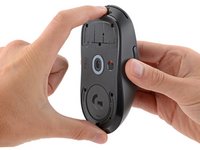
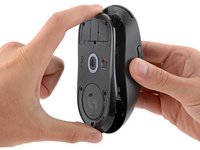
Use a Phillips screwdriver to remove the six 4.5 mm‑long screws securing the bottom shell.
-
-
-
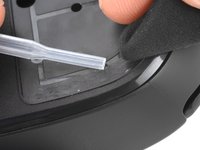
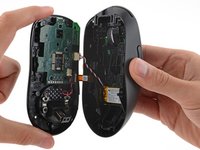
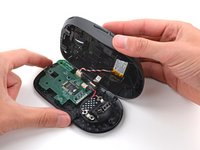
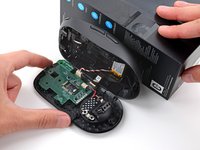
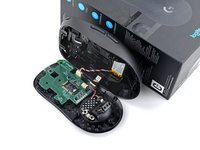
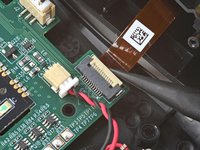
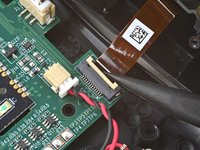
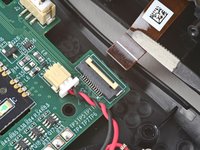
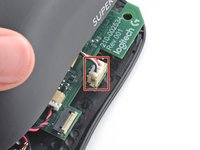
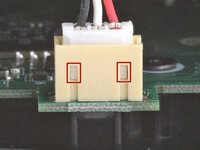
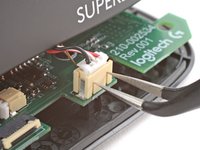
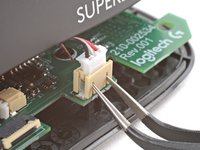
Use the point of a spudger to lift the locking flap on the top shell ZIF connector.
-
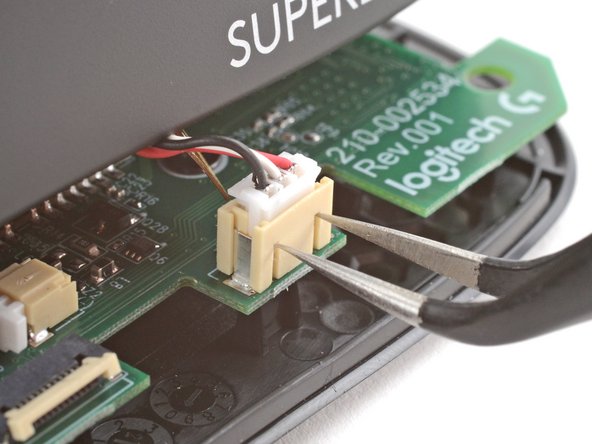
Use tweezers to gently pull the cable straight out of its socket.
-


To reassemble your device, follow these instructions in reverse order.
Take your e-waste to an R2 or e-Stewards certified recycler.
Repair didn’t go as planned? Try some basic troubleshooting, or ask our Answers community for help.
4等其他人完成本指南。


1指南评论
Hey there, thanks for detailed description.
I was a bit hard with the step below and broke the locking flap of the connector( What is the part number for the connector so I can purchase the donor?
Use the point of a spudger to lift the locking flap on the top shell ZIF connector.