跳转到主内容

How to Apply New Base Battery Adhesive in Your Google Pixel Fold

你所需要的

  1. How to Apply New Base Battery Adhesive in Your Google Pixel Fold, Remove the old adhesive: 步骤 1 中的图像 1,3 How to Apply New Base Battery Adhesive in Your Google Pixel Fold, Remove the old adhesive: 步骤 1 中的图像 2,3 How to Apply New Base Battery Adhesive in Your Google Pixel Fold, Remove the old adhesive: 步骤 1 中的图像 3,3
    在这个步骤中使用的工具:
    Microfiber Cleaning Cloths
    $3.99
    购买
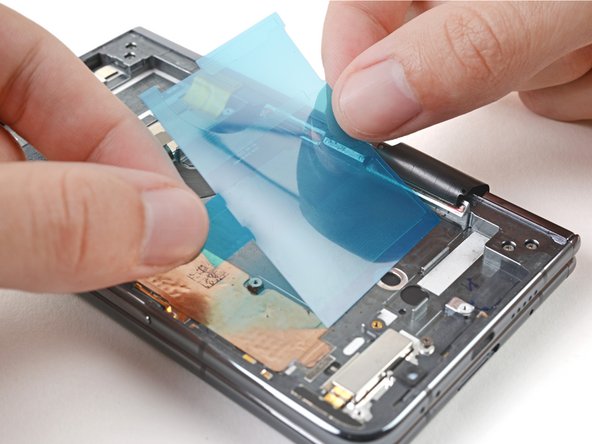
    • Apply a few drops of highly-concentrated isopropyl alcohol (over 90%) to the old adhesive.

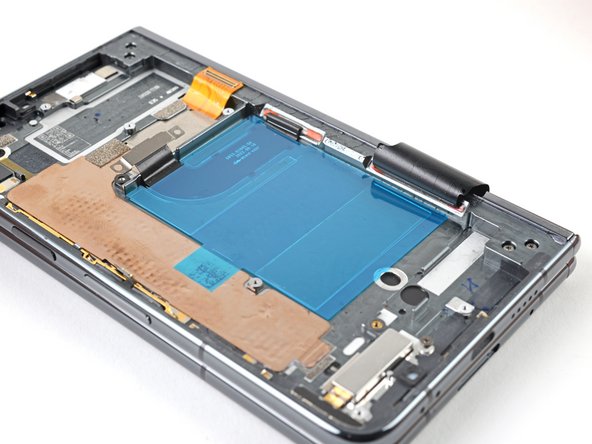
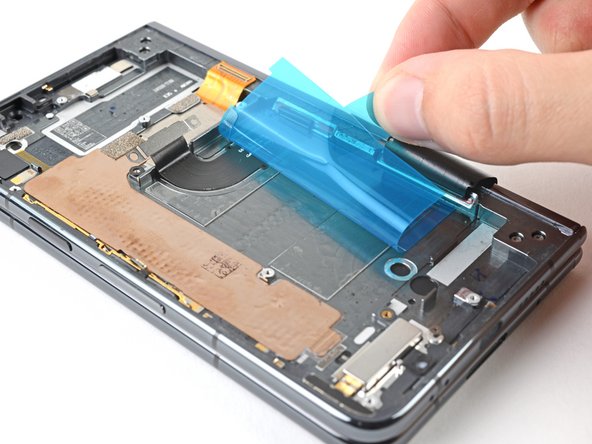
    • Use the flat end of a spudger and tweezers to remove the remaining adhesive from the frame.

    • Wipe any remaining isopropyl alcohol residue with a lint-free or microfiber cloth.

  2. How to Apply New Base Battery Adhesive in Your Google Pixel Fold, Align the adhesive: 步骤 2 中的图像 1,3 How to Apply New Base Battery Adhesive in Your Google Pixel Fold, Align the adhesive: 步骤 2 中的图像 2,3 How to Apply New Base Battery Adhesive in Your Google Pixel Fold, Align the adhesive: 步骤 2 中的图像 3,3
    • Place the new adhesive strips over the frame to check their proper orientation.

    • Although there are multiple strips, they come attached to a single blue liner.

    • The clear liner should face the frame.

    • Use the white lines on the frame to align the adhesive strip bottom left corners.

  3. How to Apply New Base Battery Adhesive in Your Google Pixel Fold, Apply the adhesive: 步骤 3 中的图像 1,3 How to Apply New Base Battery Adhesive in Your Google Pixel Fold, Apply the adhesive: 步骤 3 中的图像 2,3 How to Apply New Base Battery Adhesive in Your Google Pixel Fold, Apply the adhesive: 步骤 3 中的图像 3,3
    • Be careful during this step, as it's easy to stick the adhesive in the wrong spot. Take your time and work slowly.

    • Peel off the new adhesive strip from its clear liner and apply the sticky side to the frame.

  4. How to Apply New Base Battery Adhesive in Your Google Pixel Fold: 步骤 4 中的图像 1,3 How to Apply New Base Battery Adhesive in Your Google Pixel Fold: 步骤 4 中的图像 2,3 How to Apply New Base Battery Adhesive in Your Google Pixel Fold: 步骤 4 中的图像 3,3
    • Use a spudger, or your fingers, to press down the adhesive and adhere it to the frame.

    • Grip the pull tab and peel off the blue liner to expose the top adhesive.

  5. How to Apply New Base Battery Adhesive in Your Google Pixel Fold, Secure the battery: 步骤 5 中的图像 1,3 How to Apply New Base Battery Adhesive in Your Google Pixel Fold, Secure the battery: 步骤 5 中的图像 2,3 How to Apply New Base Battery Adhesive in Your Google Pixel Fold, Secure the battery: 步骤 5 中的图像 3,3
    • Depending on your repair, your logic board might be removed. Be careful when aligning the battery to ensure the cable reaches the logic board properly.

    • If your battery pull tabs are still intact, you can thread them under the battery. Use tape with light adhesive to stick them in their original position.

    • If you have your logic board installed, reconnect the battery connector temporarily to ensure the battery gets aligned properly.

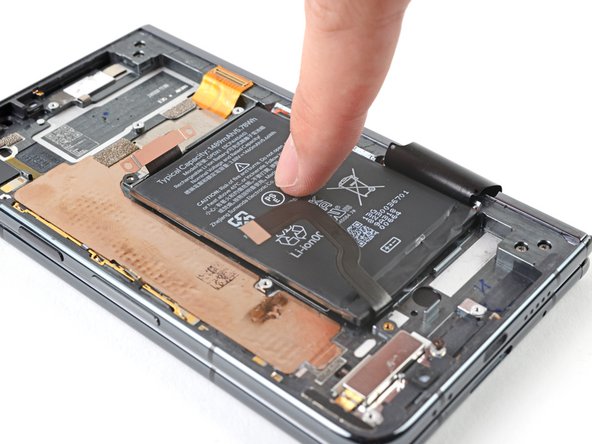
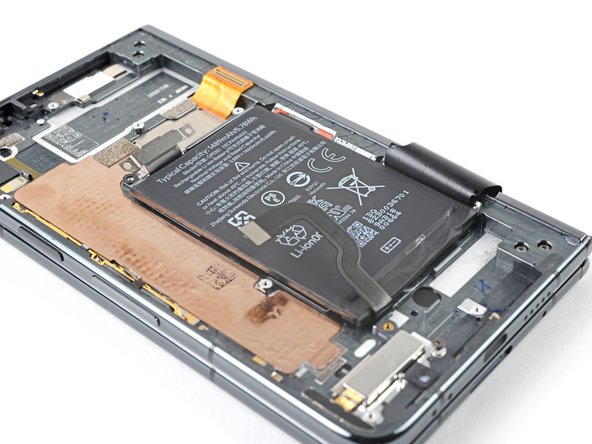
    • Place the battery in its recess, making sure to align it as close to the top edge of the recess lip as possible.

    • Press down on the battery to adhere it to the frame.

    • Make sure the battery is disconnected before continuing your repair.

结论

Repair didn’t go as planned? Try some basic troubleshooting, or ask our Google Pixel Fold Answers Community for help.

Alex Diaz-Kokaisl

于01/16/22注册

125,034 声望

创作了582篇指南

团队

iFixit iFixit 的会员

Staff

136 名成员

创作了17,430篇指南

0条评论

添加评论

浏览统计数据:

过去 24 小时: 0

过去 7 天: 1

过去 30 天: 4

总计 62