跳转到主内容
加入维修社区 - 创建账户

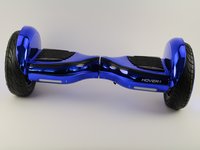
Hover-1 Titan Left Gyroscope Replacement

你所需要的

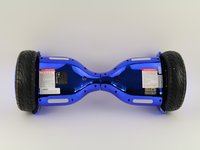
    1. Hover-1 Titan Left Gyroscope Replacement, Bottom Left Panel: 步骤 1 中的图像 1,2 Hover-1 Titan Left Gyroscope Replacement, Bottom Left Panel: 步骤 1 中的图像 2,2
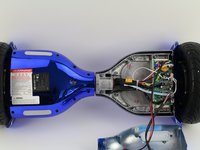
      • Flip the hoverboard so the bottom is facing up.

      • The left side is the side that has the charge port. There is also an "L" on the metal plate underneath the wires.

      询问修复机器人
      添加评论

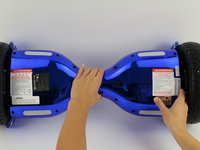
    2. Hover-1 Titan Left Gyroscope Replacement: 步骤 2 中的图像 1,2 Hover-1 Titan Left Gyroscope Replacement: 步骤 2 中的图像 2,2
      • Using a Phillips #1 screwdriver, remove the two 14 mm screws located closest to the center of the hoverboard.

      • Using a Phillips #1 screwdriver, remove the four 12 mm screws located in the middle of the panel.

      • Using a Phillips #1 screwdriver, remove two 15 mm screws located closest to the wheel.

      询问修复机器人

      添加评论

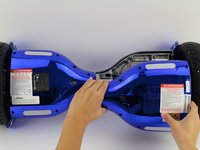
    3. Hover-1 Titan Left Gyroscope Replacement: 步骤 3 中的图像 1,3 Hover-1 Titan Left Gyroscope Replacement: 步骤 3 中的图像 2,3 Hover-1 Titan Left Gyroscope Replacement: 步骤 3 中的图像 3,3
      • Grip the bottom left panel and lift up to remove.

      询问修复机器人
      添加评论

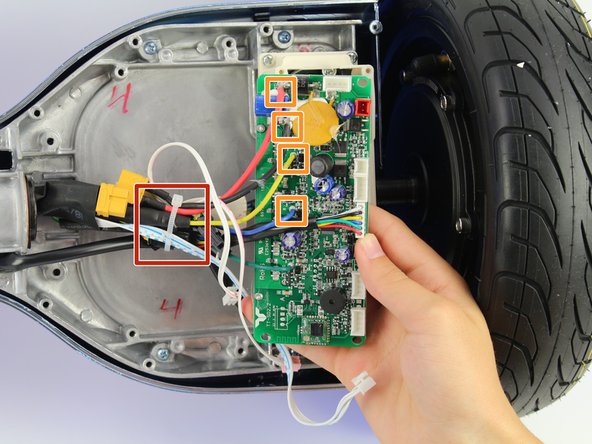
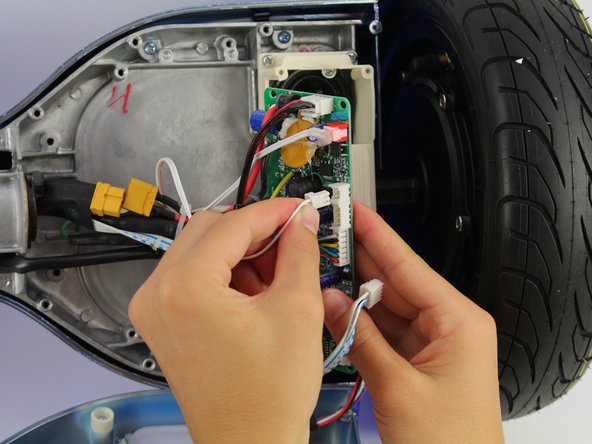
    1. Hover-1 Titan Left Gyroscope Replacement, Left Gyroscope and Motherboard: 步骤 4 中的图像 1,2 Hover-1 Titan Left Gyroscope Replacement, Left Gyroscope and Motherboard: 步骤 4 中的图像 2,2
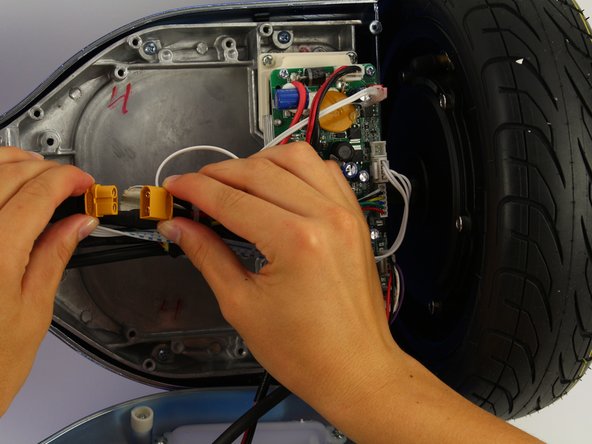
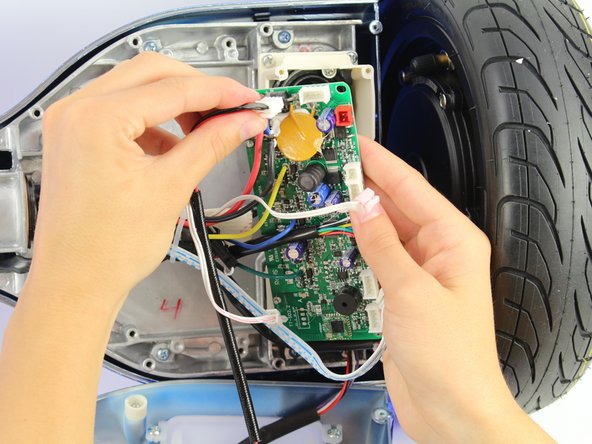
      • Unplug the battery from the gyroscope by holding the yellow connector and pulling apart.

      询问修复机器人
      添加评论

    2. Hover-1 Titan Left Gyroscope Replacement: 步骤 5 中的图像 1,3 Hover-1 Titan Left Gyroscope Replacement: 步骤 5 中的图像 2,3 Hover-1 Titan Left Gyroscope Replacement: 步骤 5 中的图像 3,3
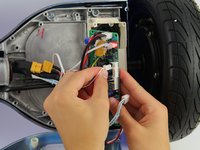
      • Remove four 12 mm Phillips #1 head screws from the corners of the green gyroscope/motherboard.

      询问修复机器人
      添加评论

    3. Hover-1 Titan Left Gyroscope Replacement: 步骤 6 中的图像 1,2 Hover-1 Titan Left Gyroscope Replacement: 步骤 6 中的图像 2,2
      • Unplug the bottom right connector by squeezing it and pulling it away from the board.

      询问修复机器人

      添加评论

    4. Hover-1 Titan Left Gyroscope Replacement: 步骤 7 中的图像 1,2 Hover-1 Titan Left Gyroscope Replacement: 步骤 7 中的图像 2,2
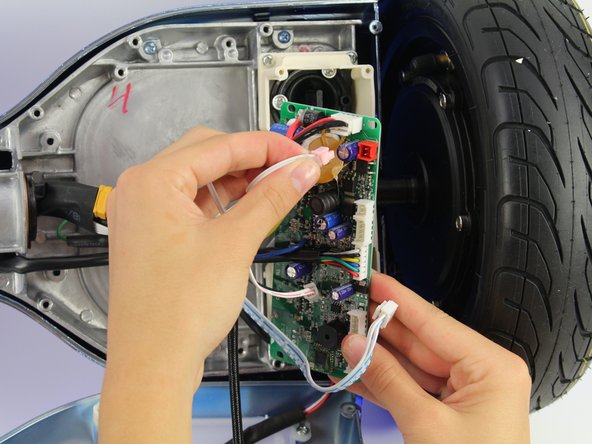
      • Unplug the light connector by squeezing it and pulling away from the board.

      询问修复机器人
      添加评论

    5. Hover-1 Titan Left Gyroscope Replacement: 步骤 8 中的图像 1,2 Hover-1 Titan Left Gyroscope Replacement: 步骤 8 中的图像 2,2
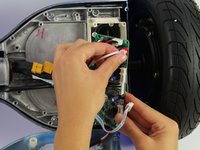
      • Unplug the blue and white wires by squeezing the connector and pulling away from the board.

      询问修复机器人
      添加评论

    6. Hover-1 Titan Left Gyroscope Replacement: 步骤 9 中的图像 1,2 Hover-1 Titan Left Gyroscope Replacement: 步骤 9 中的图像 2,2
      • Unplug the small white connector by squeezing it and pulling away from the board.

      询问修复机器人

      添加评论

    7. Hover-1 Titan Left Gyroscope Replacement: 步骤 10 中的图像 1,2 Hover-1 Titan Left Gyroscope Replacement: 步骤 10 中的图像 2,2
      • Unplug the plug in the red connector.

      • The red plug is glued to the board, so this step will require extra force.

      询问修复机器人

      添加评论

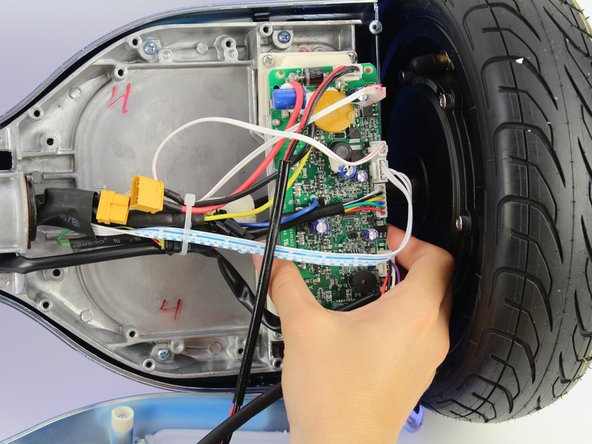
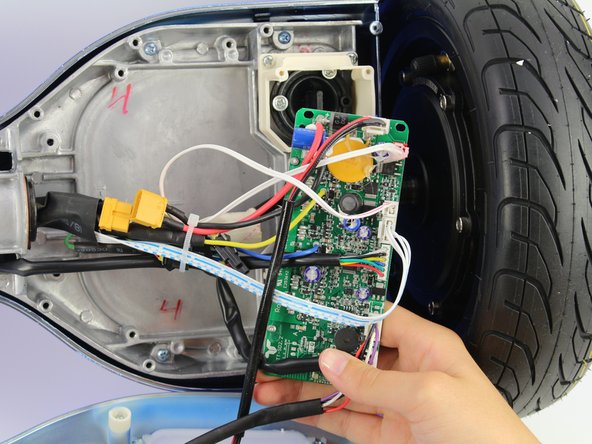
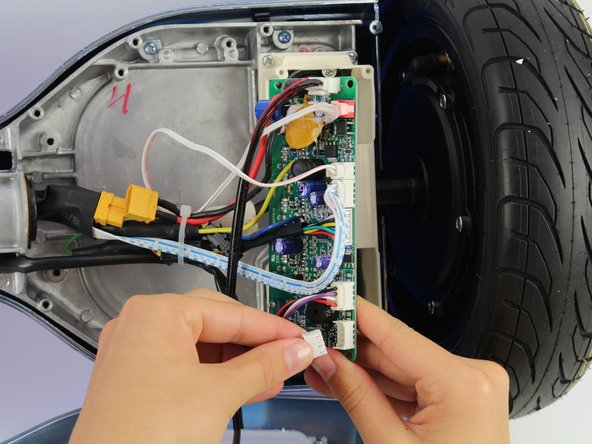
    8. Hover-1 Titan Left Gyroscope Replacement: 步骤 11 中的图像 1,2 Hover-1 Titan Left Gyroscope Replacement: 步骤 11 中的图像 2,2
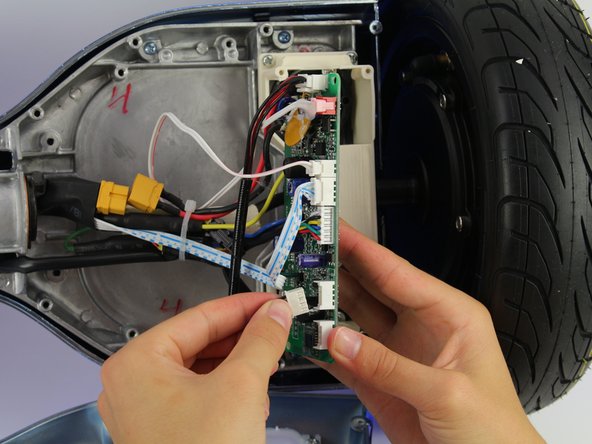
      • Unplug the charging cable connector by squeezing it and pulling it away from the board.

      询问修复机器人

      添加评论

    9. Hover-1 Titan Left Gyroscope Replacement: 步骤 12 中的图像 1,1
      • Cut the cable tie.

      • Unplug the remaining wires.

      • The connectors for the remaining wires are in the rubber covers.

      询问修复机器人

      添加评论

结论

To reassemble your device, follow these instructions in reverse order.

取消:我没有完成这个指南。

团队

Cal Poly, Team S15-G4, White Fall 2018 Cal Poly, Team S15-G4, White Fall 2018 的会员

CPSU-WHITE-F18S15G4

4 名成员

创作了10篇指南

2指南评论

I’ve got an active broken on the cover not the one to to speaker the other one. Does anyone know where is terminates. I can’t see where it came from. It can only reach the circuit board or the active of the speaker.

Mark - 回复 分享

Where do you buy the board?

eden11 - 回复 分享

添加评论

浏览统计数据:

过去 24 小时: 2

过去 7 天: 9

过去 30 天: 35

总计 1,701