跳转到主内容
加入维修社区 - 创建账户

Hover-1 Horizon Left Gyroscope Sensor Board Replacement

你所需要的

    1. Hover-1 Horizon Left Gyroscope Sensor Board Replacement, Base Plate: 步骤 1 中的图像 1,2 Hover-1 Horizon Left Gyroscope Sensor Board Replacement, Base Plate: 步骤 1 中的图像 2,2
      • Remove the six 12mm Phillips #2 screws holding the base plate.

      询问修复机器人
      添加评论

    2. Hover-1 Horizon Left Gyroscope Sensor Board Replacement: 步骤 2 中的图像 1,2 Hover-1 Horizon Left Gyroscope Sensor Board Replacement: 步骤 2 中的图像 2,2
      • Remove the two 11mm Phillips #1 screws that hold the base plate to the body.

      询问修复机器人
      添加评论

    3. Hover-1 Horizon Left Gyroscope Sensor Board Replacement: 步骤 3 中的图像 1,3 Hover-1 Horizon Left Gyroscope Sensor Board Replacement: 步骤 3 中的图像 2,3 Hover-1 Horizon Left Gyroscope Sensor Board Replacement: 步骤 3 中的图像 3,3
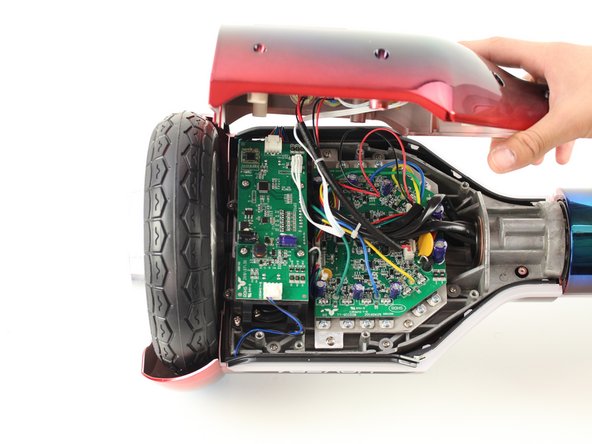
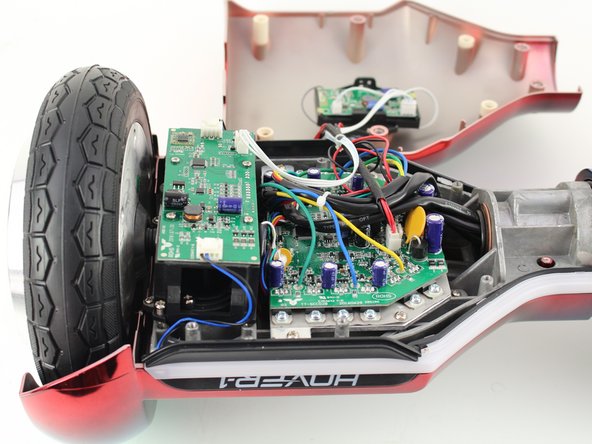
      • Remove the base plate by lifting it up.

      • The base plate is connected to the body with wires. The wires are long enough to set the base plate to the side.

      询问修复机器人
      添加评论

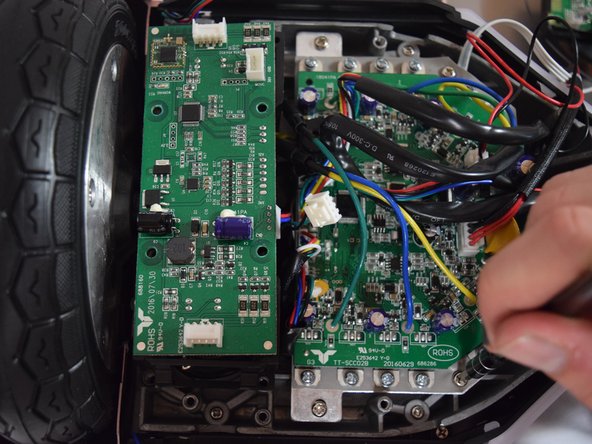
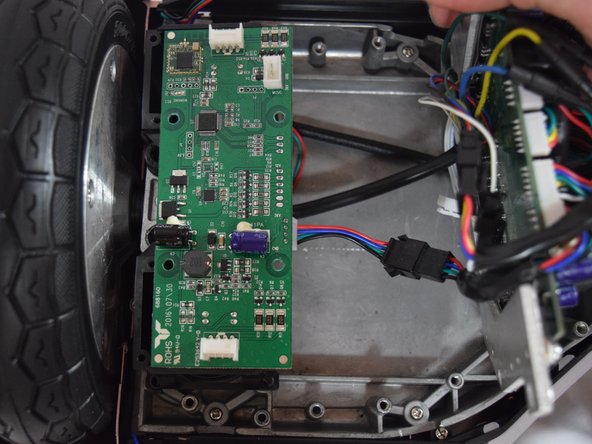
    1. Hover-1 Horizon Left Gyroscope Sensor Board Replacement, Left Gyroscope Sensor Board: 步骤 4 中的图像 1,3 Hover-1 Horizon Left Gyroscope Sensor Board Replacement, Left Gyroscope Sensor Board: 步骤 4 中的图像 2,3 Hover-1 Horizon Left Gyroscope Sensor Board Replacement, Left Gyroscope Sensor Board: 步骤 4 中的图像 3,3
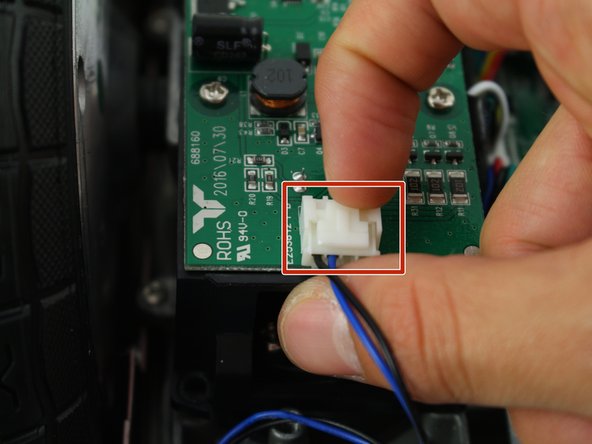
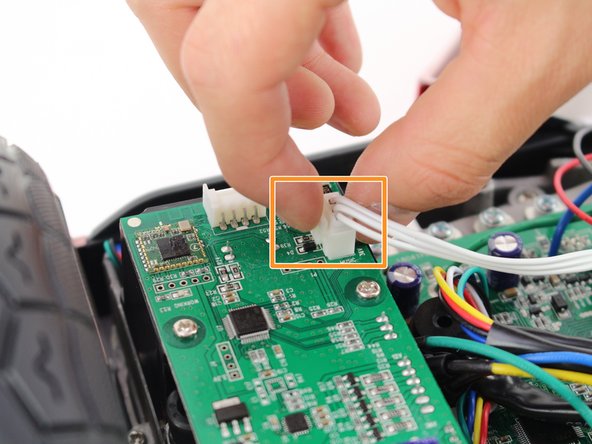
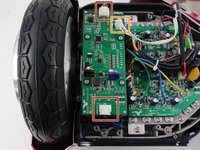
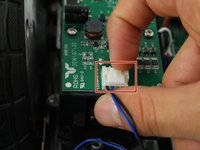
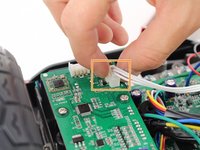
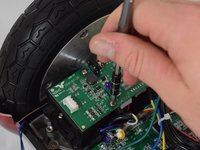
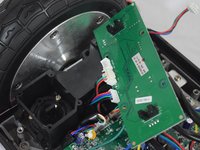
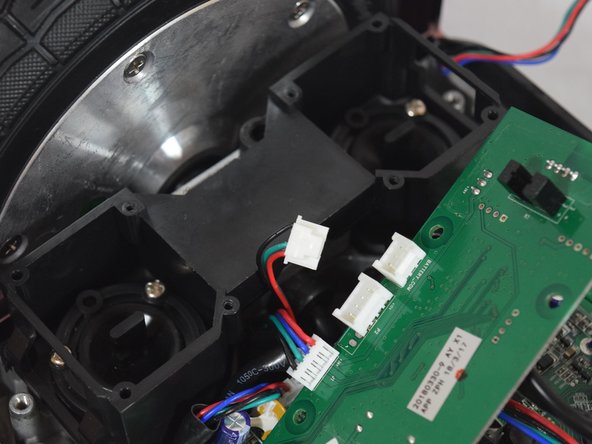
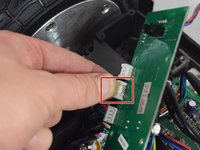
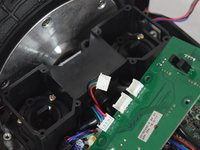
      • Remove the two connectors on either side of the board by lifting the tab and pulling out.

      • Remove the connector in the middle of the board by squeezing the tab and pulling up.

      询问修复机器人
      添加评论

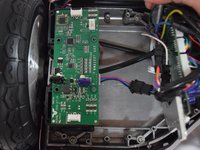
    2. Hover-1 Horizon Left Gyroscope Sensor Board Replacement: 步骤 5 中的图像 1,2 Hover-1 Horizon Left Gyroscope Sensor Board Replacement: 步骤 5 中的图像 2,2
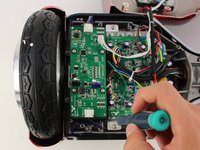
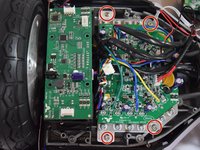
      • Remove the four 11mm Phillips #1 screws that hold the cover on.

      询问修复机器人
      添加评论

    3. Hover-1 Horizon Left Gyroscope Sensor Board Replacement: 步骤 6 中的图像 1,3 Hover-1 Horizon Left Gyroscope Sensor Board Replacement: 步骤 6 中的图像 2,3 Hover-1 Horizon Left Gyroscope Sensor Board Replacement: 步骤 6 中的图像 3,3
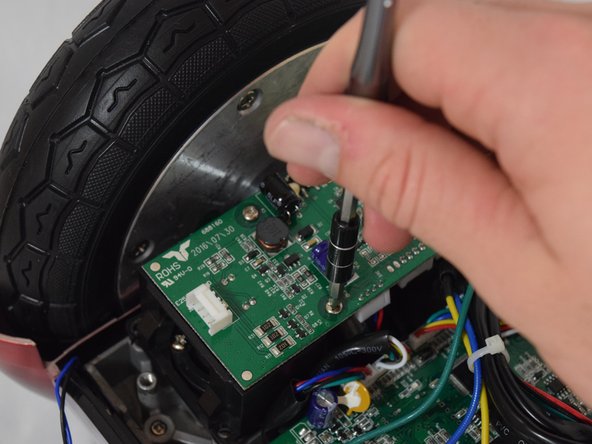
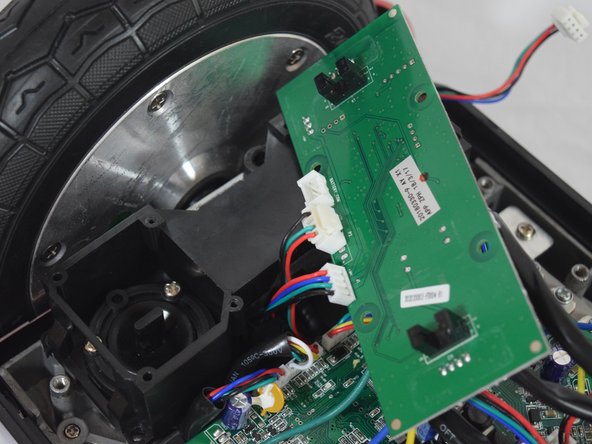
      • Remove the four 11mm Phillips #1 screws that attach the gyroscope board to the mount.

      • Lift the board to reveal the connections on the bottom.

      询问修复机器人

      添加评论

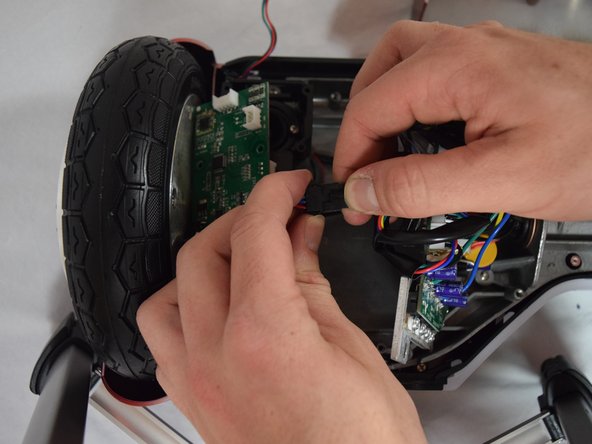
    4. Hover-1 Horizon Left Gyroscope Sensor Board Replacement: 步骤 7 中的图像 1,2 Hover-1 Horizon Left Gyroscope Sensor Board Replacement: 步骤 7 中的图像 2,2
      • Remove the middle connector by squeezing the top of the tab and pulling up.

      询问修复机器人
      添加评论

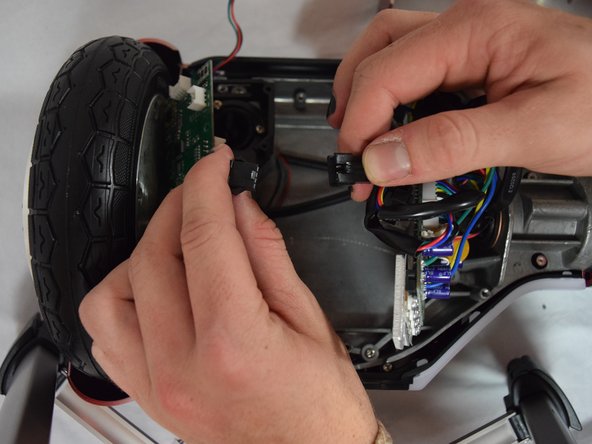
    5. Hover-1 Horizon Left Gyroscope Sensor Board Replacement: 步骤 8 中的图像 1,3 Hover-1 Horizon Left Gyroscope Sensor Board Replacement: 步骤 8 中的图像 2,3 Hover-1 Horizon Left Gyroscope Sensor Board Replacement: 步骤 8 中的图像 3,3
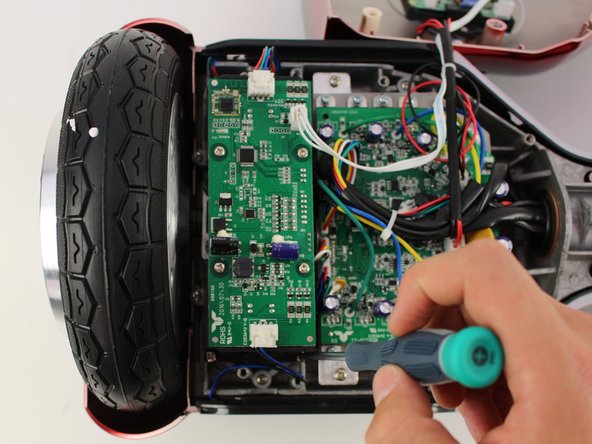
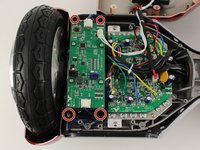
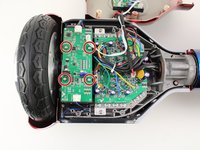
      • Remove the four 12mm Phillips #2 screws that hold the motherboard to the base.

      • Pull the motherboard away from the gyroscope by grabbing it with two hands and pulling it to the right .

      询问修复机器人
      添加评论

    6. Hover-1 Horizon Left Gyroscope Sensor Board Replacement: 步骤 9 中的图像 1,3 Hover-1 Horizon Left Gyroscope Sensor Board Replacement: 步骤 9 中的图像 2,3 Hover-1 Horizon Left Gyroscope Sensor Board Replacement: 步骤 9 中的图像 3,3
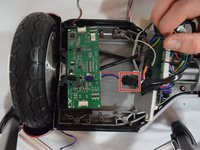
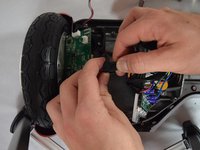
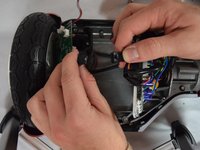
      • Unclip the black connector by squeezing both sides and pulling them apart.

      询问修复机器人

      添加评论

结论

To reassemble your device, follow these instructions in reverse order.

取消:我没有完成这个指南。

另外一个人完成了本指南。

Casey Winans

于10/08/18注册

324 声望

创作了2篇指南

团队

Cal Poly, Team S13-G6, White Fall 2018 Cal Poly, Team S13-G6, White Fall 2018 的会员

CPSU-WHITE-F18S13G6

4 名成员

创作了6篇指南

0指南评论

添加评论

浏览统计数据:

过去 24 小时: 0

过去 7 天: 9

过去 30 天: 31

总计 5,479