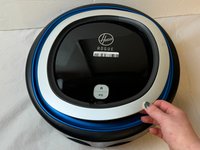
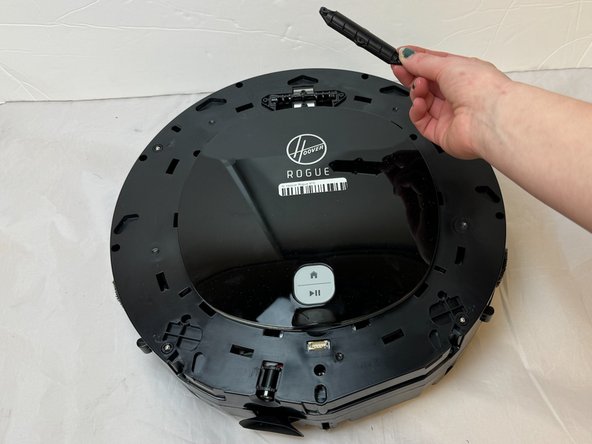
跳转到主内容
加入维修社区 - 创建账户

Hoover Rogue 970 Wheel Replacement

你所需要的

  1. Hoover Rogue 970 Wheel Replacement, Wall Brush: 步骤 1 中的图像 1,3 Hoover Rogue 970 Wheel Replacement, Wall Brush: 步骤 1 中的图像 2,3 Hoover Rogue 970 Wheel Replacement, Wall Brush: 步骤 1 中的图像 3,3
    • Flip the vacuum over so the wall brushes are facing up.

  2. Hoover Rogue 970 Wheel Replacement: 步骤 2 中的图像 1,3 Hoover Rogue 970 Wheel Replacement: 步骤 2 中的图像 2,3 Hoover Rogue 970 Wheel Replacement: 步骤 2 中的图像 3,3
    • Remove the two 8.2 mm screws using a Phillips #2 screwdriver.

  3. Hoover Rogue 970 Wheel Replacement: 步骤 3 中的图像 1,1
    • Gently lift up on the wall brushes to remove them from the vacuum.

  4. Hoover Rogue 970 Wheel Replacement, Base: 步骤 4 中的图像 1,3 Hoover Rogue 970 Wheel Replacement, Base: 步骤 4 中的图像 2,3 Hoover Rogue 970 Wheel Replacement, Base: 步骤 4 中的图像 3,3
    • Press the buttons on the brush roll cover inward.

    • Gently pull the brush roll cover away from the vacuum.

  5. Hoover Rogue 970 Wheel Replacement: 步骤 5 中的图像 1,3 Hoover Rogue 970 Wheel Replacement: 步骤 5 中的图像 2,3 Hoover Rogue 970 Wheel Replacement: 步骤 5 中的图像 3,3
    • Pull the brush roll straight out of the vacuum.

  6. Hoover Rogue 970 Wheel Replacement: 步骤 6 中的图像 1,2 Hoover Rogue 970 Wheel Replacement: 步骤 6 中的图像 2,2
    • Flip the vacuum over so that the underside is facing up.

    • Remove the fifteen 9.3 mm screws from the bottom frame with a Phillips #0 screwdriver.

    • Lift the bottom frame away from the vacuum.

  7. Hoover Rogue 970 Wheel Replacement: 步骤 7 中的图像 1,2 Hoover Rogue 970 Wheel Replacement: 步骤 7 中的图像 2,2
    • Remove the two 11.9 mm screws using a Phillips #0 screwdriver.

  8. Hoover Rogue 970 Wheel Replacement: 步骤 8 中的图像 1,2 Hoover Rogue 970 Wheel Replacement: 步骤 8 中的图像 2,2
    • Remove the single 5.9 mm screw using a Phillips #0 screwdriver.

  9. Hoover Rogue 970 Wheel Replacement: 步骤 9 中的图像 1,2 Hoover Rogue 970 Wheel Replacement: 步骤 9 中的图像 2,2
    • Flip the device over so that the top side of the vacuum is facing up.

    • Firmly pull the silver face-plate away from the vacuum.

  10. Hoover Rogue 970 Wheel Replacement: 步骤 10 中的图像 1,3 Hoover Rogue 970 Wheel Replacement: 步骤 10 中的图像 2,3 Hoover Rogue 970 Wheel Replacement: 步骤 10 中的图像 3,3
    • Firmly pull the surrounding black and blue cover away from the vacuum.

    • You may need to clasp the vacuum with both hands on opposite sides of the device. Place both thumbs exerting pressure on the center of the device while firmly wrapping your remaining fingers around the edges of the surrounding cover.

  11. Hoover Rogue 970 Wheel Replacement: 步骤 11 中的图像 1,2 Hoover Rogue 970 Wheel Replacement: 步骤 11 中的图像 2,2
    • Remove four 8.7 mm screws using a Phillips #0 screwdriver.

    • Pull the top cover with the 'Hoover Rogue' markings away from the vacuum.

  12. Hoover Rogue 970 Wheel Replacement: 步骤 12 中的图像 1,2 Hoover Rogue 970 Wheel Replacement: 步骤 12 中的图像 2,2
    • Remove the eight 15.8 mm screws from the vacuum using a Phillips #0 screwdriver.

    • Gently pry along seam with an iFixit opening tool in order to break the glue seals.

  13. Hoover Rogue 970 Wheel Replacement: 步骤 13 中的图像 1,3 Hoover Rogue 970 Wheel Replacement: 步骤 13 中的图像 2,3 Hoover Rogue 970 Wheel Replacement: 步骤 13 中的图像 3,3
    • Firmly grasp the top and bottom portions of the vacuum with each thumb exerting pressure in opposite directions.

    • The device may be glued together making it difficult to pull the vacuum apart. Use of an opening tool may be appropriate to avoid injury to yourself or the vacuum.

    • Disconnect the motherboard from the base assembly.

  14. Hoover Rogue 970 Wheel Replacement, Wheel: 步骤 14 中的图像 1,2 Hoover Rogue 970 Wheel Replacement, Wheel: 步骤 14 中的图像 2,2
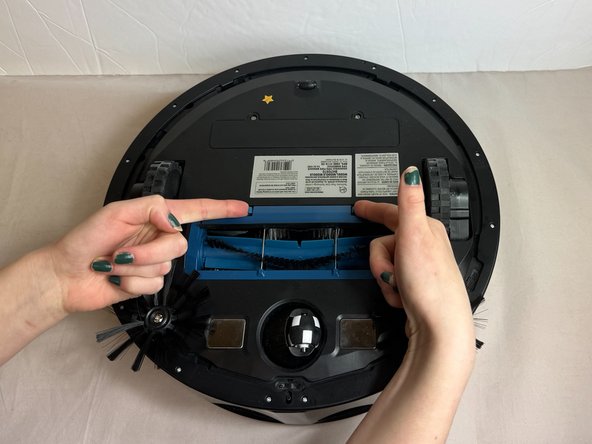
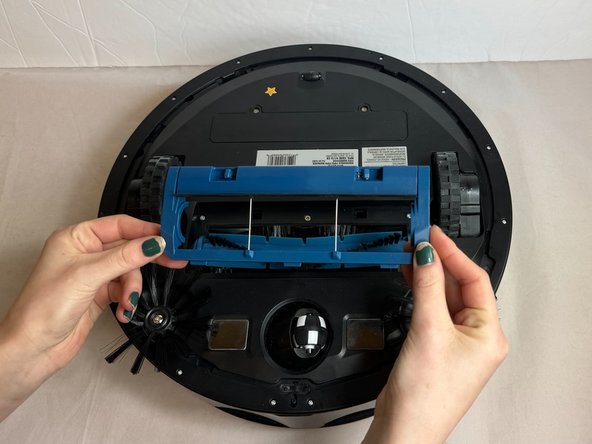
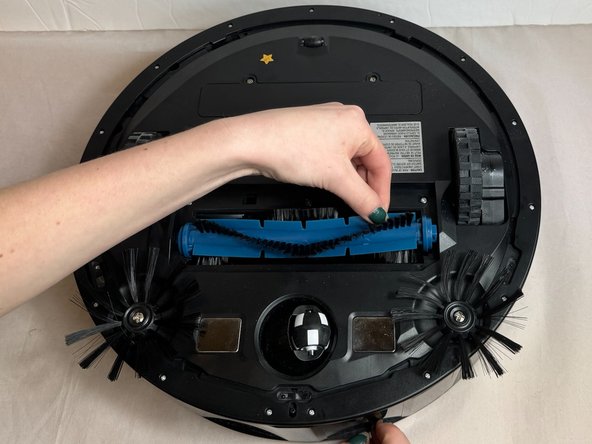
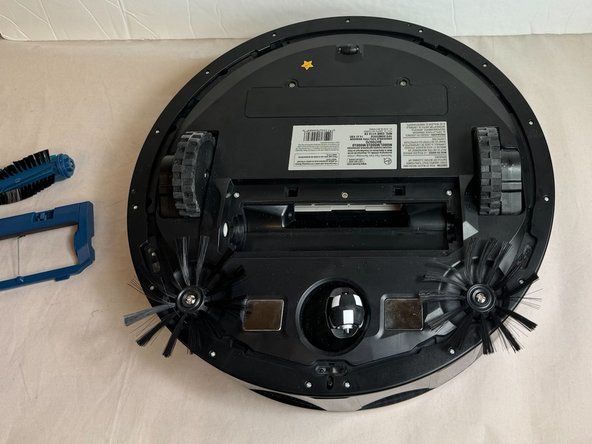
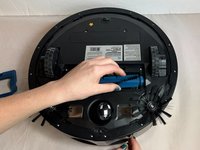
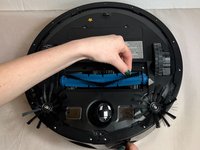
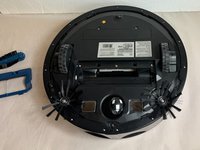
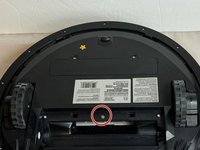
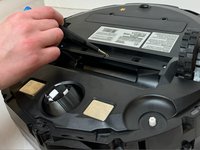
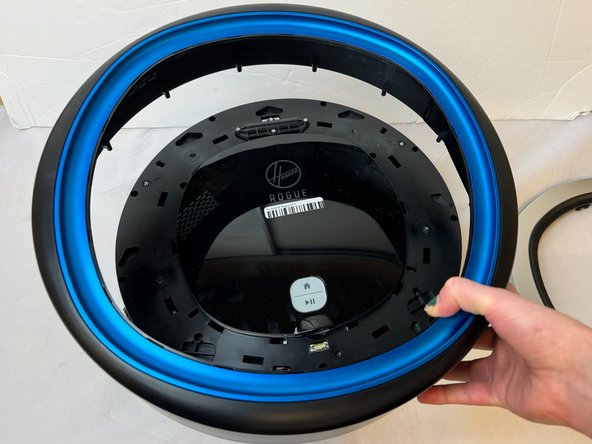
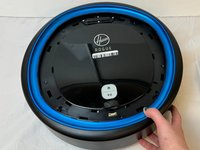
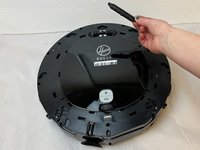
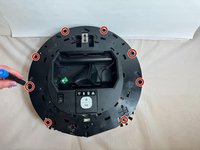
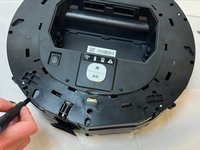
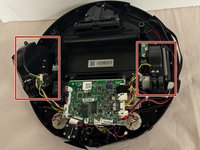
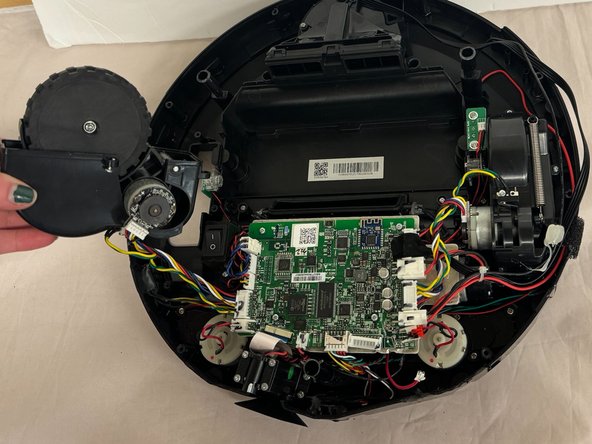
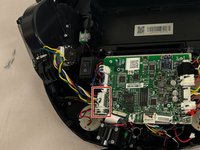
    • Locate wheel assembly.

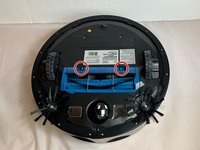
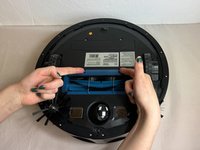
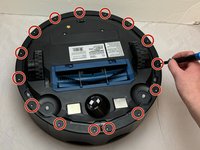
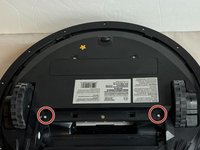
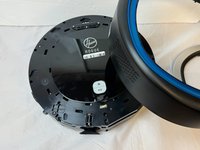
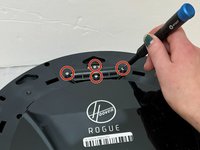
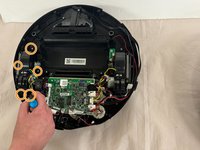
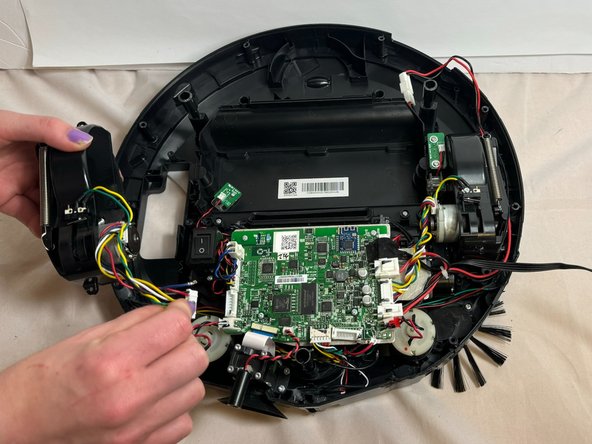
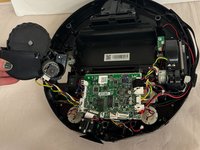
    • Remove the five 8.7 mm screws using a Phillips #0 screwdriver.

  15. Hoover Rogue 970 Wheel Replacement: 步骤 15 中的图像 1,3 Hoover Rogue 970 Wheel Replacement: 步骤 15 中的图像 2,3 Hoover Rogue 970 Wheel Replacement: 步骤 15 中的图像 3,3
    • Lift the wheel assembly out of the vacuum to access the white bundled cable connector connected to the circuit board.

    • Disconnect the white bundled cable connector that connects the wheel assembly to the circuit board.

    • You may find it helpful to place your other hand's index finger and thumb firmly on the white tab to secure it, avoiding injury or damage to the vacuum.

    • Lift the disconnected wheel assembly away from vacuum.

结论

To reassemble your device, follow these instructions in reverse order.

Malcolm Mcdonald

于10/02/23注册

281 声望

创作了2篇指南

0指南评论

添加评论

浏览统计数据:

过去 24 小时: 0

过去 7 天: 1

过去 30 天: 7

总计 231