跳转到主内容
加入维修社区 - 创建账户

Holmes HEH8031 Control Buttons Replacement

你所需要的

    1. Holmes HEH8031 Control Buttons Replacement, Housing: 步骤 1 中的图像 1,1
      • Ensure the device is unplugged from the wall outlet.

      询问修复机器人

      添加评论

    2. Holmes HEH8031 Control Buttons Replacement: 步骤 2 中的图像 1,1
      • Remove eight 12-mm Phillips #2 screws from the back cover.

      询问修复机器人

      添加评论

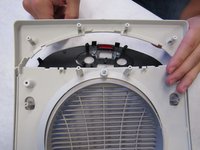
    3. Holmes HEH8031 Control Buttons Replacement: 步骤 3 中的图像 1,2 Holmes HEH8031 Control Buttons Replacement: 步骤 3 中的图像 2,2
      • Turn heater over so the controls are facing up.

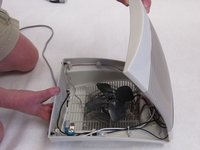
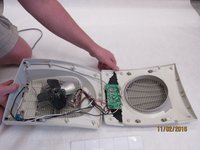
      • Lift the front housing away from the back of the fan and slowly fold the front housing back down to the floor.

      • Internal wires are connected to both halves of the housing. Be careful when separating the housing.

      询问修复机器人

      添加评论

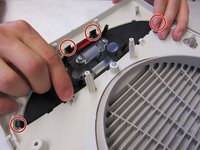
    1. Holmes HEH8031 Control Buttons Replacement, Circuit Board Removal: 步骤 4 中的图像 1,1
      • Remove four 12mm Phillips #2 screws from the circuit board.

      询问修复机器人

      添加评论

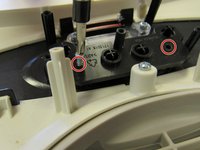
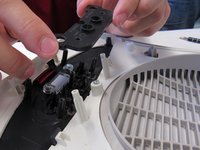
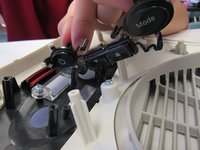
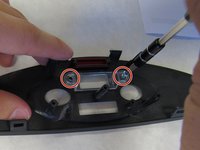
    1. Holmes HEH8031 Control Buttons Replacement, Control Buttons: 步骤 5 中的图像 1,3 Holmes HEH8031 Control Buttons Replacement, Control Buttons: 步骤 5 中的图像 2,3 Holmes HEH8031 Control Buttons Replacement, Control Buttons: 步骤 5 中的图像 3,3
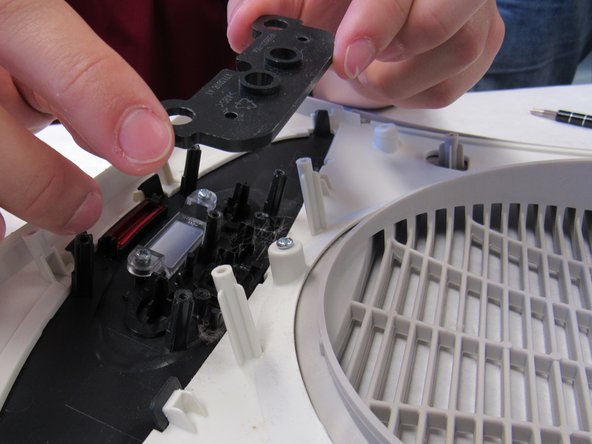
      • Remove the two Phillips #2 12mm screws from the button retainer.

      • Lift the button retainer off.

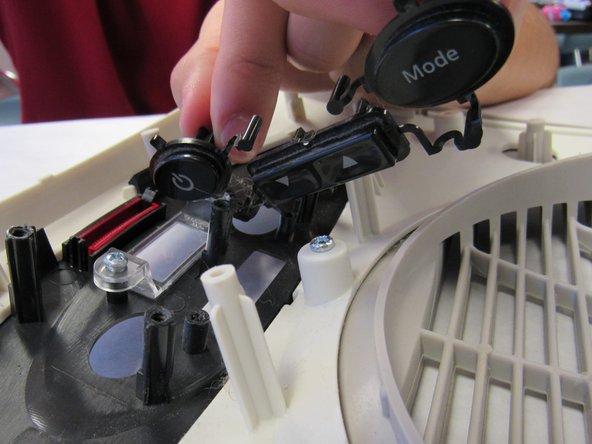
      • Remove the interconnected buttons.

      • If the buttons are broken, replace them.

      • If the buttons are sticking, clean them in warm soapy water and allow to dry.

      询问修复机器人

      添加评论

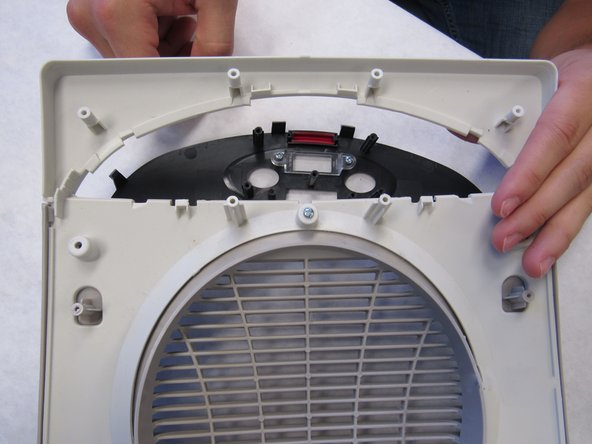
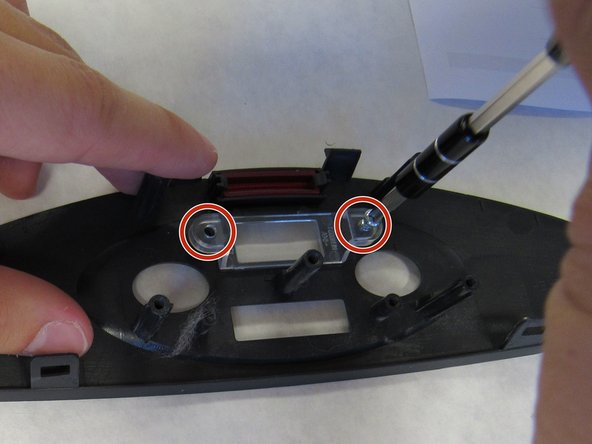
    2. Holmes HEH8031 Control Buttons Replacement: 步骤 6 中的图像 1,3 Holmes HEH8031 Control Buttons Replacement: 步骤 6 中的图像 2,3 Holmes HEH8031 Control Buttons Replacement: 步骤 6 中的图像 3,3
      • Using light finger pressure, carefully push the black plastic tabs off the white plastic hooks.

      • Remove the black plastic bracket out through the front of the heater housing.

      • Remove the two Phillips #2 12mm screws and remove the clear window from the black plastic bracket.

      • If the buttons were sticking, clean the black plastic bracket in warm soapy water and allow to dry.

      • If the clear window was dirty, clean it in warm soapy water and allow to dry.

      询问修复机器人

      添加评论

结论

To reassemble your device, follow these instructions in reverse order.

取消:我没有完成这个指南。

另外一个人完成了本指南。

Chris Shaffer

于10/12/16注册

255 声望

创作了2篇指南

团队

IUPUI, Team 2-1, Baechle Fall 2016 IUPUI, Team 2-1, Baechle Fall 2016 的会员

IUPUI-BAECHLE-F16S2G1

4 名成员

创作了48篇指南

0指南评论

添加评论

浏览统计数据:

过去 24 小时: 0

过去 7 天: 5

过去 30 天: 22

总计 863