跳转到主内容
加入维修社区 - 创建账户

Hitachi CP-X2010N Top Panel Replacement

你所需要的

    1. Hitachi CP-X2010N Top Panel Replacement, Top Panel: 步骤 1 中的图像 1,3 Hitachi CP-X2010N Top Panel Replacement, Top Panel: 步骤 1 中的图像 2,3 Hitachi CP-X2010N Top Panel Replacement, Top Panel: 步骤 1 中的图像 3,3
      • Flip the projector upside down to expose the screws on the underside.

      询问修复机器人

      添加评论

    2. Hitachi CP-X2010N Top Panel Replacement: 步骤 2 中的图像 1,3 Hitachi CP-X2010N Top Panel Replacement: 步骤 2 中的图像 2,3 Hitachi CP-X2010N Top Panel Replacement: 步骤 2 中的图像 3,3
      • Use a Phillips #2 screwdriver to remove eight black 14 mm screws holding the top panel to the main projector body.

      询问修复机器人

      添加评论

    3. Hitachi CP-X2010N Top Panel Replacement: 步骤 3 中的图像 1,1
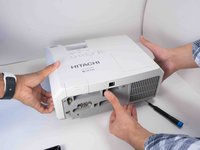
      • Flip projector right side up and orient it so you are facing the rear panel.

      询问修复机器人

      添加评论

    4. Hitachi CP-X2010N Top Panel Replacement: 步骤 4 中的图像 1,3 Hitachi CP-X2010N Top Panel Replacement: 步骤 4 中的图像 2,3 Hitachi CP-X2010N Top Panel Replacement: 步骤 4 中的图像 3,3
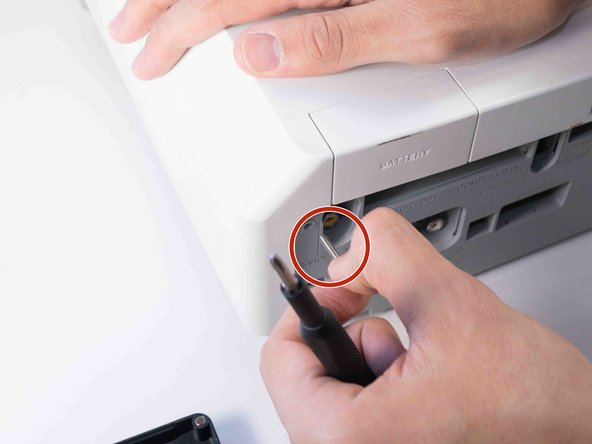
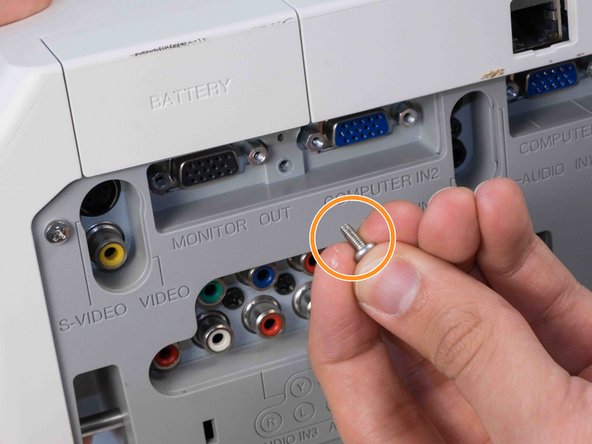
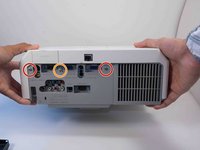
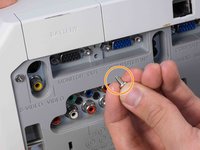
      • Use a Phillips #2 screwdriver to remove two silver 22 mm long screws.

      • Use a Phillips #2 screwdriver to remove the short silver 10 mm screw.

      询问修复机器人

      添加评论

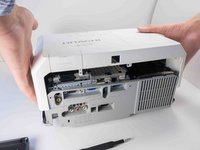
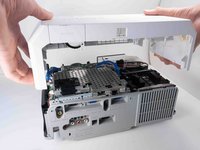
    5. Hitachi CP-X2010N Top Panel Replacement: 步骤 5 中的图像 1,3 Hitachi CP-X2010N Top Panel Replacement: 步骤 5 中的图像 2,3 Hitachi CP-X2010N Top Panel Replacement: 步骤 5 中的图像 3,3
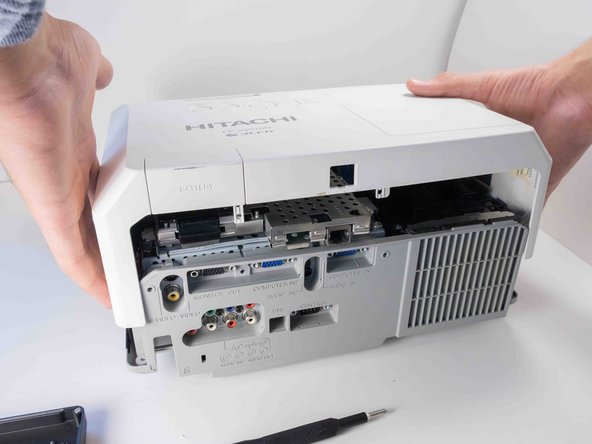
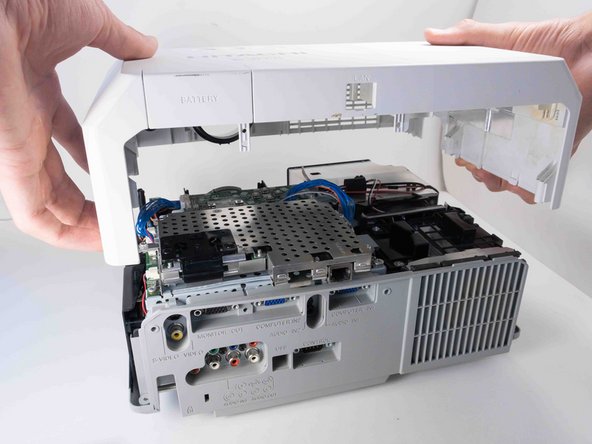
      • Carefully lift the top panel from the body of the projector, making sure it doesn't catch on anything.

      • Remove the panel from the body of the projector.

      询问修复机器人

      添加评论

结论

To reassemble your device, follow these instructions in reverse order.

取消:我没有完成这个指南。

3等其他人完成本指南。

Chance Kidd

于09/20/22注册

1,184 声望

创作了6篇指南

团队

0指南评论

添加评论

浏览统计数据:

过去 24 小时: 0

过去 7 天: 1

过去 30 天: 12

总计 290