跳转到主内容
加入维修社区 - 创建账户

Hitachi CP-X2010N Motherboard Replacement

你所需要的

    1. Hitachi CP-X2010N  Motherboard Replacement, Top Panel: 步骤 1 中的图像 1,3 Hitachi CP-X2010N  Motherboard Replacement, Top Panel: 步骤 1 中的图像 2,3 Hitachi CP-X2010N  Motherboard Replacement, Top Panel: 步骤 1 中的图像 3,3
      • Flip the projector upside down to expose the screws on the underside.

      询问修复机器人
      添加评论

    2. Hitachi CP-X2010N  Motherboard Replacement: 步骤 2 中的图像 1,3 Hitachi CP-X2010N  Motherboard Replacement: 步骤 2 中的图像 2,3 Hitachi CP-X2010N  Motherboard Replacement: 步骤 2 中的图像 3,3
      • Use a Phillips #2 screwdriver to remove eight black 14 mm screws holding the top panel to the main projector body.

      询问修复机器人
      添加评论

    3. Hitachi CP-X2010N  Motherboard Replacement: 步骤 3 中的图像 1,1
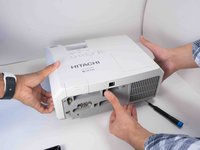
      • Flip projector right side up and orient it so you are facing the rear panel.

      询问修复机器人
      添加评论

    4. Hitachi CP-X2010N  Motherboard Replacement: 步骤 4 中的图像 1,3 Hitachi CP-X2010N  Motherboard Replacement: 步骤 4 中的图像 2,3 Hitachi CP-X2010N  Motherboard Replacement: 步骤 4 中的图像 3,3
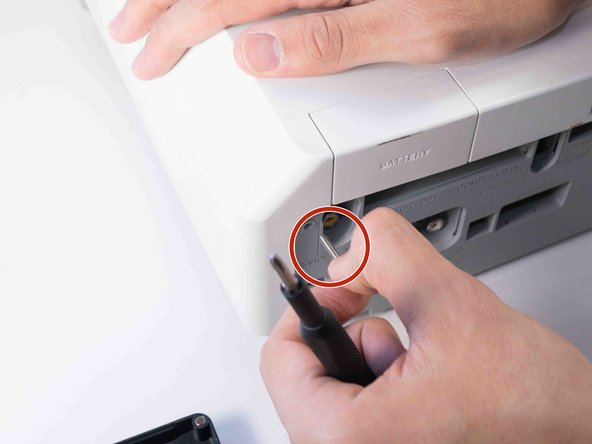
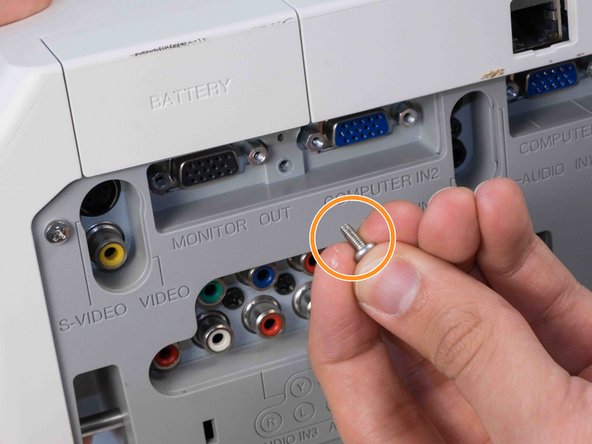
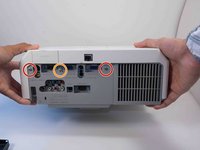
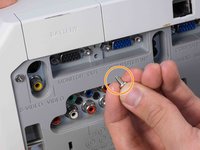
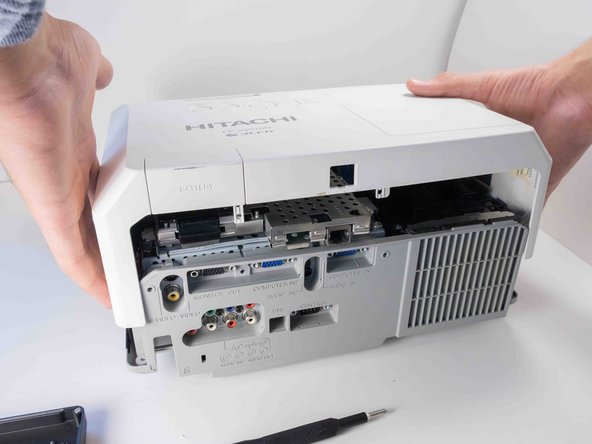
      • Use a Phillips #2 screwdriver to remove two silver 22 mm long screws.

      • Use a Phillips #2 screwdriver to remove the short silver 10 mm screw.

      询问修复机器人
      添加评论

    5. Hitachi CP-X2010N  Motherboard Replacement: 步骤 5 中的图像 1,3 Hitachi CP-X2010N  Motherboard Replacement: 步骤 5 中的图像 2,3 Hitachi CP-X2010N  Motherboard Replacement: 步骤 5 中的图像 3,3
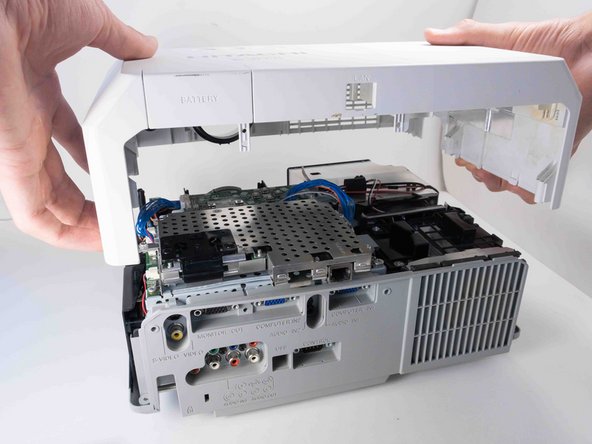
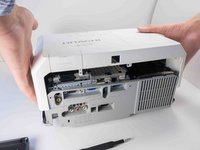
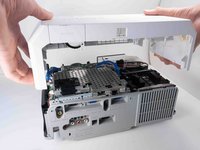
      • Carefully lift the top panel from the body of the projector, making sure it doesn't catch on anything.

      • Remove the panel from the body of the projector.

      询问修复机器人
      添加评论

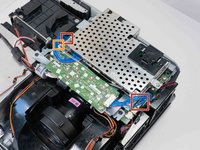
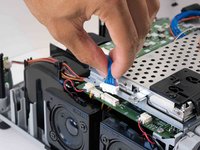
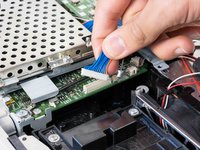
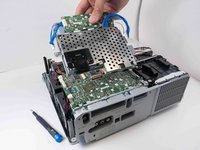
    1. Hitachi CP-X2010N  Motherboard Replacement, Motherboard: 步骤 6 中的图像 1,3 Hitachi CP-X2010N  Motherboard Replacement, Motherboard: 步骤 6 中的图像 2,3 Hitachi CP-X2010N  Motherboard Replacement, Motherboard: 步骤 6 中的图像 3,3
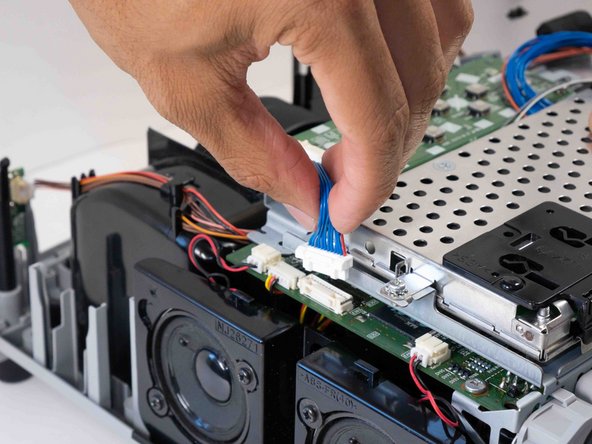
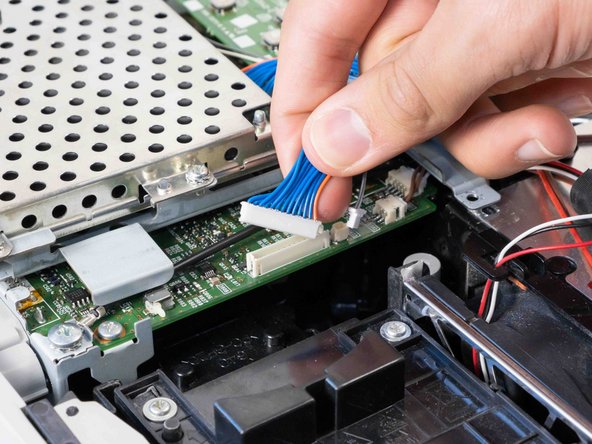
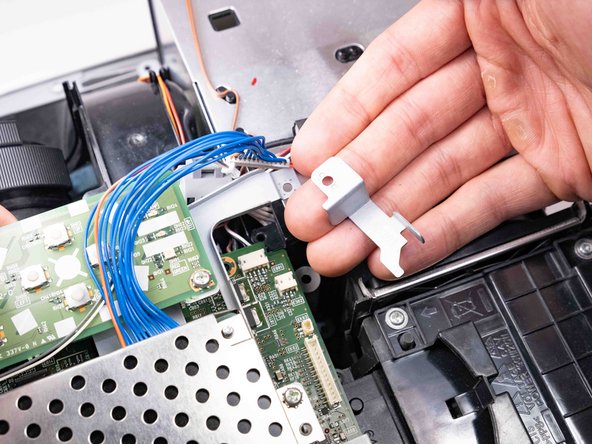
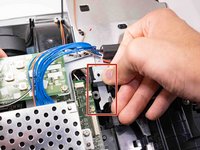
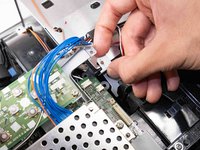
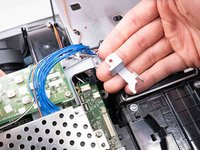
      • Carefully pinch the edges of the two blue connectors and pull upwards to remove them from the motherboard.

      • Carefully pinch and remove the small gray connector next to the blue wire opposite the speakers.

      询问修复机器人
      添加评论

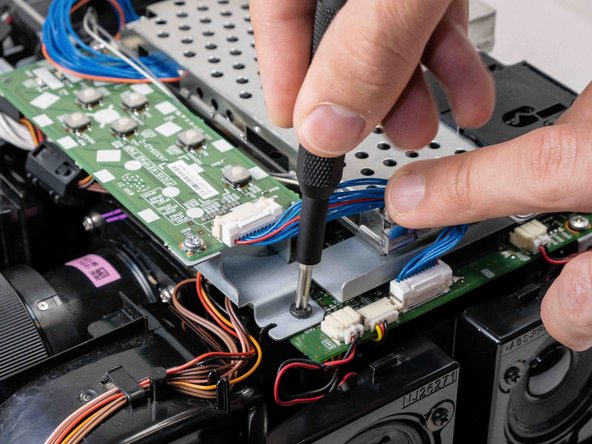
    2. Hitachi CP-X2010N  Motherboard Replacement: 步骤 7 中的图像 1,3 Hitachi CP-X2010N  Motherboard Replacement: 步骤 7 中的图像 2,3 Hitachi CP-X2010N  Motherboard Replacement: 步骤 7 中的图像 3,3
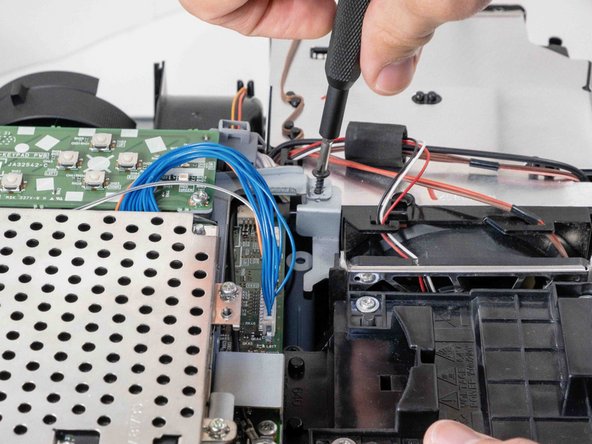
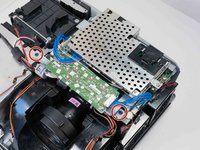
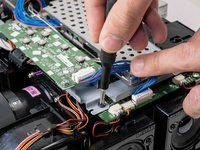
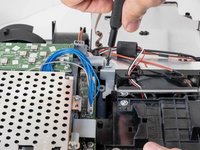
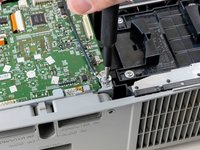
      • Use a Phillips #2 screwdriver to remove the two black 14 mm screws securing the button array.

      • Move the wires for better access to the screws if needed.

      询问修复机器人

      添加评论

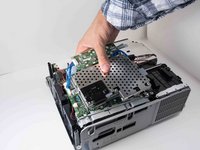
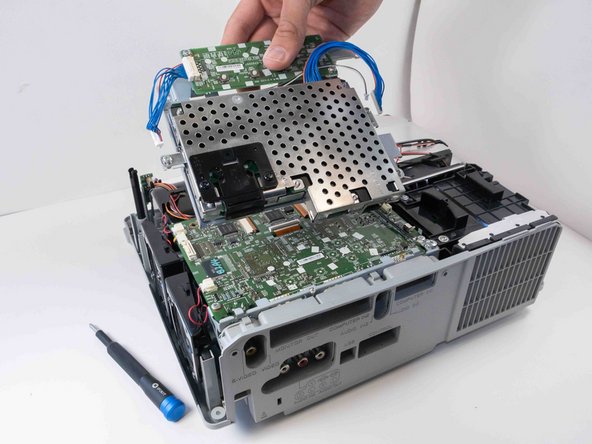
    3. Hitachi CP-X2010N  Motherboard Replacement: 步骤 8 中的图像 1,3 Hitachi CP-X2010N  Motherboard Replacement: 步骤 8 中的图像 2,3 Hitachi CP-X2010N  Motherboard Replacement: 步骤 8 中的图像 3,3
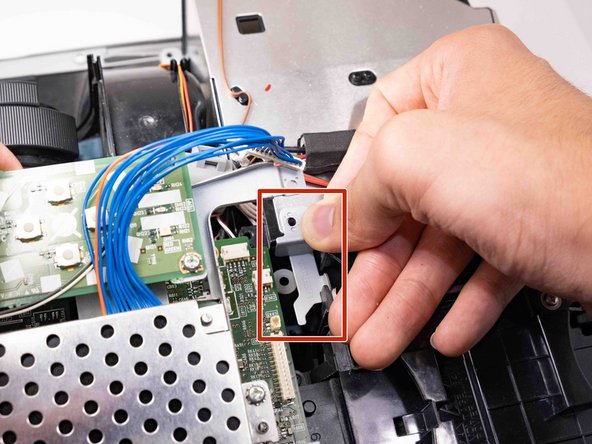
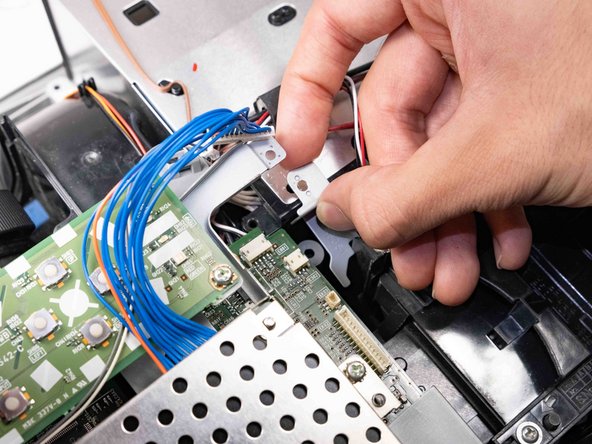
      • Remove the bracket that was being held by the screw.

      • Take a picture or memorize its orientation for easier reinstallation.

      询问修复机器人
      添加评论

    4. Hitachi CP-X2010N  Motherboard Replacement: 步骤 9 中的图像 1,2 Hitachi CP-X2010N  Motherboard Replacement: 步骤 9 中的图像 2,2
      • Pull the button array and network adapter out carefully.

      • Make sure all the wires connected to the array are unplugged.

      询问修复机器人

      添加评论

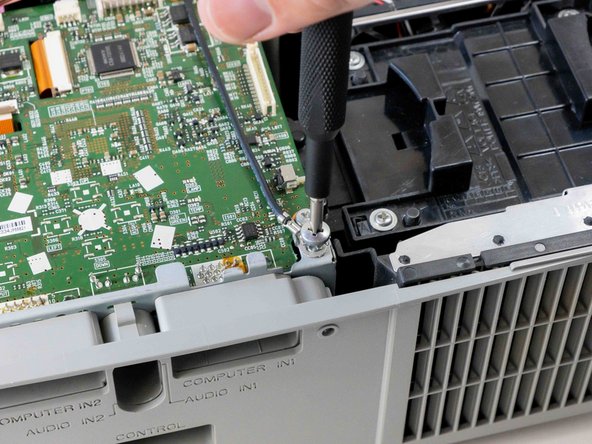
    5. Hitachi CP-X2010N  Motherboard Replacement: 步骤 10 中的图像 1,2 Hitachi CP-X2010N  Motherboard Replacement: 步骤 10 中的图像 2,2
      • Use a Phillips #2 screwdriver to remove the silver 10 mm screw securing the ground wire.

      • Keep the screw and washer in an easily accessible place.

      询问修复机器人

      添加评论

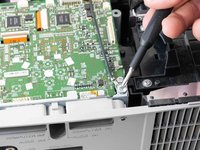
    6. Hitachi CP-X2010N  Motherboard Replacement: 步骤 11 中的图像 1,1
      • Use a Phillips #2 screwdriver to remove the black 14 mm screw securing the motherboard to the case.

      询问修复机器人

      添加评论

    7. Hitachi CP-X2010N  Motherboard Replacement: 步骤 12 中的图像 1,3 Hitachi CP-X2010N  Motherboard Replacement: 步骤 12 中的图像 2,3 Hitachi CP-X2010N  Motherboard Replacement: 步骤 12 中的图像 3,3
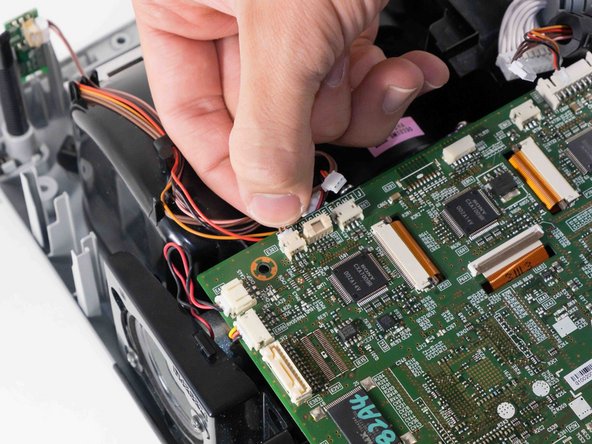
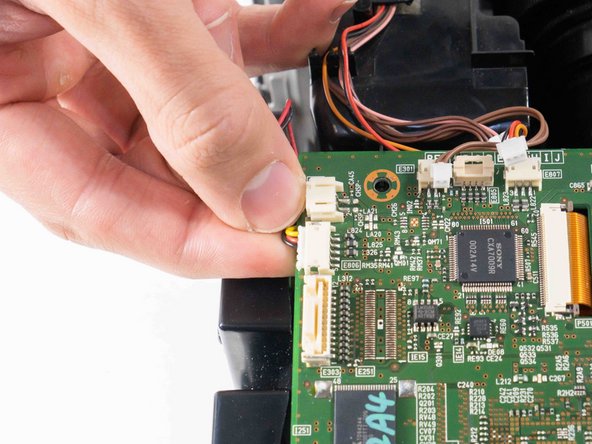
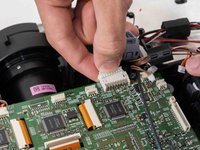
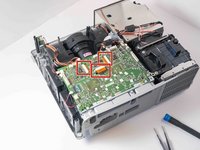
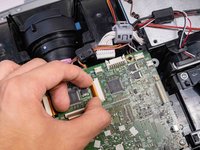
      • Delicately pinch and pull off all the wired connections surrounding the outside of the motherboard.

      询问修复机器人

      添加评论

    8. Hitachi CP-X2010N  Motherboard Replacement: 步骤 13 中的图像 1,3 Hitachi CP-X2010N  Motherboard Replacement: 步骤 13 中的图像 2,3 Hitachi CP-X2010N  Motherboard Replacement: 步骤 13 中的图像 3,3
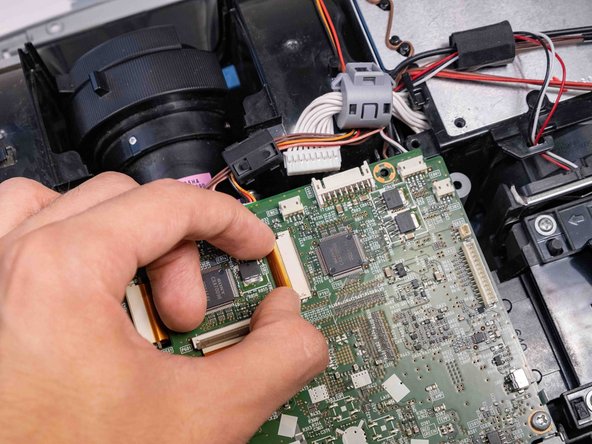
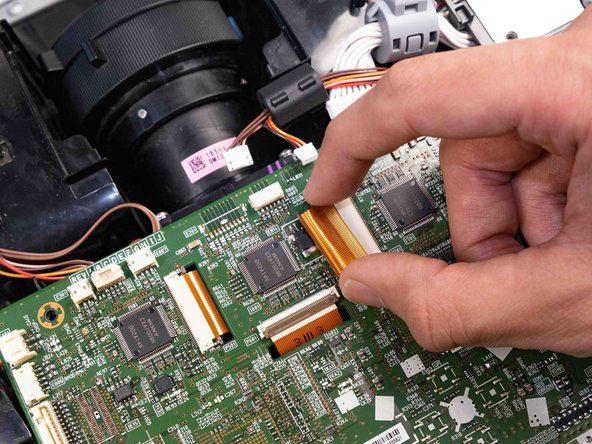
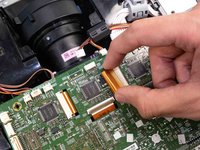
      • Use the tip of a spudger or your fingernail to flip up the small locking flap on the three orange cable locks. Then, you can safely pull the cables out.

      • Too much force could break the ribbon cable.

      询问修复机器人

      添加评论

    9. Hitachi CP-X2010N  Motherboard Replacement: 步骤 14 中的图像 1,2 Hitachi CP-X2010N  Motherboard Replacement: 步骤 14 中的图像 2,2
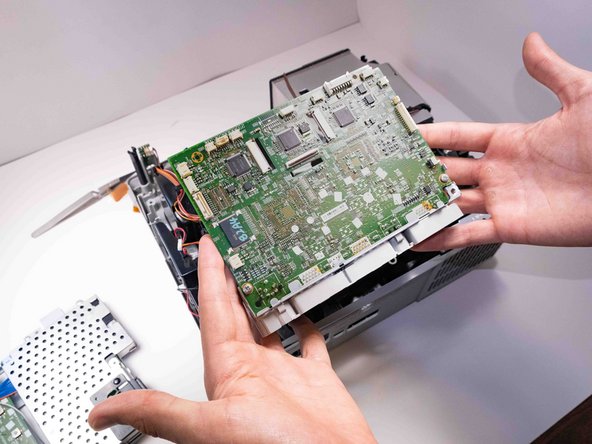
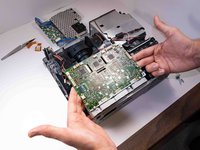
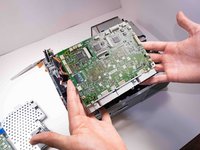
      • Lift the motherboard out from the projector carefully so that it doesn't catch on any other components.

      询问修复机器人

      添加评论

结论

To reassemble your device, follow these instructions in reverse order.

取消:我没有完成这个指南。

4等其他人完成本指南。

Chance Kidd

于09/20/22注册

1,184 声望

创作了6篇指南

团队

0指南评论

添加评论

浏览统计数据:

过去 24 小时: 1

过去 7 天: 5

过去 30 天: 20

总计 526