简介
The current printer being worked on is a Tevo Tarantula DIY 3D printer, here are some other printers that will work with this guide:
- Creality Ender 3
- Anet A8
- Anycubic i3 Mega
- Prusa i3
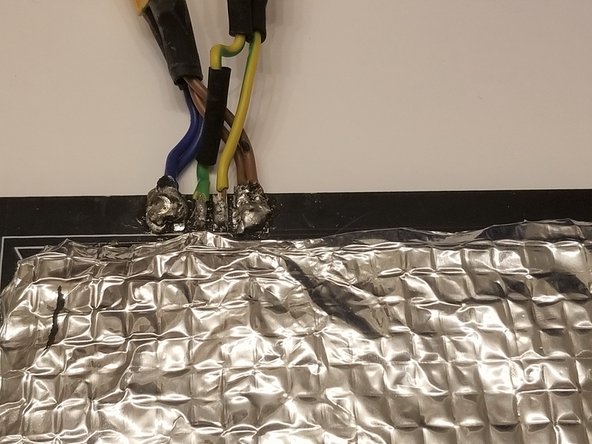
This guide will help to replace a burnt or faulty connection on the heated bed due to cable strain or when using too high of a temperature. We will be replacing the connection with a much heavier duty connector that will last longer.
Before you follow this guide, ensure that it is the heated bed connection and not the controller board connection. If it is the latter, you may wish to use the soldering technique guide in order to desolder and replace the terminals or solder joints as required.
Disconnect all power before performing any maintenance on the printer to avoid electrocution.
你所需要的
-
-
Remove the four screws from the corners of the panel covering the controller board.
-
-
-
-
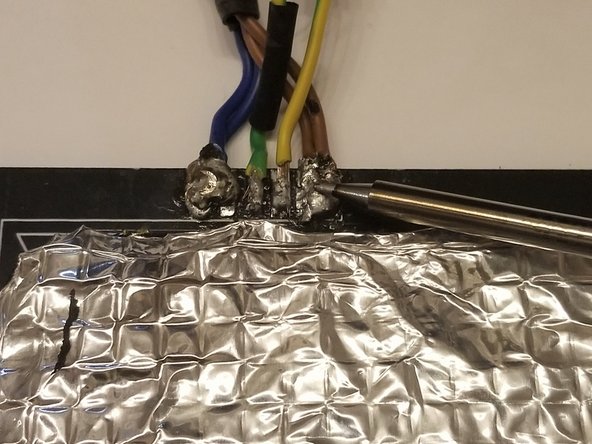
Remove the old solder by using a solder pump or solder wick.
-
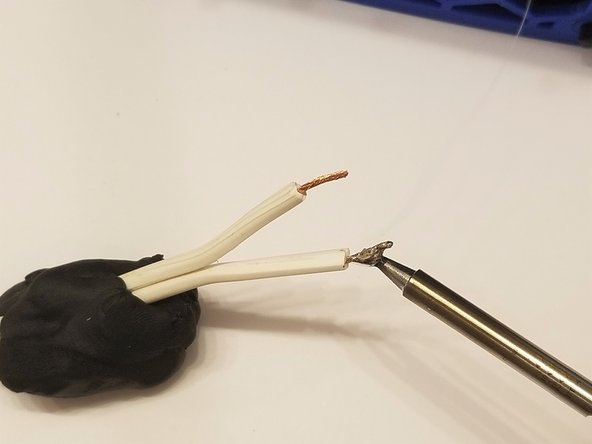
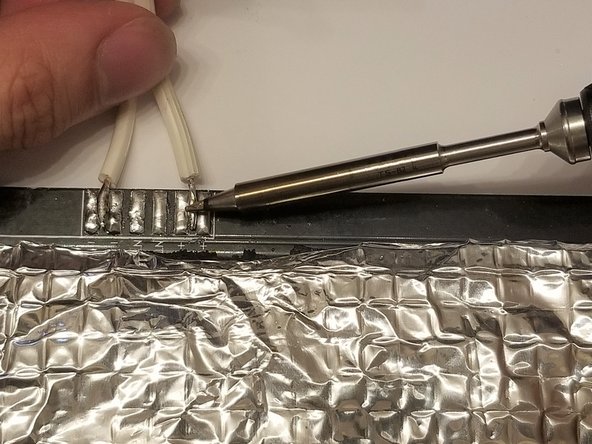
Re-tin the pads with fresh solder.
-


To reassemble your device, follow these instructions in reverse order. You may want to calibrate the Z-axis end stops and re-level the bed before printing.
To reassemble your device, follow these instructions in reverse order. You may want to calibrate the Z-axis end stops and re-level the bed before printing.

团队

York University, Team S53-G3, Melo-Thaiss Fall 2020 York University, Team S53-G3, Melo-Thaiss Fall 2020 的会员
YORK-MELO-THAISS-F20S53G3
1 名成员
创作了1篇指南