跳转到主内容
加入维修社区 - 创建账户

HP 15-dy2702dx Fan Replacement

你所需要的

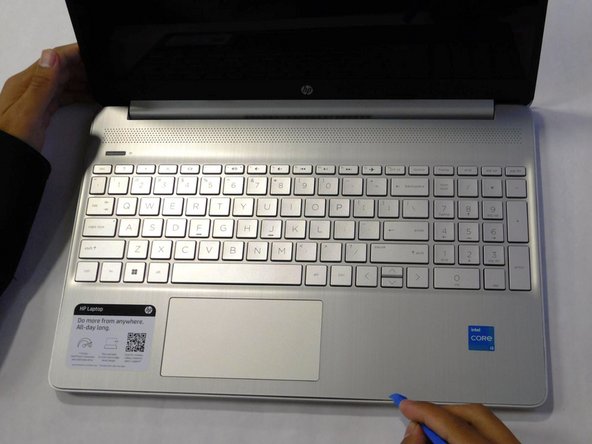
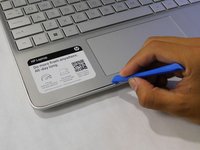
    1. HP 15-dy2702dx Fan Replacement, Lower Case: 步骤 1 中的图像 1,1
      • Remove both of the rubber strips to uncover the hidden screws.

      • You can use a prying tool to help lift an end.

      询问修复机器人

      添加评论

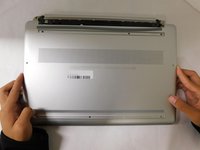
    2. HP 15-dy2702dx Fan Replacement: 步骤 2 中的图像 1,1
      • Unscrew all 8 Phillips #1 screws on the bottom panel:

      • Two M2.5x6

      • Six M2x6

      询问修复机器人

      添加评论

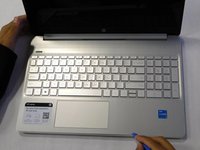
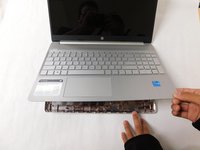
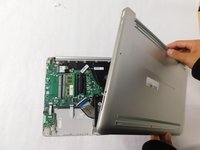
    3. HP 15-dy2702dx Fan Replacement: 步骤 3 中的图像 1,2 HP 15-dy2702dx Fan Replacement: 步骤 3 中的图像 2,2
      • Flip the laptop over and open the lid.

      • Separate the bottom panel from the main body by using the iFixit opening tool.

      • Ensure that the bottom panel is completely separated along the edges.

      询问修复机器人

      添加评论

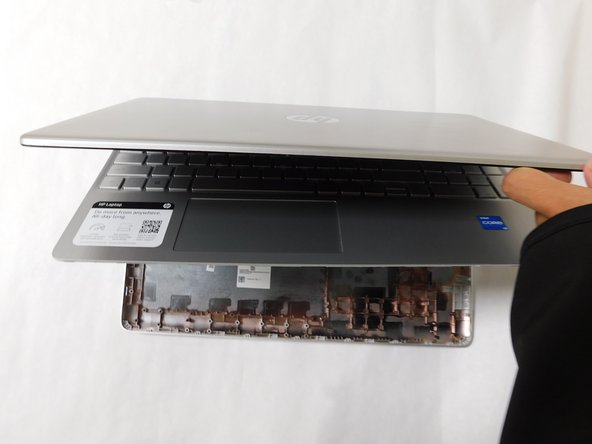
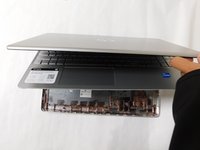
    4. HP 15-dy2702dx Fan Replacement: 步骤 4 中的图像 1,2 HP 15-dy2702dx Fan Replacement: 步骤 4 中的图像 2,2
      • If you can lift the laptop like shown in the first picture, the bottom panel is nearly separated.

      • Close the laptop to allow the back edges to fully separate

      询问修复机器人

      添加评论

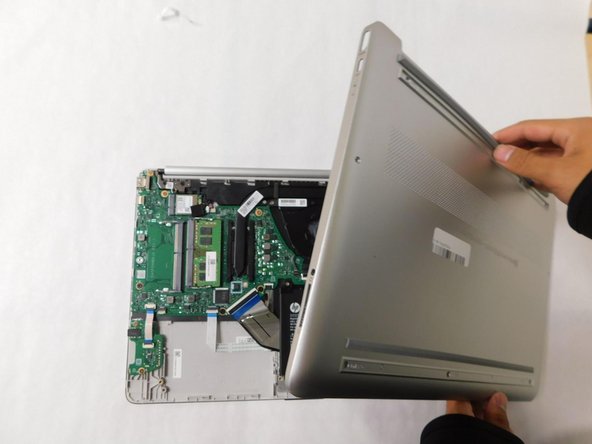
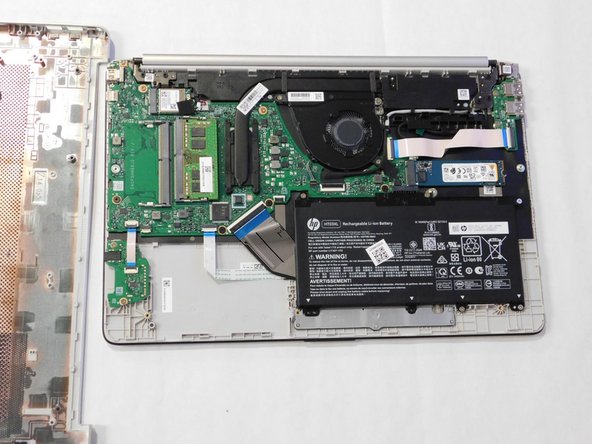
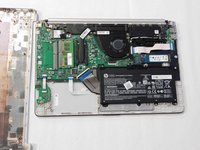
    5. HP 15-dy2702dx Fan Replacement: 步骤 5 中的图像 1,3 HP 15-dy2702dx Fan Replacement: 步骤 5 中的图像 2,3 HP 15-dy2702dx Fan Replacement: 步骤 5 中的图像 3,3
      • Flip the laptop over and carefully remove the lower case.

      询问修复机器人

      添加评论

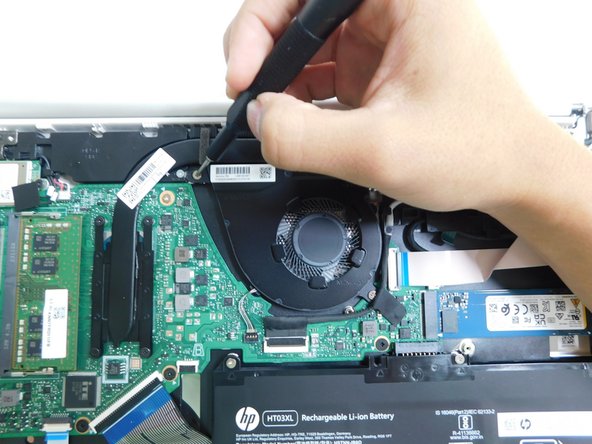
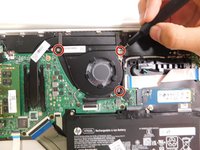
    1. HP 15-dy2702dx Fan Replacement, Fan: 步骤 6 中的图像 1,3 HP 15-dy2702dx Fan Replacement, Fan: 步骤 6 中的图像 2,3 HP 15-dy2702dx Fan Replacement, Fan: 步骤 6 中的图像 3,3
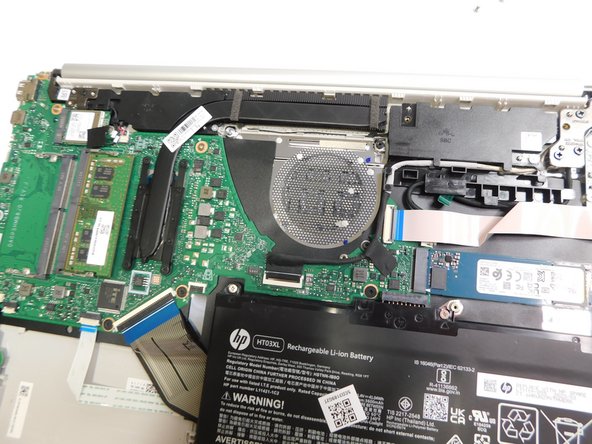
      • Use a Phillips #1 screwdriver to unscrew the three screws that secure the fan.

      • These screws sizes are M2x6.

      询问修复机器人

      添加评论

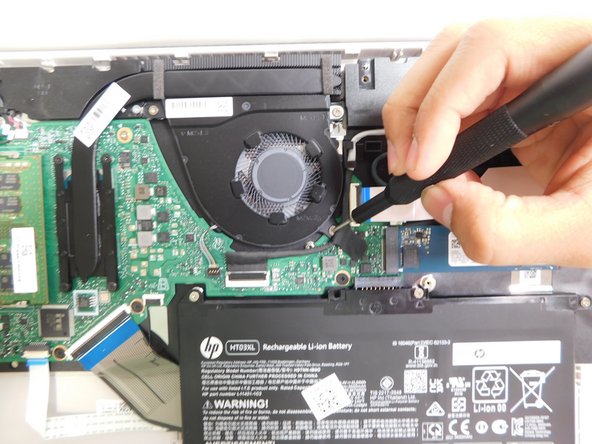
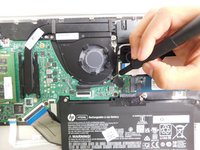
    2. HP 15-dy2702dx Fan Replacement: 步骤 7 中的图像 1,1
      • Grip the cord that connects the fan to the motherboard and gently pull out to disconnect the cable from the connector.

      • Alternatively, we recommend using a tool to push the connector out of its socket to avoid damaging the wires.

      询问修复机器人

      添加评论

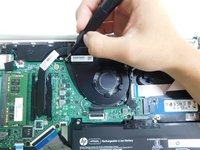
    3. HP 15-dy2702dx Fan Replacement: 步骤 8 中的图像 1,2 HP 15-dy2702dx Fan Replacement: 步骤 8 中的图像 2,2
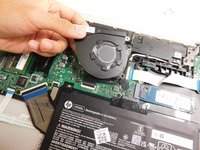
      • Gently lift the fan to remove it from the case.

      询问修复机器人

      添加评论

结论

To reassemble your device, follow these instructions in reverse order.

取消:我没有完成这个指南。

September Oo

于09/07/23注册

418 声望

创作了4篇指南

团队

Gateway, Team 1-4, Pee Fall 2023 Gateway, Team 1-4, Pee Fall 2023 的会员

GCC-PEE-F23S1G4

4 名成员

创作了72篇指南

0指南评论

添加评论

浏览统计数据:

过去 24 小时: 1

过去 7 天: 6

过去 30 天: 26

总计 782