此翻译由机器生成,尚未经过人工审核。 会说这种语言吗? 查看评论。
简介
项目标题:如何更换 HP Pavilion 系列笔记本电脑的键盘
包含内容:
- 检查点照片集(PDF,步骤 1–8):4 张已完成的实操照片(我的 HP Pavilion 笔记本电脑和我的手在画面中),以及为审批后即将添加的最后四张照片预留的标签占位符。
iFixit_Checkpoint_Photo_Set_Nancy_Forvilus-Corvil.pdf - (供你存档的可选支持文档)
• Fast Fix 项目建议书
• iFixit 完整项目 – HP Pavilion 键盘
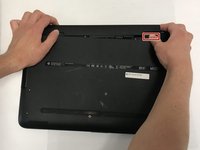
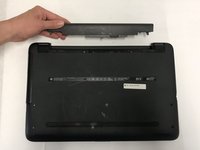
所附照片显示的内容(步骤 1–4 已完成):
- 关闭电源并拔掉 HP Pavilion 的电源线
- 将笔记本电脑翻转以接触底部面板/电池区域
- 识别底部面板螺丝和电池锁扣
- 布置工作区域和零件托盘
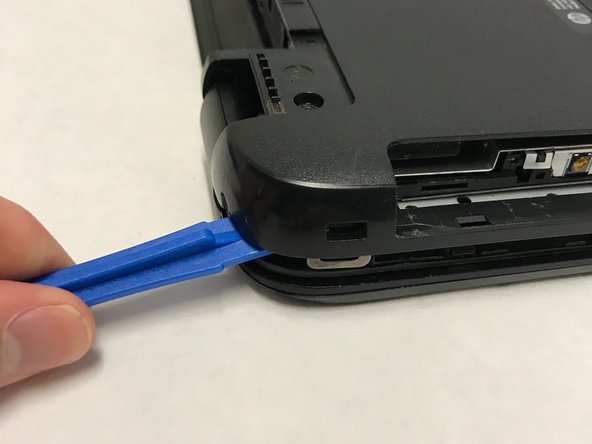
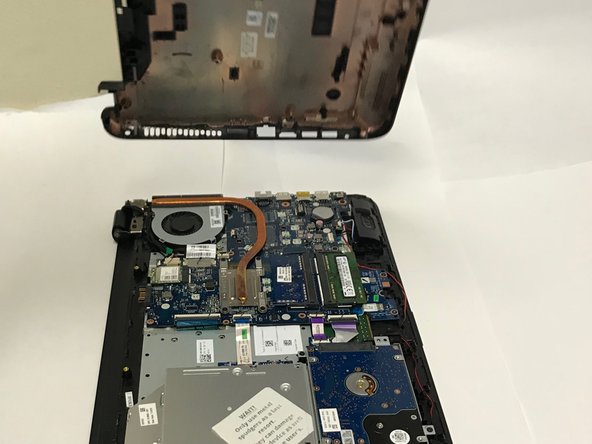
我计划在检查点获得批准后立即添加剩余的照片(拆下盖板、排线解锁/锁定以及最终按键测试)。请告诉我这些内容是否符合 EDU 要求,或者在继续下一步之前你是否需要我进行任何调整。
感谢你的时间!
你所需要的

 询问修复机器人


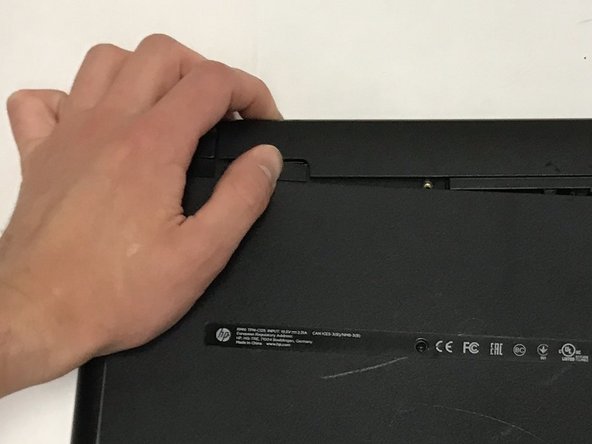
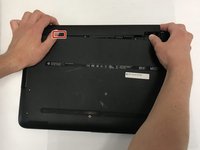
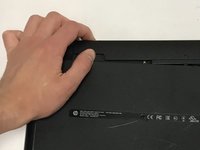

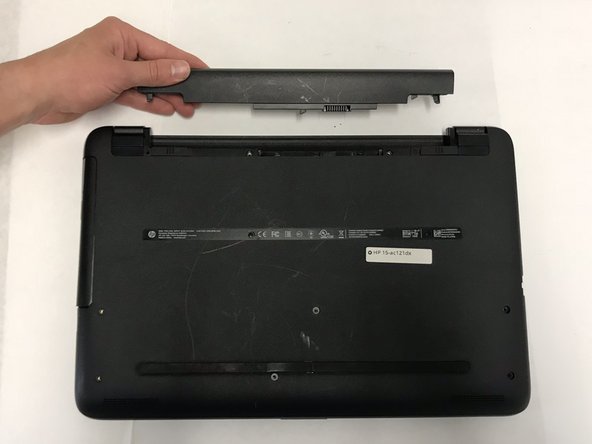


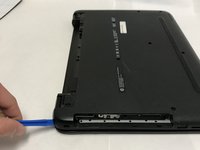
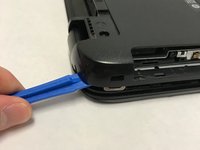
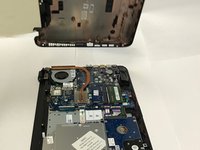

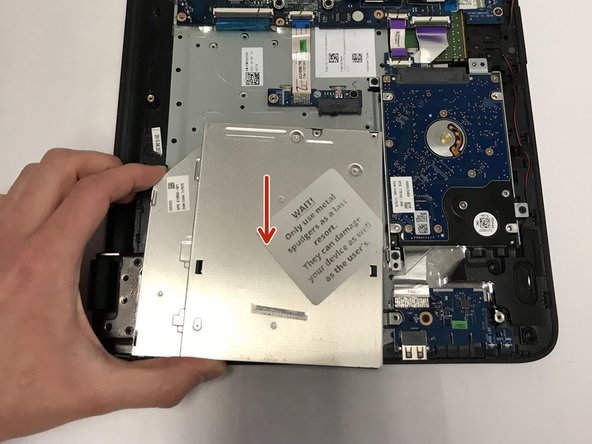
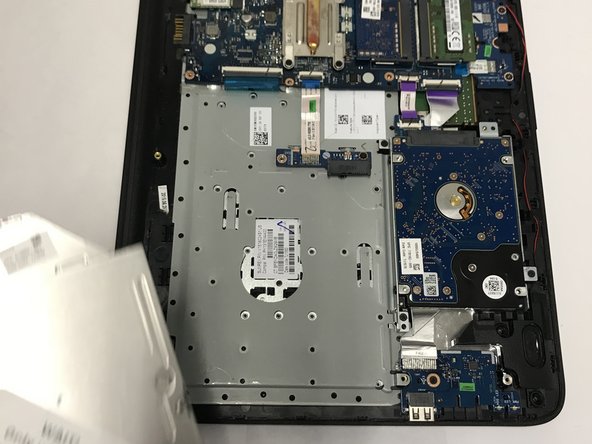
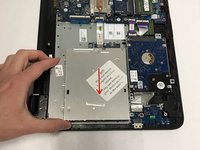
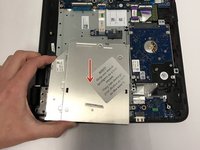
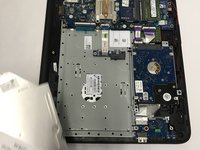


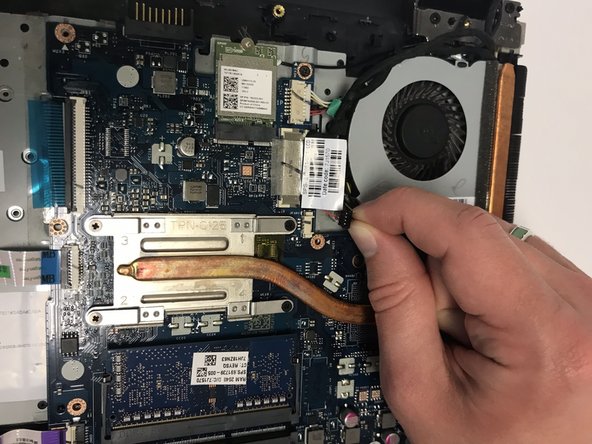
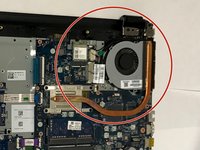
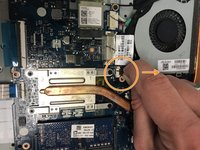
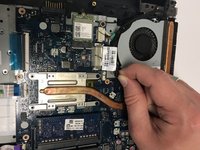

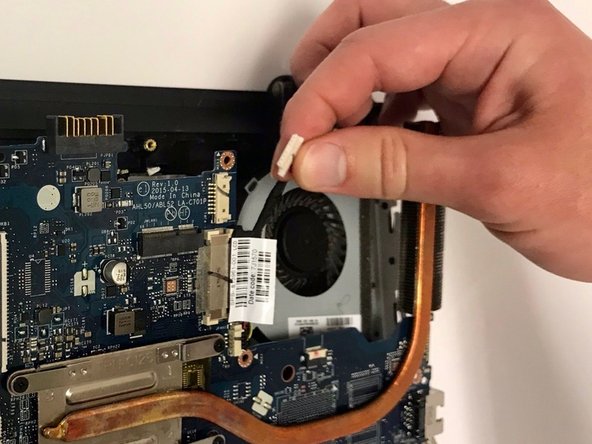
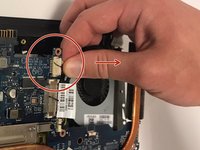
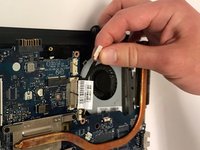

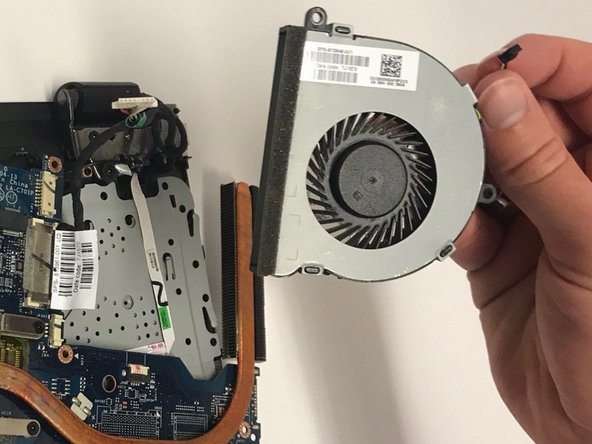
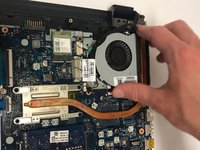
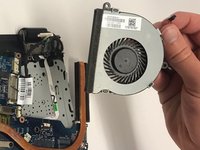


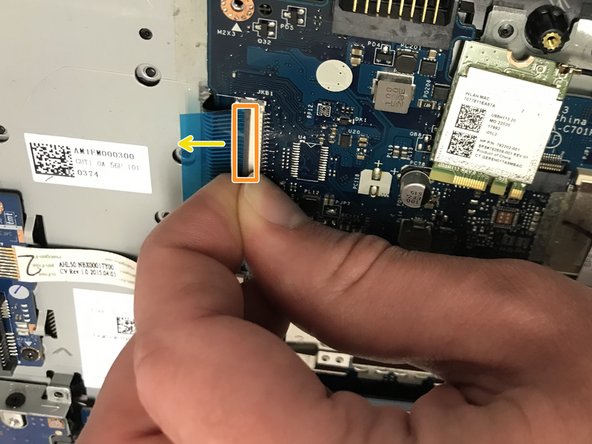
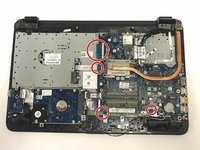
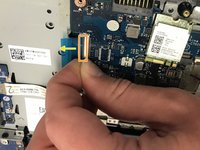

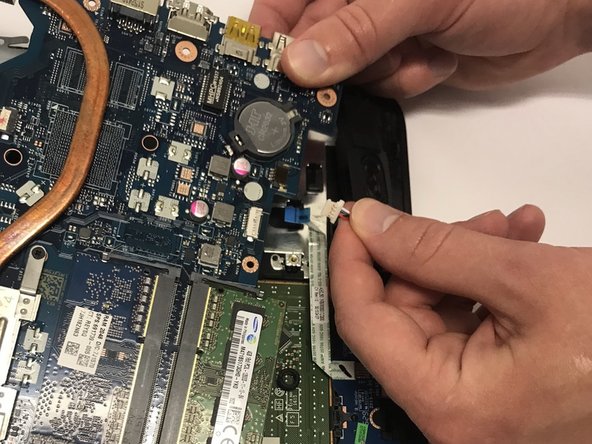
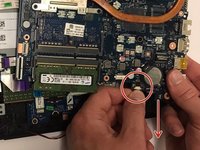
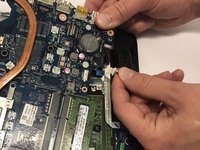


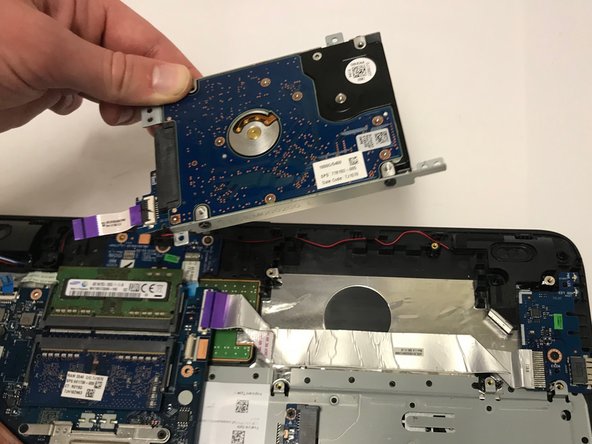
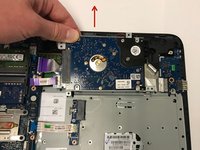
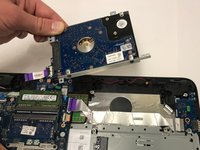

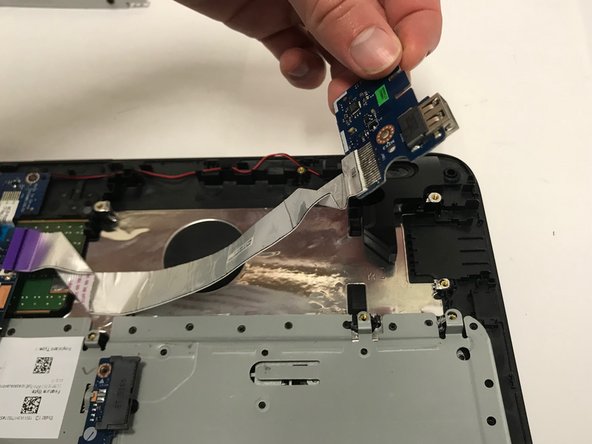
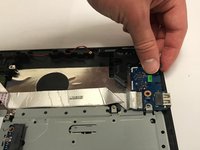
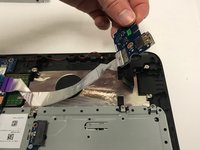

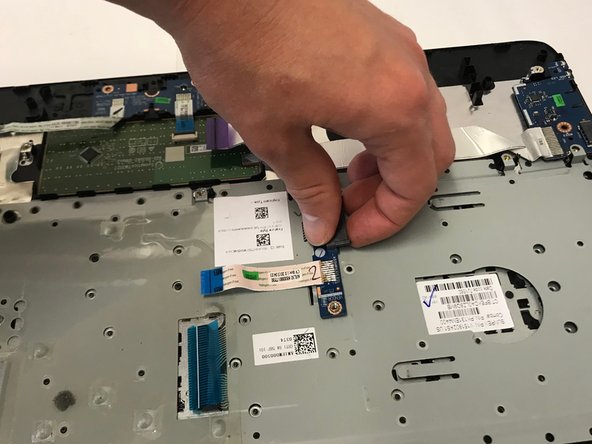
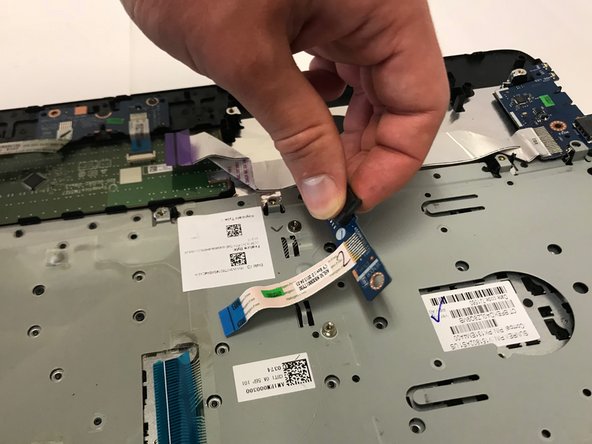
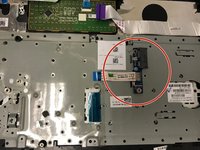
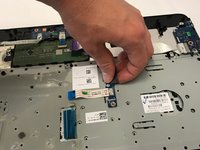
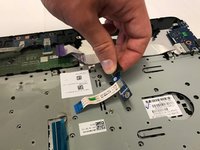

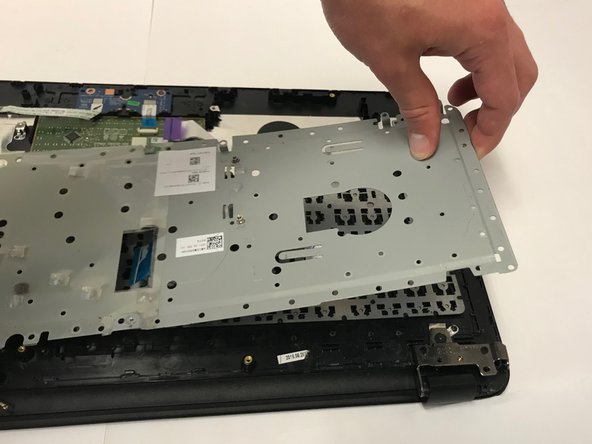
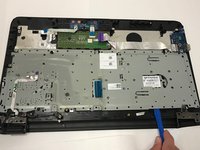
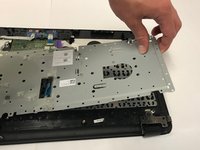

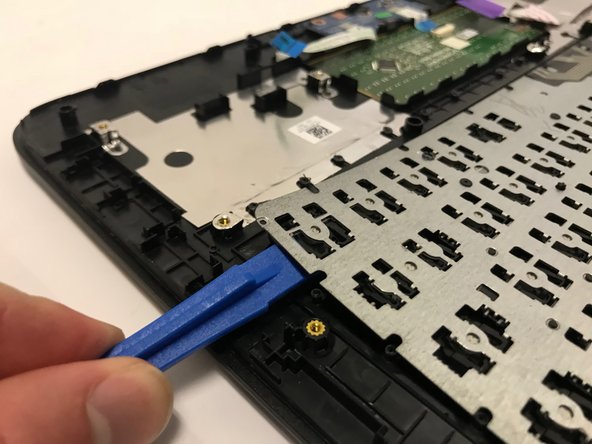

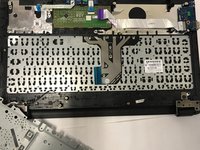
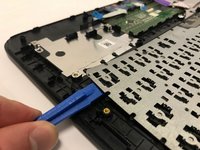
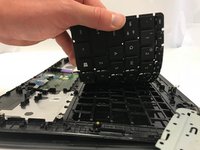
要重新组装设备,请按相反顺序执行这些说明。
7等其他人完成本指南。

团队

Baylor, Team S1-G2, Johnson Spring 2018 Baylor, Team S1-G2, Johnson Spring 2018 的会员
BU-JOHNSON-S18S1G2
3 名成员
创作了72篇指南
3指南评论
Did you have to use soldering iron to melt the plastic rivets when putting back the keyboard?
Cheers.
Lo Yuk Fai - 回复 分享
I have done these before and yes, using a soldering iron to melt the plastic rivets is a good method.
Richard Ness - 回复 分享
Helpful. Too good!
