跳转到主内容
加入维修社区 - 创建账户

HP 15-BA078DX Hard Drive Replacement

你所需要的

    1. HP 15-BA078DX Hard Drive Replacement, Battery: 步骤 1 中的图像 1,3 HP 15-BA078DX Hard Drive Replacement, Battery: 步骤 1 中的图像 2,3 HP 15-BA078DX Hard Drive Replacement, Battery: 步骤 1 中的图像 3,3
      • Unclip the two latches on the bottom of the laptop.

      • Slide the battery straight out while holding the clip open.

      询问修复机器人

      添加评论

    1. HP 15-BA078DX Hard Drive Replacement, Disc Drive: 步骤 2 中的图像 1,1
      • Using the Phillips #0 screwdriver, remove the 7.5mm screw from the underside of the plastic frame that holds the disc tray in place.

      询问修复机器人

      添加评论

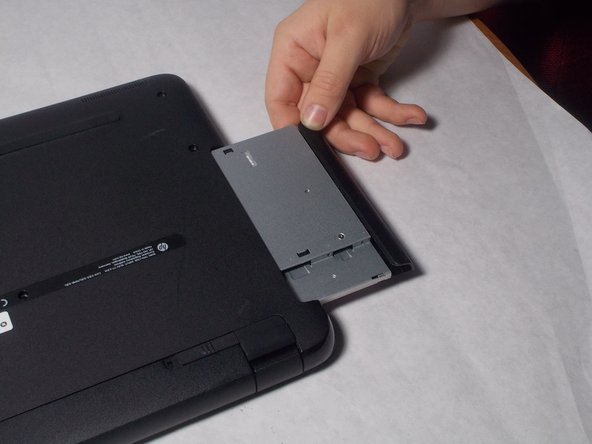
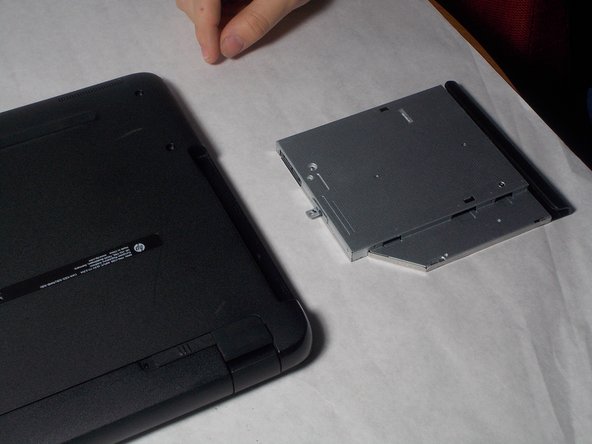
    2. HP 15-BA078DX Hard Drive Replacement: 步骤 3 中的图像 1,3 HP 15-BA078DX Hard Drive Replacement: 步骤 3 中的图像 2,3 HP 15-BA078DX Hard Drive Replacement: 步骤 3 中的图像 3,3
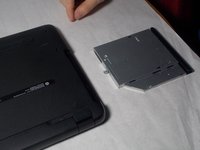
      • Remove the disk tray assembly by sliding it out from the side using the blue plastic opening tool.

      询问修复机器人

      添加评论

    1. HP 15-BA078DX Hard Drive Replacement, Back Panel: 步骤 4 中的图像 1,1
      • Remove all of the remaining back panel screws with a #0 Phillips head screwdriver.

      • Remember to remove the two screws under the rubber feet.

      询问修复机器人

      添加评论

    2. HP 15-BA078DX Hard Drive Replacement: 步骤 5 中的图像 1,3 HP 15-BA078DX Hard Drive Replacement: 步骤 5 中的图像 2,3 HP 15-BA078DX Hard Drive Replacement: 步骤 5 中的图像 3,3
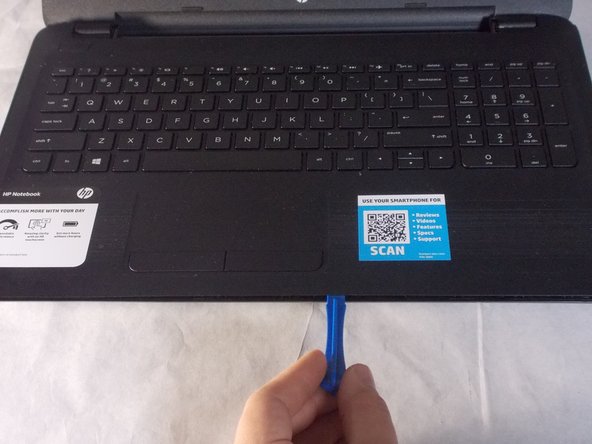
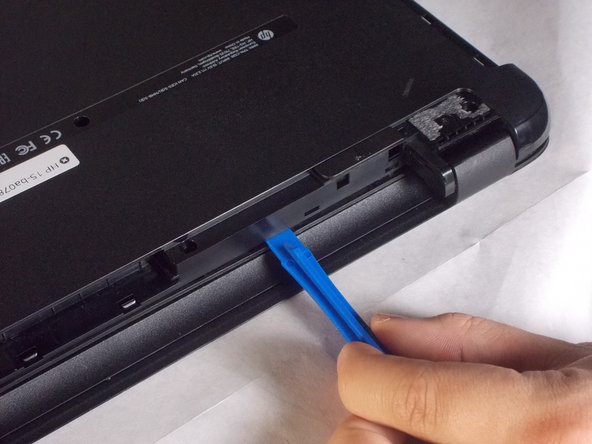
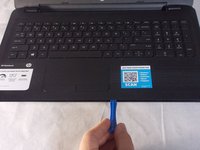
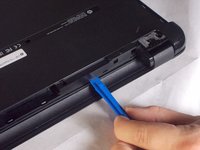
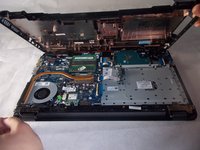
      • Carefully use the blue plastic opening tool to pry the clam shell of the laptop apart.

      • You may need to flip the laptop over to unlatch all of the internal clips.

      询问修复机器人

      添加评论

    3. HP 15-BA078DX Hard Drive Replacement: 步骤 6 中的图像 1,3 HP 15-BA078DX Hard Drive Replacement: 步骤 6 中的图像 2,3 HP 15-BA078DX Hard Drive Replacement: 步骤 6 中的图像 3,3
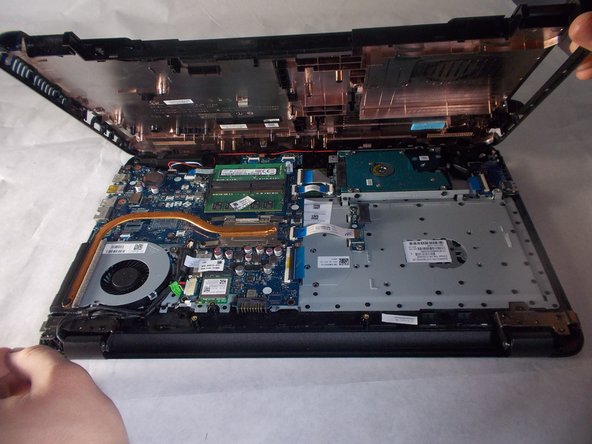
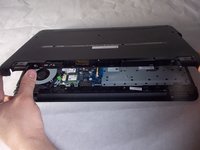
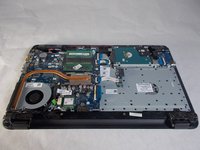
      • Carefully pull the shell of the computer apart.

      询问修复机器人

      添加评论

    1. HP 15-BA078DX Hard Drive Replacement, Hard Drive: 步骤 7 中的图像 1,2 HP 15-BA078DX Hard Drive Replacement, Hard Drive: 步骤 7 中的图像 2,2
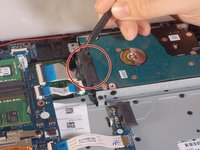
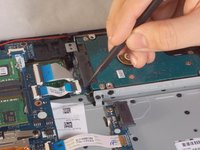
      • Using a black nylon spudger, disconnect the black connector that attaches the hard drive to the motherboard

      询问修复机器人

      添加评论

    2. HP 15-BA078DX Hard Drive Replacement: 步骤 8 中的图像 1,1
      • Using the Phillips #0 screwdriver, unscrew the three screws holding the hard drive down to the board.

      询问修复机器人

      添加评论

    3. HP 15-BA078DX Hard Drive Replacement: 步骤 9 中的图像 1,3 HP 15-BA078DX Hard Drive Replacement: 步骤 9 中的图像 2,3 HP 15-BA078DX Hard Drive Replacement: 步骤 9 中的图像 3,3
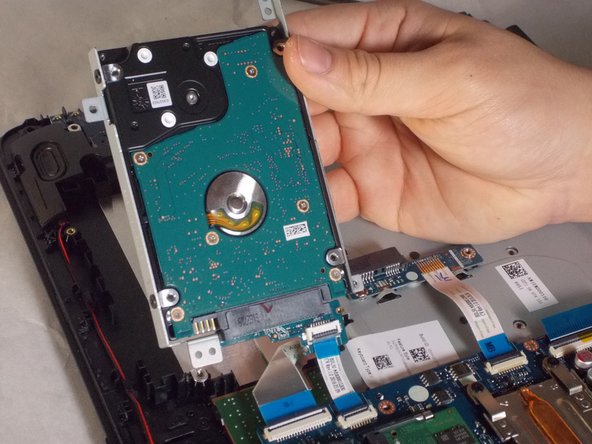
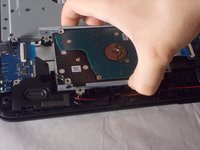
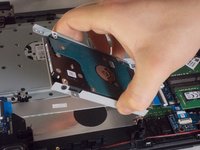
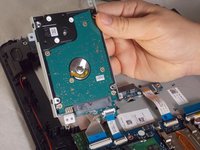
      • Remove the hard drive.

      询问修复机器人

      添加评论

    4. HP 15-BA078DX Hard Drive Replacement: 步骤 10 中的图像 1,2 HP 15-BA078DX Hard Drive Replacement: 步骤 10 中的图像 2,2
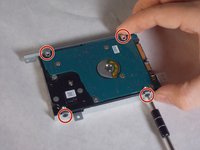
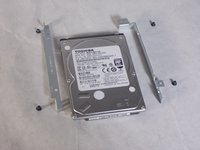
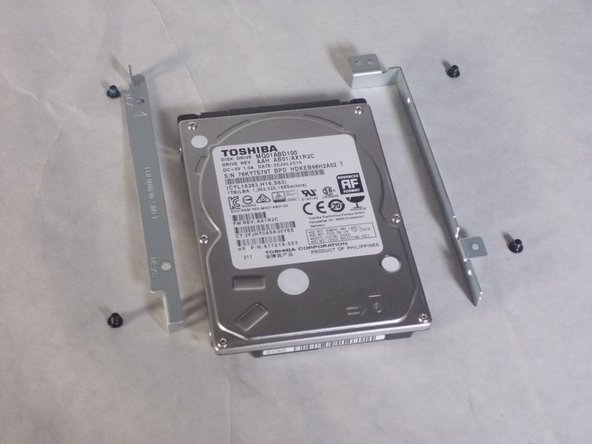
      • Using the Phillips #0 screwdriver, unscrew the four screws from the holding apparatus.

      询问修复机器人

      添加评论

结论

To reassemble your device, follow these instructions in reverse order.

取消:我没有完成这个指南。

3等其他人完成本指南。

团队

UMass Dartmouth, Team S3-G4, Peak Spring 2018 UMass Dartmouth, Team S3-G4, Peak Spring 2018 的会员

UMASSD-PEAK-S18S3G4

3 名成员

创作了54篇指南

3指南评论

Can you provide the HDD model number for replacement? Also the model number or description of a compatible HDD with higher capacity.

Thank You

jcoengineer - 回复 分享

Today, while disassembling my HP 15-BA078DX I had an issue trying to get the shell apart. I didn't realize that there was a screw under each rubber foot by the hinges. It would have saved me a whole lot of trouble had I known that. Very important to get those 2 screws out, otherwise you will risk breaking out the corner on the backside of the keyboard tray....... like I did. Fortunately for me, I was able to use some 2-part epoxy (the kind that works on plastic) to glue the hinge back down to the shell. Had the author pointed out those 2 screws in particular, in the pictorial, things would have gone way easier. Hopefully, this will help the next guy.

Eric S - 回复 分享
btw.........you will also need a #1 phillips screwdriver if you plan on removing the hard drive.

Eric S - 回复 分享

添加评论

浏览统计数据:

过去 24 小时: 1

过去 7 天: 6

过去 30 天: 28

总计 1,642