Continue swinging open the back panel until you can rest it on the left edge the phone, being careful not to put any stress on the attached ribbon cable.
During reassembly, this is a good point to power on your phone and test all functions before re-sealing the back panel. Be sure to power your phone back down completely before you continue working.
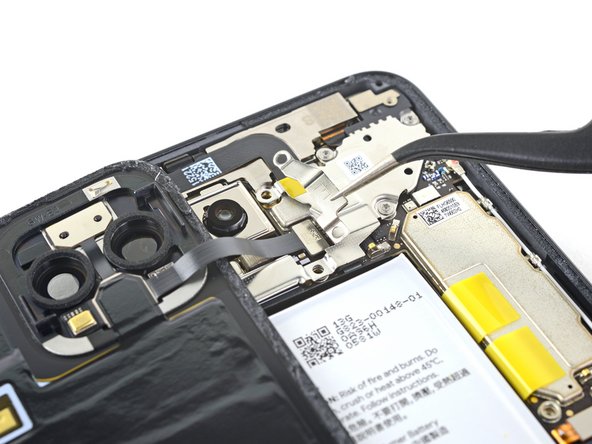
Whenever you use the spudger near the battery, be very careful not to puncture the battery.
Using the pointed end of a spudger, pry the battery connector straight up from the motherboard to disconnect the battery.
To re-attach press connectors like this one, carefully align and press down on one side until it clicks into place, then repeat on the other side. Do not press down on the middle. If the connector is misaligned, the pins can bend, causing permanent damage.
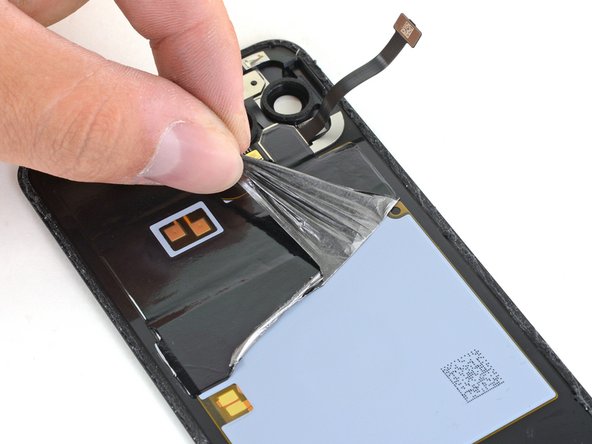
Use tweezers on one of the bottom corners of the wireless charging coil pad to pull up the adhesive backing enough so you can grab it with your fingers.
Peel off and remove the wireless charging coil.
When installing a new wireless charging coil pad, align the contacts with the residue outline left by the old adhesive.
If the contacts don't line up with the corresponding spring contacts on the motherboard, the wireless charging coil will not work properly.