简介
In this step-by-step guide, you will learn how to replace the bottom casing for a Google Cr-48 Chromebook.
*Before starting, please:
- Make sure nothing is attached (such as AC adapter, USB, VGA, audio jack).
- Remove any inserted SD card.
你所需要的
-
-
To take out the battery, slide the switch on the bottom of the laptop.
-
The battery should then pop out and you can remove it.
 询问修复机器人
-
-
在这个步骤中使用的工具:Tweezers$4.99
-
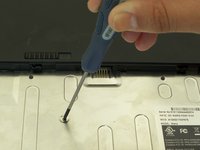
Using a pair of tweezers, remove the two rear rubber feet. You should then see the two screws underneath.
-
-
-
-
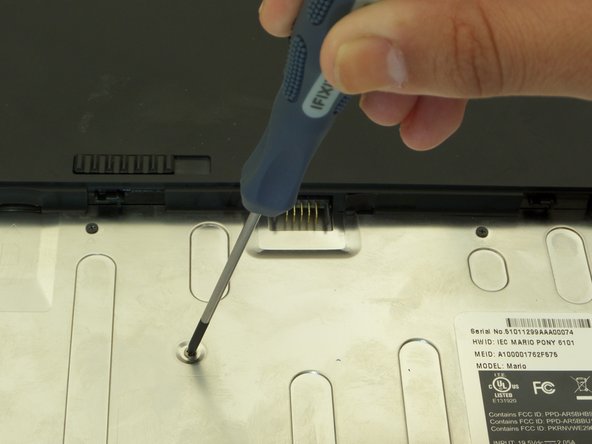
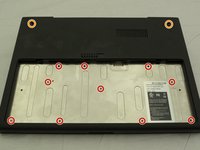
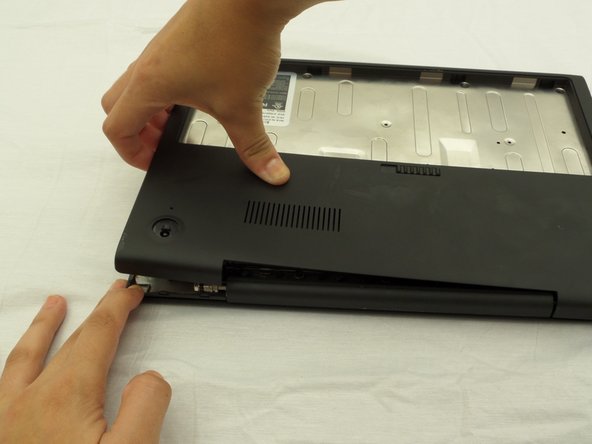
First, position the computer to have the silver battery compartment closest to you. Then, using a Phillips #00 screwdriver, remove the ten 3 mm screws in the battery compartment.
-
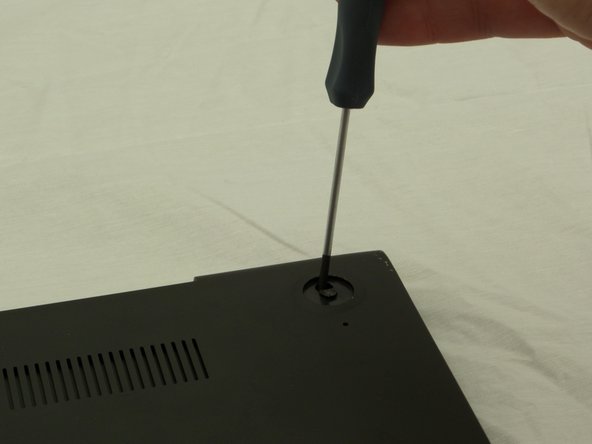
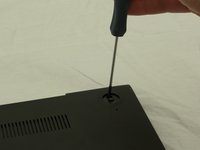
Now, using the same screwdriver, remove the two 4.5 mm screws that were underneath the previously removed rubber feet.
-


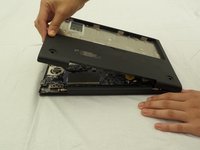
To reassemble your device, follow these instructions in reverse order.
2等其他人完成本指南。
团队

CSU Fullerton, Team 2-2, Bruce Fall 2014 CSU Fullerton, Team 2-2, Bruce Fall 2014 的会员
CSUF-BRUCE-F14S2G2
3 名成员
创作了10篇指南