跳转到主内容
加入维修社区 - 创建账户

GoPro Hero+ LCD Motherboard Replacement

你所需要的

    1. GoPro Hero+ LCD Motherboard Replacement, Back Panel: 步骤 1 中的图像 1,2 GoPro Hero+ LCD Motherboard Replacement, Back Panel: 步骤 1 中的图像 2,2
      • Be sure to power off the GoPro before you start disassembly.

      • Pop up and pull back on the clip to remove the screen cover and expose the back panel with the touchscreen.

      添加评论

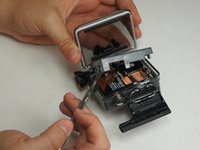
    2. GoPro Hero+ LCD Motherboard Replacement: 步骤 2 中的图像 1,2 GoPro Hero+ LCD Motherboard Replacement: 步骤 2 中的图像 2,2
      • Use the metal spudger to pry around the perimeter of the panel.

      • Pry the panel upwards by inserting the metal spudger into the corner crease between the panel and camera shell.

      询问修复机器人

      添加评论

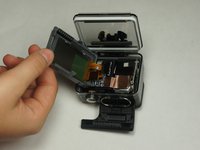
    3. GoPro Hero+ LCD Motherboard Replacement: 步骤 3 中的图像 1,2 GoPro Hero+ LCD Motherboard Replacement: 步骤 3 中的图像 2,2
      • Pry around the panel to ensure it is not attached to the device.

      • Move the panel to the side so you can access the internal components.

      • The panel is still attached to the rest of the device with a ribbon cable, so be sure to not tear or damage the cable.

      添加评论

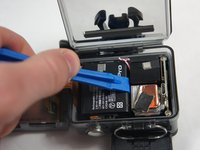
    1. GoPro Hero+ LCD Motherboard Replacement, Battery: 步骤 4 中的图像 1,1
      • Peel back the rear panel ribbon cable that is adhered to the battery until it is completely separated from the battery.

      • Be careful of metal contacts on strip; they can be sharp.

      询问修复机器人

      添加评论

    2. GoPro Hero+ LCD Motherboard Replacement: 步骤 5 中的图像 1,1
      在这个步骤中使用的工具:
      Tweezers
      $4.99
      • Using tweezers, peel off the copper tape on the right side of the battery.

      询问修复机器人

      添加评论

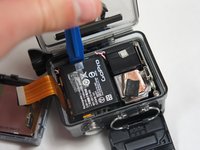
    3. GoPro Hero+ LCD Motherboard Replacement: 步骤 6 中的图像 1,2 GoPro Hero+ LCD Motherboard Replacement: 步骤 6 中的图像 2,2
      • Place the plastic opening tool at one of the edges of the battery then pry until the battery is removed from the GoPro.

      询问修复机器人

      添加评论

    4. GoPro Hero+ LCD Motherboard Replacement: 步骤 7 中的图像 1,1
      • Use a pair of tweezers to disconnect the battery connector from the motherboard.

      • Gently pull the battery off the motherboard. Pulling vertically off the motherboard will give a clean release.

      添加评论

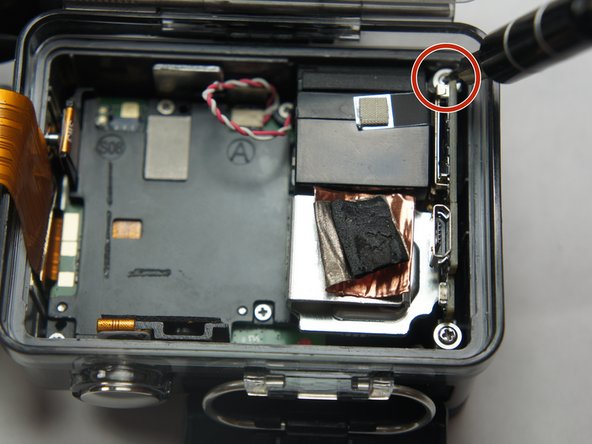
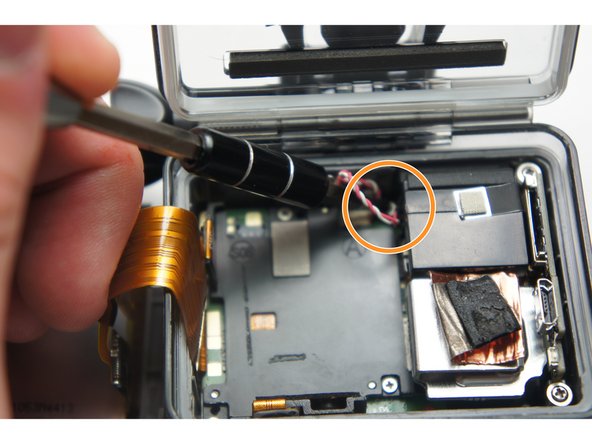
    1. GoPro Hero+ LCD Motherboard Replacement, MicroSD/Micro USB Port Assembly: 步骤 8 中的图像 1,3 GoPro Hero+ LCD Motherboard Replacement, MicroSD/Micro USB Port Assembly: 步骤 8 中的图像 2,3 GoPro Hero+ LCD Motherboard Replacement, MicroSD/Micro USB Port Assembly: 步骤 8 中的图像 3,3
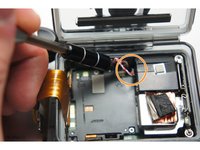
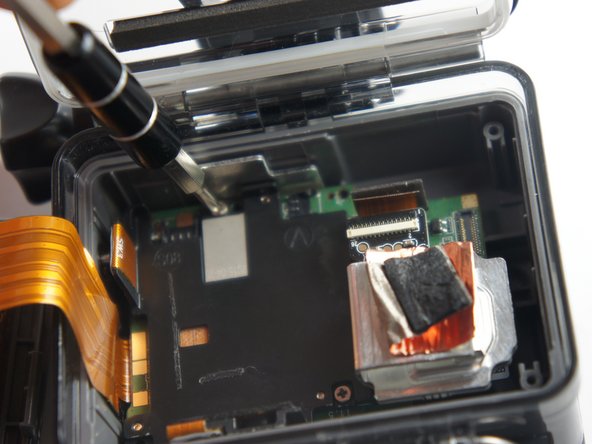
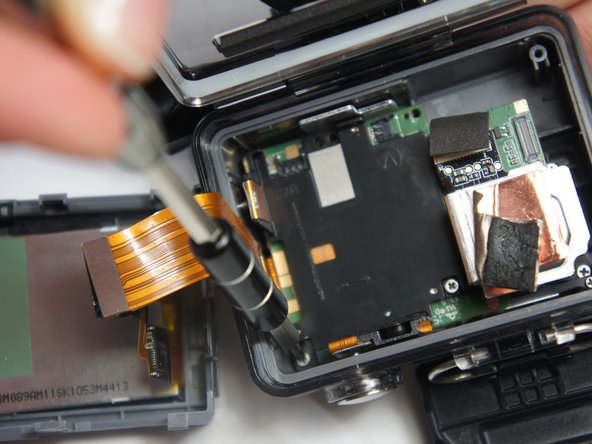
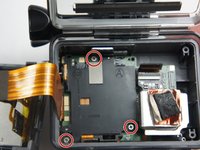
      • Remove the two 6 mm Phillips #00 screws.

      • Remove the single 4 mm Phillips #000 screws.

      询问修复机器人

      添加评论

    2. GoPro Hero+ LCD Motherboard Replacement: 步骤 9 中的图像 1,1
      • Remove the image sensor from the camera.

      • You do not have to unplug the black box to remove the USB/SD chip.

      询问修复机器人

      添加评论

    3. GoPro Hero+ LCD Motherboard Replacement: 步骤 10 中的图像 1,1
      在这个步骤中使用的工具:
      Tweezers
      $4.99
      • Grab the edge of the ribbon cable with the tweezers and gently pull until the cable is disconnected from the motherboard.

      • Be careful when removing the ribbon cable. You must pull gently or you can rip the ribbon off of its contacts.

      询问修复机器人

      添加评论

    4. GoPro Hero+ LCD Motherboard Replacement: 步骤 11 中的图像 1,1
      • Gently lift the microSD/Micro USB assembly up and out of the device.

      询问修复机器人

      添加评论

    1. GoPro Hero+ LCD Motherboard Replacement, Image Sensor: 步骤 12 中的图像 1,1
      • Use your fingers and gently pull out the sensor from the motherboard by slowly and gradually pulling up on the image sensor box.

      • Do not yank on the image sensor, it can rip out the wiring or damage the motherboard.

      询问修复机器人

      添加评论

    1. GoPro Hero+ LCD Motherboard Replacement, Motherboard: 步骤 13 中的图像 1,3 GoPro Hero+ LCD Motherboard Replacement, Motherboard: 步骤 13 中的图像 2,3 GoPro Hero+ LCD Motherboard Replacement, Motherboard: 步骤 13 中的图像 3,3
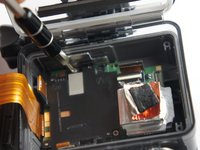
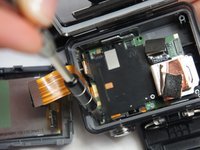
      • Remove the three 4 mm Phillips #000 screws securing the motherboard.

      询问修复机器人

      添加评论

    2. GoPro Hero+ LCD Motherboard Replacement: 步骤 14 中的图像 1,1
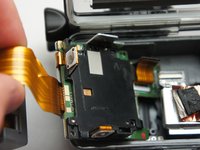
      • Use your fingers to gently remove the ribbon connected to the lens.

      • Be careful when removing the ribbon cable. Pull off gently or you can separate the ribbon from the contacts.

      询问修复机器人

      添加评论

    3. GoPro Hero+ LCD Motherboard Replacement: 步骤 15 中的图像 1,3 GoPro Hero+ LCD Motherboard Replacement: 步骤 15 中的图像 2,3 GoPro Hero+ LCD Motherboard Replacement: 步骤 15 中的图像 3,3
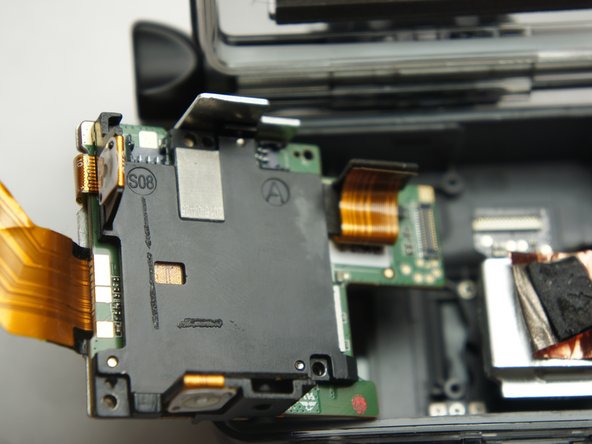
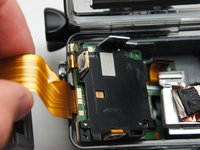
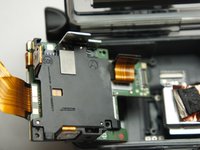
      • Use your fingers and carefully pull out the motherboard from under the lens. It may take a little bit of adjusting to get it out.

      询问修复机器人

      添加评论

结论

To reassemble your device, follow these instructions in reverse order.

取消:我没有完成这个指南。

2等其他人完成本指南。

团队

USF Tampa, Team 2-4, Blackwell Fall 2015 USF Tampa, Team 2-4, Blackwell Fall 2015 的会员

USFT-BLACKWELL-F15S2G4

4 名成员

创作了20篇指南

0指南评论

添加评论

浏览统计数据:

过去 24 小时: 3

过去 7 天: 10

过去 30 天: 40

总计 5,530