跳转到主内容
加入维修社区 - 创建账户

本篇指南是分解流程而非维修指南。 如果您要维修您的glorious Model 02 Pro,应参考我们的维修指南

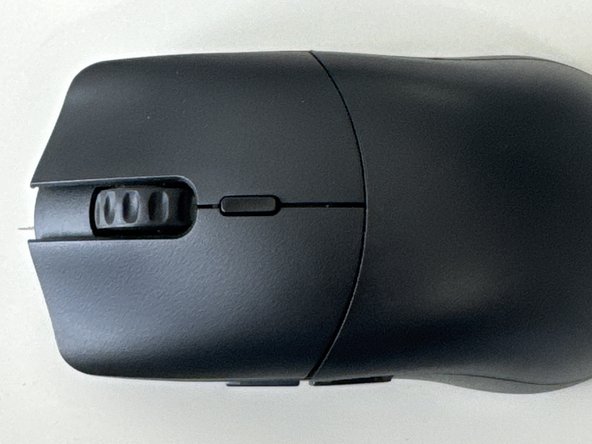
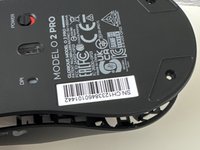
  1. Glorious Model O2 Pro Teardown, Flip Over: 步骤 1 中的图像 1,2 Glorious Model O2 Pro Teardown, Flip Over: 步骤 1 中的图像 2,2
    • Turn the mouse to the bottom

    询问修复机器人

    添加评论

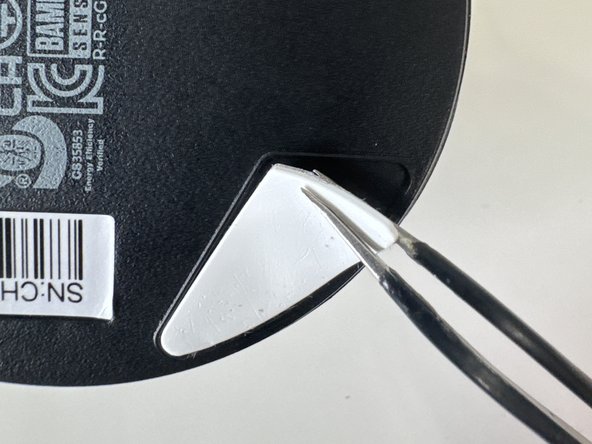
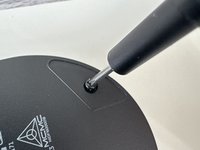
  2. Glorious Model O2 Pro Teardown, Remove feet: 步骤 2 中的图像 1,3 Glorious Model O2 Pro Teardown, Remove feet: 步骤 2 中的图像 2,3 Glorious Model O2 Pro Teardown, Remove feet: 步骤 2 中的图像 3,3
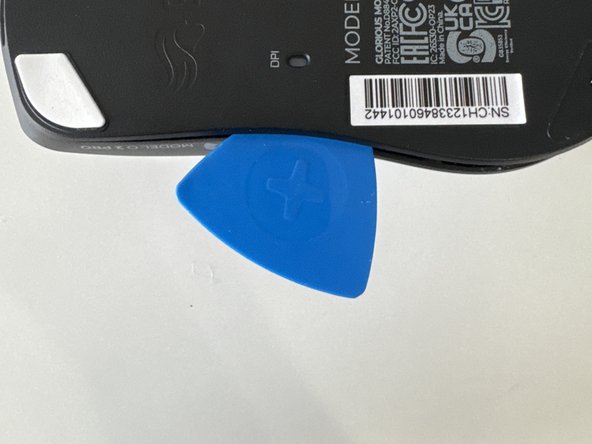
    • Remove top and bottom feet

    • Make sure to keep these and don't loose then

    询问修复机器人
    添加评论

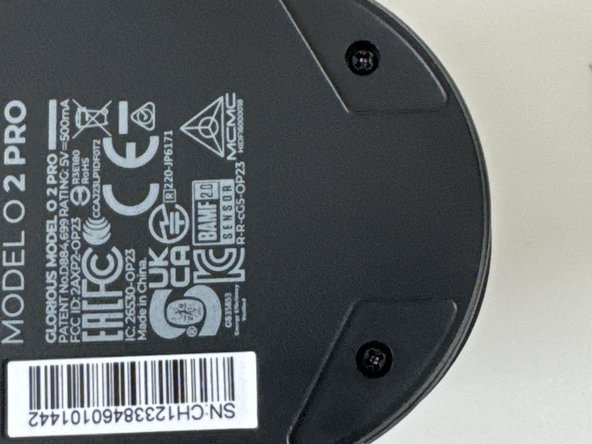
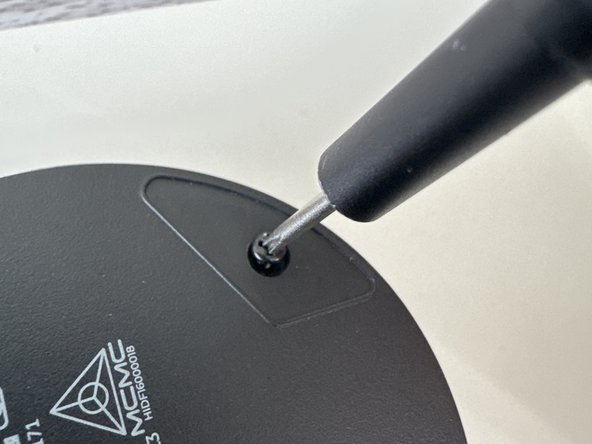
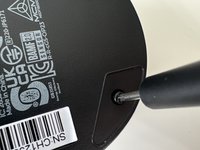
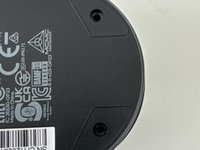
  3. Glorious Model O2 Pro Teardown, Remove Screws: 步骤 3 中的图像 1,3 Glorious Model O2 Pro Teardown, Remove Screws: 步骤 3 中的图像 2,3 Glorious Model O2 Pro Teardown, Remove Screws: 步骤 3 中的图像 3,3
    • Use a PH001 Screwdriver to remove both screws

    询问修复机器人
    添加评论

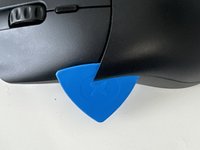
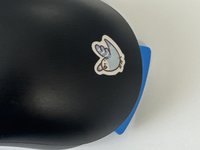
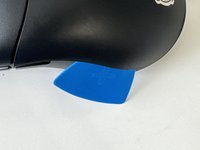
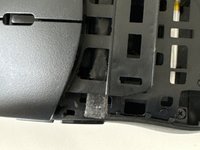
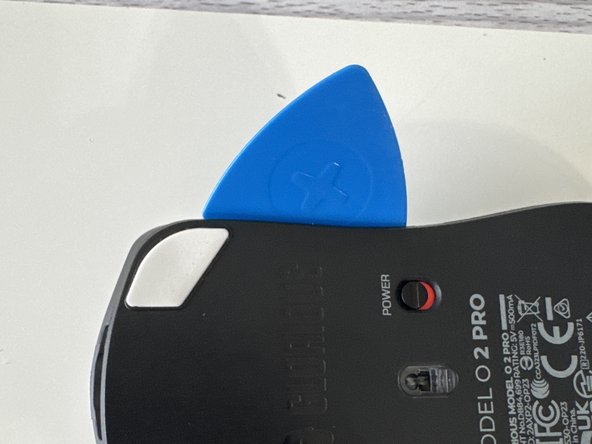
  4. Glorious Model O2 Pro Teardown, Unclip Plastic Piece: 步骤 4 中的图像 1,3 Glorious Model O2 Pro Teardown, Unclip Plastic Piece: 步骤 4 中的图像 2,3 Glorious Model O2 Pro Teardown, Unclip Plastic Piece: 步骤 4 中的图像 3,3
    • (Ignore Bird Sticker)

    • Slide in an opening pick and gently wiggle across the plate

    询问修复机器人
    添加评论

  5. Glorious Model O2 Pro Teardown, Same as step 4: 步骤 5 中的图像 1,1
    • After undoing the last clip the playe should come off to reveal…. (Drum roll) More Clips!

    添加评论

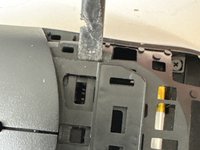
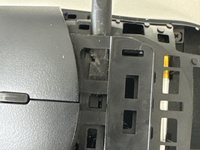
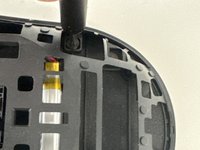
  6. Glorious Model O2 Pro Teardown, Remove Mouse Buttons: 步骤 6 中的图像 1,3 Glorious Model O2 Pro Teardown, Remove Mouse Buttons: 步骤 6 中的图像 2,3 Glorious Model O2 Pro Teardown, Remove Mouse Buttons: 步骤 6 中的图像 3,3
    • Insert a plastic spudger through the clips

    询问修复机器人
    添加评论

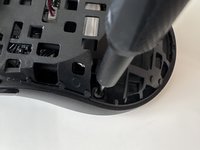
  7. Glorious Model O2 Pro Teardown, Unscew: 步骤 7 中的图像 1,3 Glorious Model O2 Pro Teardown, Unscew: 步骤 7 中的图像 2,3 Glorious Model O2 Pro Teardown, Unscew: 步骤 7 中的图像 3,3
    • Make sure to get the 4th one that is horizontally straight from the other top screw

    • Keep these screws separate from the ones from the start these 4 are slightly smaller

    询问修复机器人
    添加评论

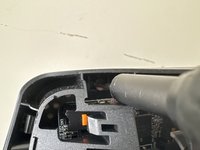
  8. Glorious Model O2 Pro Teardown, Remove Inner shell: 步骤 8 中的图像 1,3 Glorious Model O2 Pro Teardown, Remove Inner shell: 步骤 8 中的图像 2,3 Glorious Model O2 Pro Teardown, Remove Inner shell: 步骤 8 中的图像 3,3
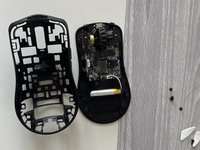
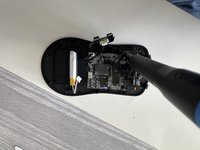
    • Do a combination of using the puck and prying with your hands use caution because the motherboard and battery cables can be damaged

    询问修复机器人

    添加评论

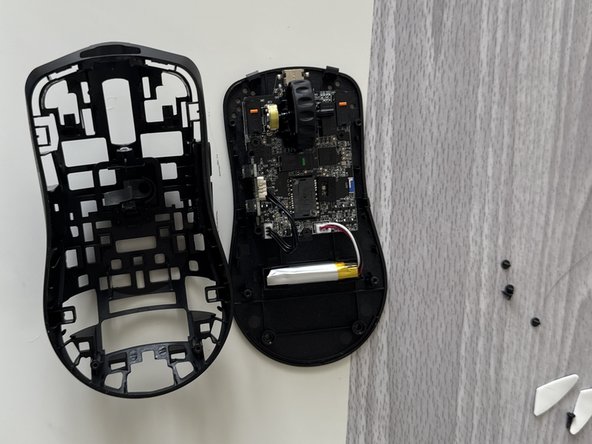
  9. Glorious Model O2 Pro Teardown, Remove housing: 步骤 9 中的图像 1,2 Glorious Model O2 Pro Teardown, Remove housing: 步骤 9 中的图像 2,2
    • Lift it from the housing

    询问修复机器人
    添加评论

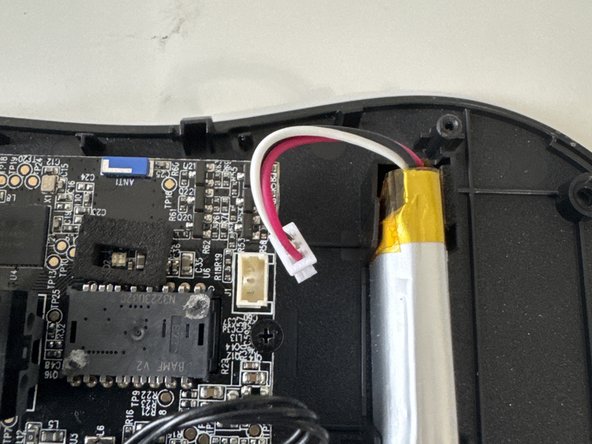
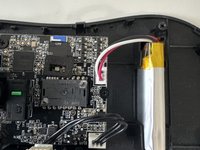
  10. Glorious Model O2 Pro Teardown, Unplug battery: 步骤 10 中的图像 1,2 Glorious Model O2 Pro Teardown, Unplug battery: 步骤 10 中的图像 2,2
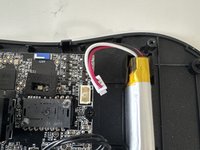
    • Unplug the JST connector from the lipo-cell battery

    询问修复机器人

    添加评论

  11. Glorious Model O2 Pro Teardown, Remove mainboard: 步骤 11 中的图像 1,2 Glorious Model O2 Pro Teardown, Remove mainboard: 步骤 11 中的图像 2,2
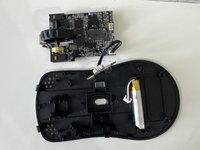
    • Unscew the 3 smaller screws then remove mainboard from housing

    • Thanks for reading my first ifixit guide (R.I.P my prying puck)

    询问修复机器人

    添加评论

0DanDan0

于08/17/23注册

274 声望

撰写一个指南

3指南评论

They removed the last photo with all the pieces 😭

0DanDan0 - 回复 分享

can you send me the photo with all the pieces?

Fok Pop - 回复 分享

Dont think i can...

0DanDan0 - 回复 分享

添加评论

浏览统计数据:

过去 24 小时: 5

过去 7 天: 30

过去 30 天: 148

总计 2,579