跳转到主内容

GeeksPhone Keon Screen Replacement

你所需要的

  1. GeeksPhone Keon Screen Replacement, Battery: 步骤 1 中的图像 1,2 GeeksPhone Keon Screen Replacement, Battery: 步骤 1 中的图像 2,2
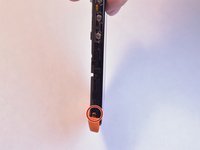
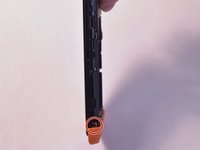
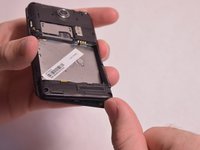
    • Insert the plastic opening tool into the seam between the front of the device and the rear cover.

    • Slide the plastic opening tool from the bottom of the phone to the top.

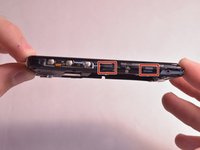
    • Use the plastic opening tool to free all the clips attached to the phone.

  2. GeeksPhone Keon Screen Replacement: 步骤 2 中的图像 1,1
    • Lift the cover away from the phone.

  3. GeeksPhone Keon Screen Replacement: 步骤 3 中的图像 1,1
    • Insert the plastic opening tool into the groove between the bottom of the phone and the battery.

    • Lift the battery with the plastic opening tool and finish removing battery by hand.

  4. GeeksPhone Keon Screen Replacement, Back Plate: 步骤 4 中的图像 1,2 GeeksPhone Keon Screen Replacement, Back Plate: 步骤 4 中的图像 2,2
    • Remove the two 5mm T4 screws on the sides of the small orange plate.

  5. GeeksPhone Keon Screen Replacement: 步骤 5 中的图像 1,2 GeeksPhone Keon Screen Replacement: 步骤 5 中的图像 2,2
    • Gently remove the small orange plate by pulling it down.

  6. GeeksPhone Keon Screen Replacement: 步骤 6 中的图像 1,1
    • Remove the following screws securing the back plate to the device:

    • Two silver 2mm T3 screws

    • Five black 3mm T3 screws

  7. GeeksPhone Keon Screen Replacement: 步骤 7 中的图像 1,3 GeeksPhone Keon Screen Replacement: 步骤 7 中的图像 2,3 GeeksPhone Keon Screen Replacement: 步骤 7 中的图像 3,3
    • Slightly lift up the bottom corner of the backplate.

    • Release the four clips on both sides by pulling them away from the device.

  8. GeeksPhone Keon Screen Replacement: 步骤 8 中的图像 1,2 GeeksPhone Keon Screen Replacement: 步骤 8 中的图像 2,2
    • Lift the backplate away from the device.

  9. GeeksPhone Keon Screen Replacement, Motherboard: 步骤 9 中的图像 1,2 GeeksPhone Keon Screen Replacement, Motherboard: 步骤 9 中的图像 2,2
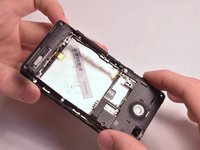
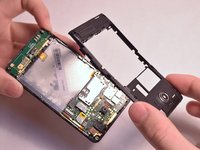
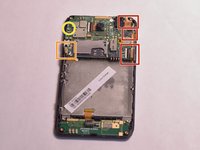
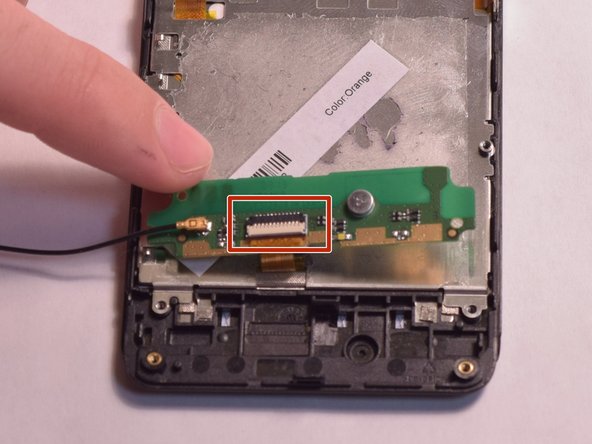
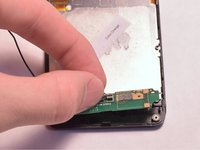
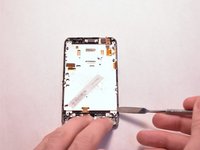
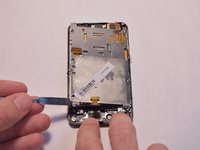
    • Remove the three connections from the back of the motherboard by using the tip of a spudger or your fingernail to flip up the small retaining flap. Then pull the ribbon cable out.

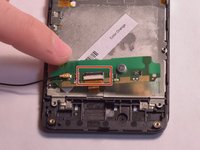
    • Remove the wire from the bottom left of the motherboard by lifting it away from the device.

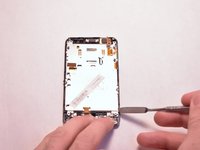
    • Remove the 2mm T3 screw in the upper left corner of the motherboard.

  10. GeeksPhone Keon Screen Replacement: 步骤 10 中的图像 1,1
    • Lift the motherboard and remove the connector on the back by using the tip of a spudger or your fingernail to flip up the small retaining flap. Then pull the ribbon cable out.

  11. GeeksPhone Keon Screen Replacement: 步骤 11 中的图像 1,1
    • Remove the motherboard from the device.

  12. GeeksPhone Keon Screen Replacement, Antenna: 步骤 12 中的图像 1,1
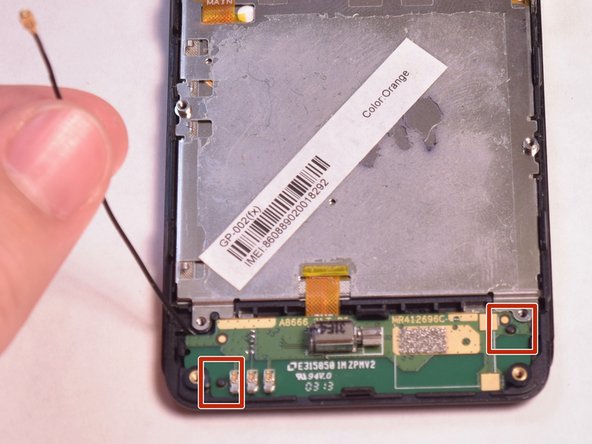
    • Unfasten the black wire from the metal clamps by hand and lift the black wire away from the device.

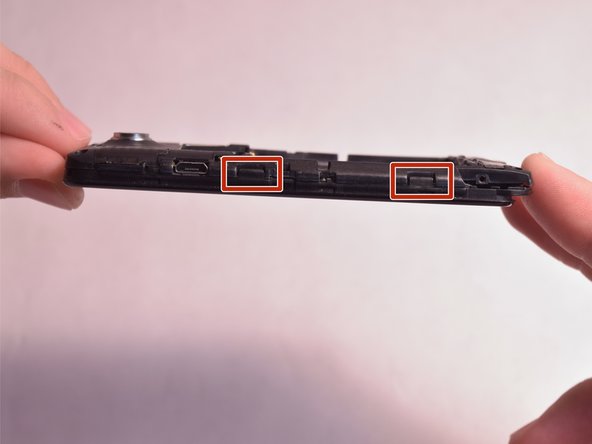
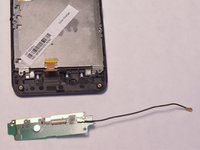
    • Unfasten the plastic clamps attached to the antenna.

  13. GeeksPhone Keon Screen Replacement: 步骤 13 中的图像 1,3 GeeksPhone Keon Screen Replacement: 步骤 13 中的图像 2,3 GeeksPhone Keon Screen Replacement: 步骤 13 中的图像 3,3
    • Gently lift the antenna and flip it over to reveal a ZIF connector on the back.

    • Flip up the small retaining flap on the ZIF connector and pull the ribbon cable out.

  14. GeeksPhone Keon Screen Replacement, Screen: 步骤 14 中的图像 1,2 GeeksPhone Keon Screen Replacement, Screen: 步骤 14 中的图像 2,2
    • Use the metal spudger to gently lift up the back of the screen.

  15. GeeksPhone Keon Screen Replacement: 步骤 15 中的图像 1,2 GeeksPhone Keon Screen Replacement: 步骤 15 中的图像 2,2
    • Continue to lift up the screen until it is loose from the device.

结论

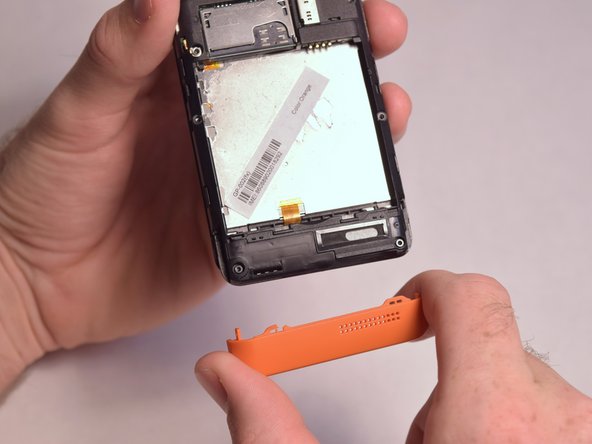
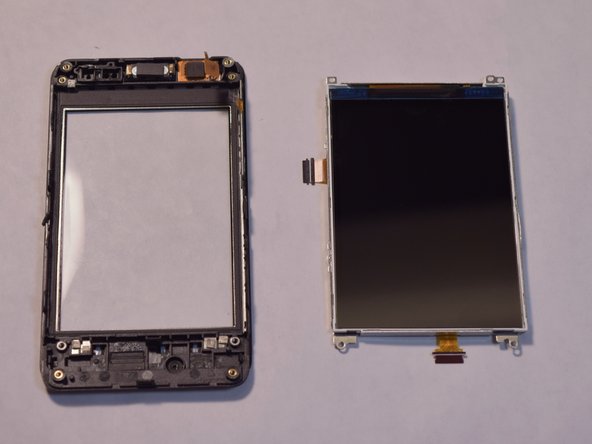
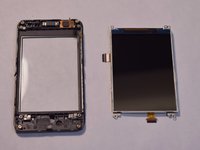
To reassemble your device, follow these instructions in reverse order.

DavidDrash

于08/26/15注册

263 声望

撰写一个指南

团队

USF Tampa, Team 3-5, Eyestone Fall 2015 USF Tampa, Team 3-5, Eyestone Fall 2015 的会员

USFT-EYESTONE-F15S3G5

4 名成员

创作了12篇指南

0条评论

添加评论

浏览统计数据:

过去 24 小时: 0

过去 7 天: 1

过去 30 天: 1

总计 182