跳转到主内容
加入维修社区 - 创建账户

Garmin Nuvi 680 Screen Replacement

你所需要的

    1. Garmin Nuvi 680 Screen Replacement, Outer Case: 步骤 1 中的图像 1,1
      • Locate the antenna on the back of the device and gently flip it open to reveal the screws underneath.

      • Remove the two 4.42 mm screws in the top-left and top-right corners of the antenna cover using a T5 Torx screwdriver

      询问修复机器人

      添加评论

    2. Garmin Nuvi 680 Screen Replacement: 步骤 2 中的图像 1,1
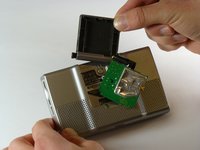
      • Remove the antenna cover.

      • Set the removed cover aside carefully.

      询问修复机器人

      添加评论

    3. Garmin Nuvi 680 Screen Replacement: 步骤 3 中的图像 1,1
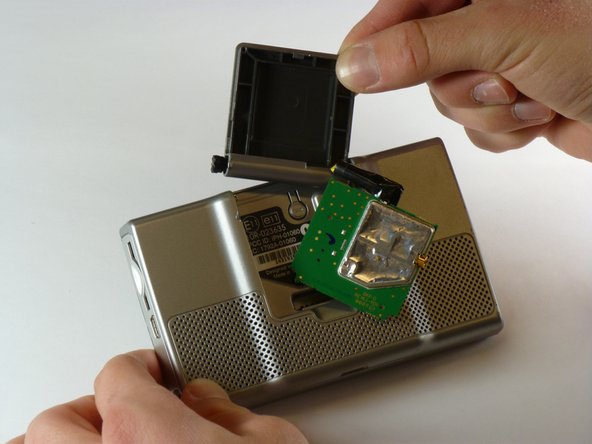
      • The yellow wire is connected to the motherboard. Do not disconnect it until you finish opening the device.

      • Locate the green antenna circuit board in the middle of the case.

      • Gently use 1 or 2 fingers to grab and pull the antenna circuit board out of the middle of the case.

      询问修复机器人

      添加评论

    4. Garmin Nuvi 680 Screen Replacement: 步骤 4 中的图像 1,2 Garmin Nuvi 680 Screen Replacement: 步骤 4 中的图像 2,2
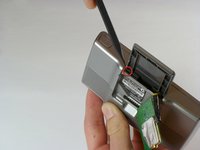
      • Insert the pointed end of a spudger into the leftmost slit at the top of the antenna case, where you previously removed the circuit board

      • Once the spudger is inserted into the leftmost end of the slit at the top of the antenna case, slide it to the rightmost side of the slit.

      • Slide the antenna case out slowly or you may lose the antenna's spring. The spring is inside the black plastic that holds the antenna case to the device.

      • Slide the antenna case out of the device.

      • Reinstallation tip: first reassemble the antenna casing (place antenna back into its plastic cover), and then re-insert the entire assembly back into the GPS body.

      询问修复机器人

      添加评论

    5. Garmin Nuvi 680 Screen Replacement: 步骤 5 中的图像 1,1
      • Identify the antenna assembly, which is now exposed after removing the antenna cover.

      • The two screws are positioned at the top-left and top-right corners of the antenna assembly

      • Use a T5 Torx screwdriver to remove the 10.82 mm screws from the top-left and top-right corners of the antenna assembly.

      询问修复机器人

      添加评论

    6. Garmin Nuvi 680 Screen Replacement: 步骤 6 中的图像 1,2 Garmin Nuvi 680 Screen Replacement: 步骤 6 中的图像 2,2
      • Locate the top side of the outer case.

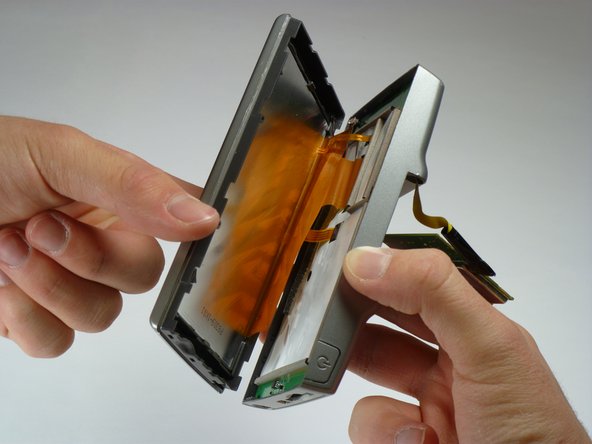
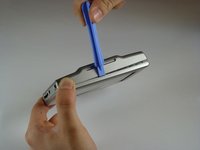
      • Using your iFixit Opening Tool, gently insert a flat end of the tool into the slit of the top cover.

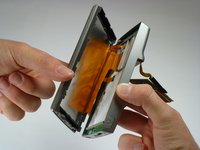
      • Use the Opening Tool and your hands to pull apart the front and back of the device. Grip the top and bottom sides with your hand while inserting the tool into the slit to gently separate the two halves

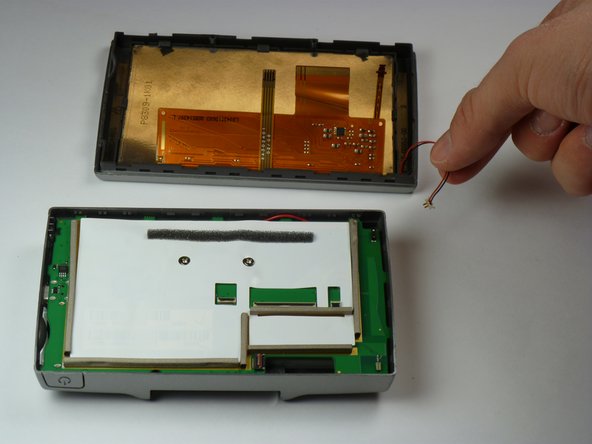
      • One end of the front and back of the outer case are still connected by ribbon cables.

      询问修复机器人

      添加评论

    1. Garmin Nuvi 680 Screen Replacement, Antenna: 步骤 7 中的图像 1,2 Garmin Nuvi 680 Screen Replacement, Antenna: 步骤 7 中的图像 2,2
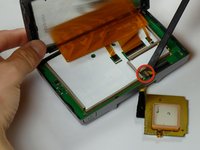
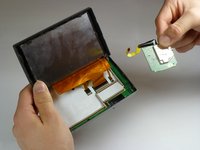
      • Use a spudger to disconnect the yellow antenna wire from the ZIF connector by opening the brown latch holding the wire in place.

      • Remove the antenna.

      添加评论

    1. Garmin Nuvi 680 Screen Replacement, Screen Wiring: 步骤 8 中的图像 1,1
      • Do not remove the ribbon cables without lifting the latch or the cable will be damaged.

      • Lift the latches on the ribbon cable connectors. All the ribbon cables may have latches. The right most latch may have a latch that flips in the opposite direction from the others.

      • Gently pull the ribbon cables out of their connectors. They should slide out easily.

      • Do not separate the two halves of the device yet or the on/off cable may be severed.

      询问修复机器人

      添加评论

    2. Garmin Nuvi 680 Screen Replacement: 步骤 9 中的图像 1,2 Garmin Nuvi 680 Screen Replacement: 步骤 9 中的图像 2,2
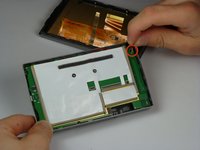
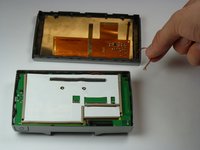
      • Gently pull the cable for the on/off button straight up to remove it.

      • The two halves of the device may now be separated.

      询问修复机器人

      添加评论

    1. Garmin Nuvi 680 Screen Replacement, Screen: 步骤 10 中的图像 1,2 Garmin Nuvi 680 Screen Replacement, Screen: 步骤 10 中的图像 2,2
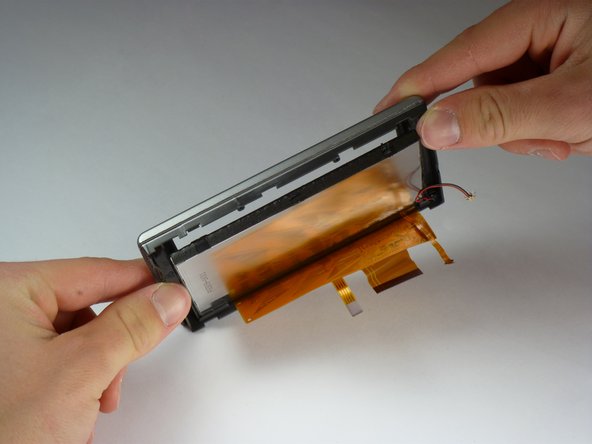
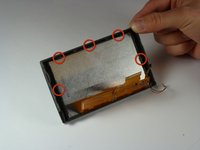
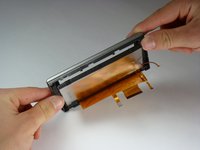
      • Push the tabs towards the outside of the case, the tabs are located as shown.

      • Push the screen out of the case after the tabs are loosened.

      • Slide the screen out of the cover.

      询问修复机器人

      添加评论

结论

To reassemble your device, follow these instructions in reverse order.

取消:我没有完成这个指南。

4等其他人完成本指南。

团队

Cal Poly, Team 5-22, Amido Winter 2011 Cal Poly, Team 5-22, Amido Winter 2011 的会员

CPSU-AMIDO-W11S5G22

5 名成员

创作了21篇指南

1指南评论

Great instructions, thank you

I was able to fix my GPS which I thought was headed for the recyclers.

Saved me from purchasing a replacement.

knockout - 回复 分享

添加评论

浏览统计数据:

过去 24 小时: 1

过去 7 天: 10

过去 30 天: 39

总计 10,980