简介
You can use this guide to replace the charging port on the Fusion5 5.5 Gen II device.
Refer to this troubleshooting page to determine if a replacement is necessary.
Before you begin, be sure to power off your device and ground yourself so that you won’t unintentionally damage the device.
Because this guide involves soldering, be sure to follow these soldering safety tips to protect yourself from hazards that may ensue. If you don’t know how to solder, check out this guide on “How To Solder and Desolder Connections”.
To properly dispose of any electronic waste, refer to this EPA website.
你所需要的
-
-
Hold the device with the screen facing away from you and the back of the device facing you.
-
Locate the groove at the bottom corner of the device.
-
Begin prying the back cover of the device off from the groove and working your way around the outside edges of the device.
-
-
-
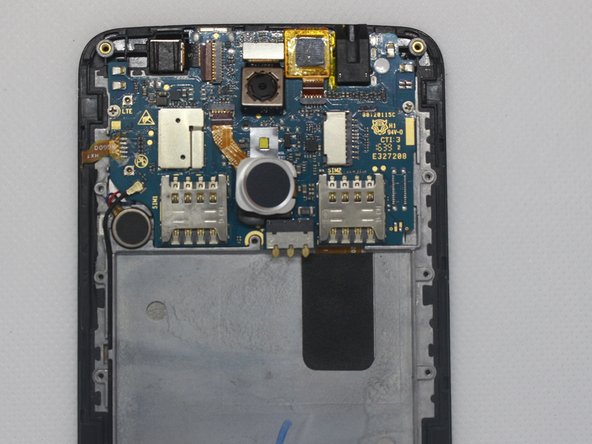
Remove thirteen 3mm Phillips #00 screws from the midframe.
-
Remove the single 5mm Phillips #0 screw below the camera.
-
-
-
-
Using tweezers, flip the brown tab securing the ribbon cable.
-
Grab the ribbon cable with the tweezers and pull it from its socket on the motherboard.
-
-
-
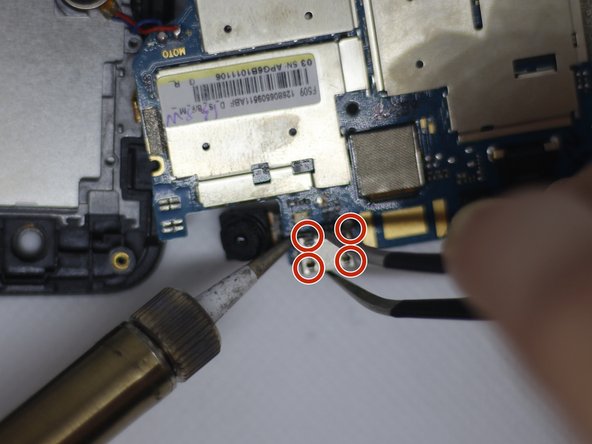
Using the tweezers and soldering iron, desolder the charging port at all 4 soldering points on each corner of the charging port.
-


To reassemble your device, follow these instructions in reverse order.
To reassemble your device, follow these instructions in reverse order.

团队

Embry-Riddle Aeronautical University, Team S8-G1, Salas Fall 2019 Embry-Riddle Aeronautical University, Team S8-G1, Salas Fall 2019 的会员
ERAU-SALAS-F19S8G1
4 名成员
创作了14篇指南