跳转到主内容

Fan Replacement

你所需要的

  1. Fan Replacement, Battery: 步骤 1 中的图像 1,3 Fan Replacement, Battery: 步骤 1 中的图像 2,3 Fan Replacement, Battery: 步骤 1 中的图像 3,3
    • Unlock the battery latch on the right.

    • Unlock the battery lock on the left.

    • Remove the battery pack from its slot.

  2. Fan Replacement, Access to Components 2: 步骤 2 中的图像 1,3 Fan Replacement, Access to Components 2: 步骤 2 中的图像 2,3 Fan Replacement, Access to Components 2: 步骤 2 中的图像 3,3
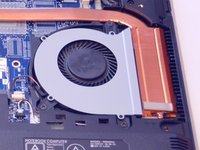
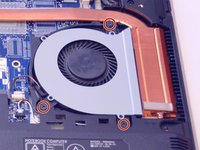
    • Using the Philips # 0 screwdriver, unscrew the 2 screws of the top cover

    • Check the marks indicating the direction in which the cover must be removed.

    • Remove the bottom cover by removing it in the direction of the markers.

  3. Fan Replacement: 步骤 3 中的图像 1,1
    • Then appear the other components of the Laptop.

  4. Fan Replacement, Fan: 步骤 4 中的图像 1,3 Fan Replacement, Fan: 步骤 4 中的图像 2,3 Fan Replacement, Fan: 步骤 4 中的图像 3,3
    • Here is the fan.

    • Disconnect the power cable from this one.

    • Unscrew the screws that hold it in place.

  5. Fan Replacement: 步骤 5 中的图像 1,1
    • Gently lift the fan out of its slot.

结论

To reassemble your device follow the following instructions in reverse order

由衷感谢以下译者:

fr en

100%

irlanda正在帮助我们修复这个世界! 您也想加入吗?
开始翻译 ›

Felice Suglia

于06/15/13注册

30,731 声望

创作了262篇指南

0条评论

添加评论

浏览统计数据:

过去 24 小时: 0

过去 7 天: 3

过去 30 天: 19

总计 817