跳转到主内容
加入维修社区 - 创建账户

Epomaker Shadow-X Keycap Replacement

你所需要的

    1. Epomaker Shadow-X Keycap Replacement, Keycap: 步骤 1 中的图像 1,1
      • Power down the keyboard and unplug any attached cables.

      询问修复机器人

      添加评论

    2. Epomaker Shadow-X Keycap Replacement: 步骤 2 中的图像 1,1
      • Place the tool around the keycap, with the prongs on opposite sides of the key.

      • Gently pull the keycap up and off the switch stem.

      • Avoid pulling at an angle to prevent damaging the stem or keycap.

      询问修复机器人

      添加评论

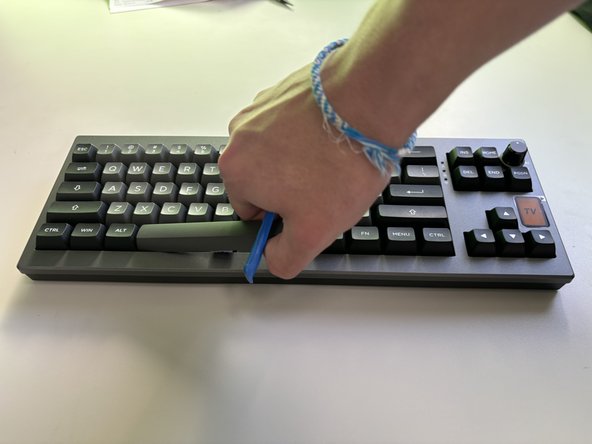
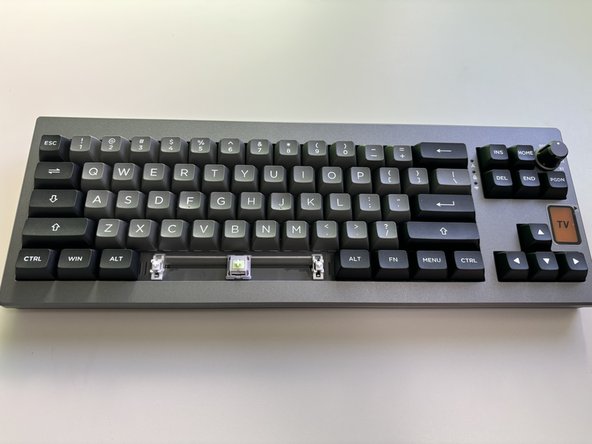
    3. Epomaker Shadow-X Keycap Replacement: 步骤 3 中的图像 1,3 Epomaker Shadow-X Keycap Replacement: 步骤 3 中的图像 2,3 Epomaker Shadow-X Keycap Replacement: 步骤 3 中的图像 3,3
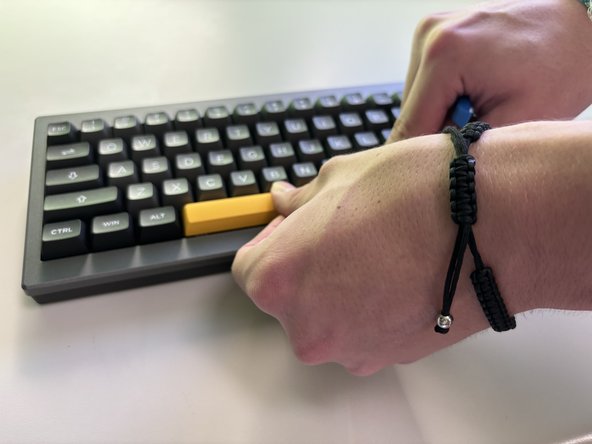
      • For larger keys, such as the Spacebar, Shift, or Enter, insert the puller evenly on both sides.

      • If using a pry tool, pry the middle first, then evenly on both sides.

      • Lift gently, using tweezers to stabilize any clips if necessary to prevent them from snapping.

      询问修复机器人

      添加评论

    4. Epomaker Shadow-X Keycap Replacement: 步骤 4 中的图像 1,3 Epomaker Shadow-X Keycap Replacement: 步骤 4 中的图像 2,3 Epomaker Shadow-X Keycap Replacement: 步骤 4 中的图像 3,3
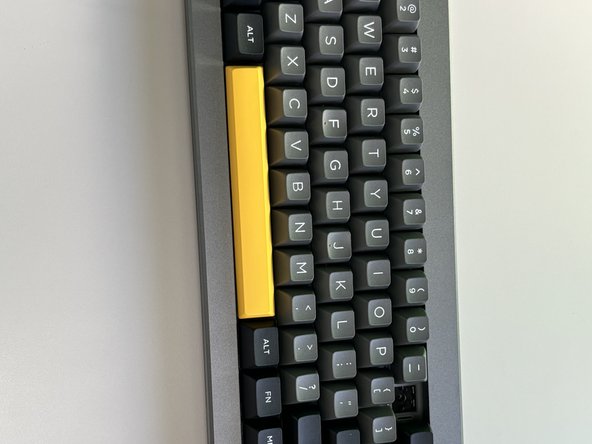
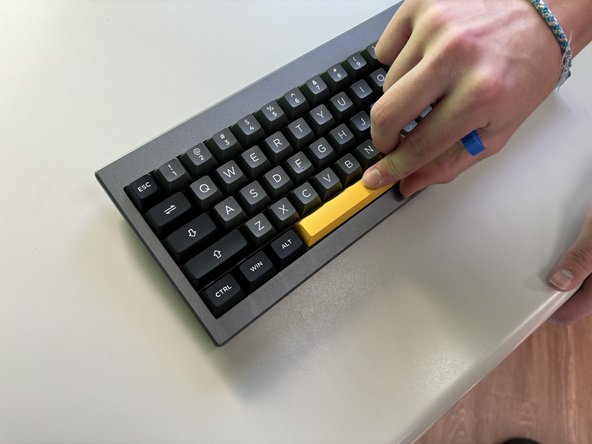
      • Align the new keycaps, positioning the new keycaps over the switch stem, making sure it's centered.

      • Press straight down, applying even pressure until the keycap clicks into place.

      询问修复机器人

      添加评论

    5. Epomaker Shadow-X Keycap Replacement: 步骤 5 中的图像 1,2 Epomaker Shadow-X Keycap Replacement: 步骤 5 中的图像 2,2
      • Once all keycaps are installed, reconnect the keyboard to power and test each key for proper fit and function.

      询问修复机器人

      添加评论

结论

You have successfully replaced the keycaps on your Epomaker Shadow-X keyboard! The new keycaps should enhance both the aesthetic and feel of your keyboard. Test each key to ensure they are securely attached and functioning smoothly, and enjoy the refreshed look of your setup.

取消:我没有完成这个指南。

2等其他人完成本指南。

0指南评论

添加评论

浏览统计数据:

过去 24 小时: 0

过去 7 天: 5

过去 30 天: 25

总计 403