跳转到主内容
加入维修社区 - 创建账户

Electrohome EAAC475 Display Replacement

你所需要的

    1. Electrohome EAAC475 Display Replacement, Battery: 步骤 1 中的图像 1,2 Electrohome EAAC475 Display Replacement, Battery: 步骤 1 中的图像 2,2
      • Remove the 10 mm Phillips #1 screw from the battery cover.

      • Remove the battery cover.

      询问修复机器人

      添加评论

    2. Electrohome EAAC475 Display Replacement: 步骤 2 中的图像 1,1
      • Remove the flat lithium battery.

      询问修复机器人

      添加评论

    1. Electrohome EAAC475 Display Replacement, Buttons: 步骤 3 中的图像 1,2 Electrohome EAAC475 Display Replacement, Buttons: 步骤 3 中的图像 2,2
      • Disconnect the radio from all power sources.

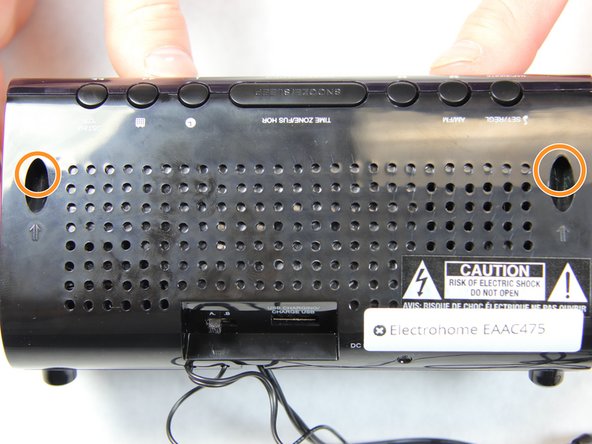
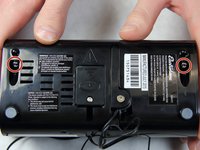
      • Remove the two 10 mm Phillips #1 screws from the bottom of the device.

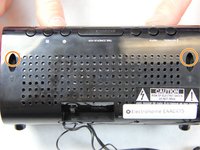
      • Remove two 10 mm Phillips #1 screws from the back side of the device.

      询问修复机器人

      添加评论

    2. Electrohome EAAC475 Display Replacement: 步骤 4 中的图像 1,3 Electrohome EAAC475 Display Replacement: 步骤 4 中的图像 2,3 Electrohome EAAC475 Display Replacement: 步骤 4 中的图像 3,3
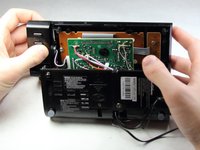
      • Carefully and slowly pull the lower case away from the rest of the device.

      • Do not completely separate the lower case. There are several wires connecting the two halves of the device.

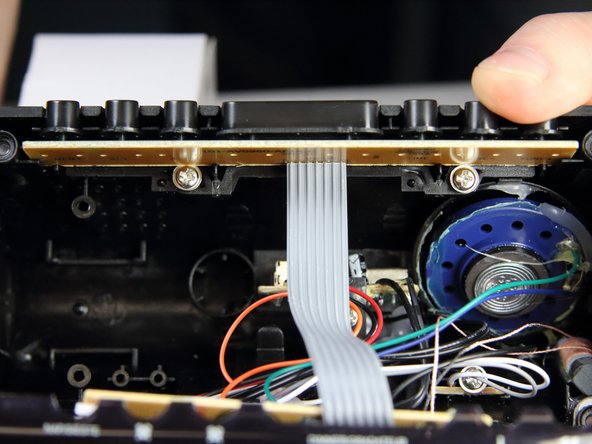
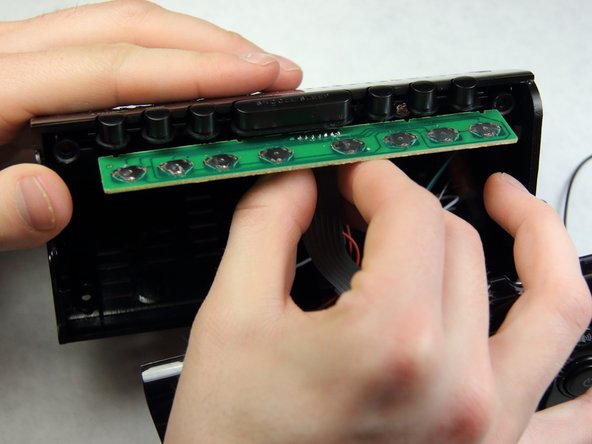
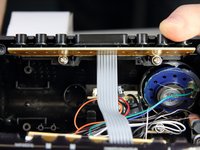
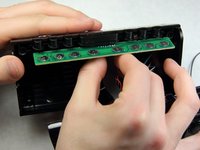
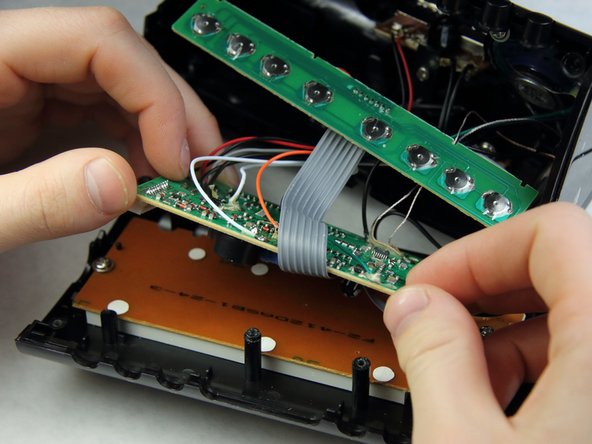
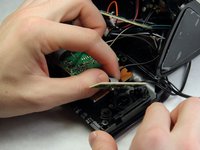
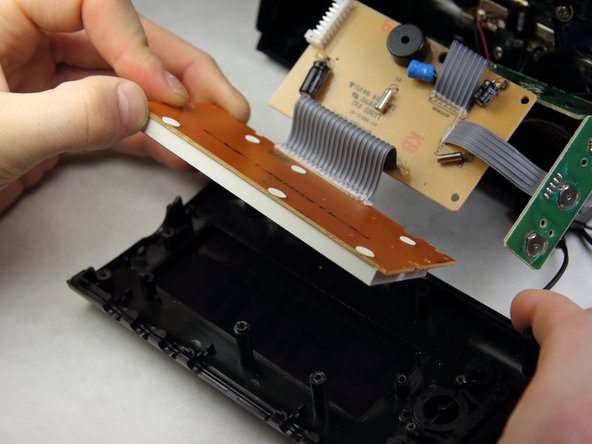
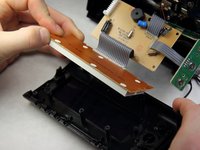
      • Flip the device over to access the button assembly.

      • Slowly remove the button contact board from the assembly.

      询问修复机器人

      添加评论

    3. Electrohome EAAC475 Display Replacement: 步骤 5 中的图像 1,2 Electrohome EAAC475 Display Replacement: 步骤 5 中的图像 2,2
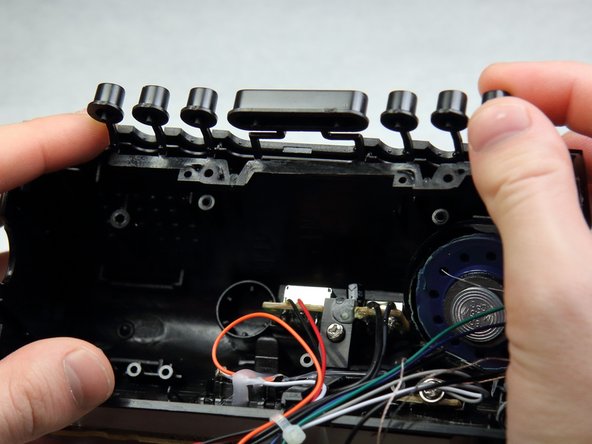
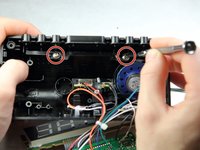
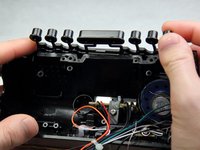
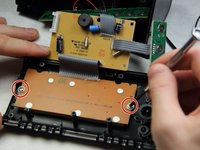
      • Remove the two 7 mm Phillips # 1 screws holding the buttons.

      • Remove the plastic buttons.

      询问修复机器人

      添加评论

    1. Electrohome EAAC475 Display Replacement, Display: 步骤 6 中的图像 1,2 Electrohome EAAC475 Display Replacement, Display: 步骤 6 中的图像 2,2
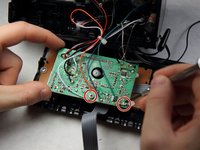
      • Remove the two 8 mm Phillips screws supporting the circuit board.

      • Pull off the circuit board to access the panels below.

      询问修复机器人

      添加评论

    2. Electrohome EAAC475 Display Replacement: 步骤 7 中的图像 1,2 Electrohome EAAC475 Display Replacement: 步骤 7 中的图像 2,2
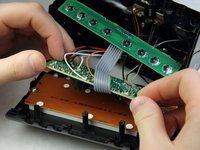
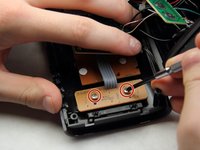
      • Remove the two 6 mm Phillips screws supporting the mini circuit board for the frontal buttons.

      • Remove the mini circuit board.

      询问修复机器人

      添加评论

    3. Electrohome EAAC475 Display Replacement: 步骤 8 中的图像 1,2 Electrohome EAAC475 Display Replacement: 步骤 8 中的图像 2,2
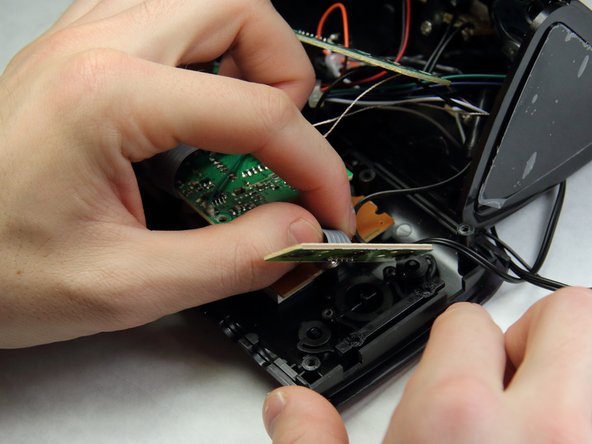
      • Move the now free circuit boards away from the display.

      • Remove the final two 7 mm Phillips screws securing the display.

      • Pull the display screen away from the casing.

      询问修复机器人

      添加评论

    4. Electrohome EAAC475 Display Replacement: 步骤 9 中的图像 1,1
      • You have successfully accessed the display.

      • Replacing the display with a new one will be challenging as soldering and connecting micro wires are necessary.

      添加评论

结论

To reassemble your device, follow these instructions in reverse order.

取消:我没有完成这个指南。

Sohail Khatri

于02/16/16注册

201 声望

创作了2篇指南

团队

IUPUI, Team 2-1, Harley Spring 2016 IUPUI, Team 2-1, Harley Spring 2016 的会员

IUPUI-HARLEY-S16S2G1

4 名成员

创作了18篇指南

0指南评论

添加评论

浏览统计数据:

过去 24 小时: 1

过去 7 天: 5

过去 30 天: 37

总计 1,343