跳转到主内容
加入维修社区 - 创建账户

EasySMX X15 D-Pad Replacement

你所需要的

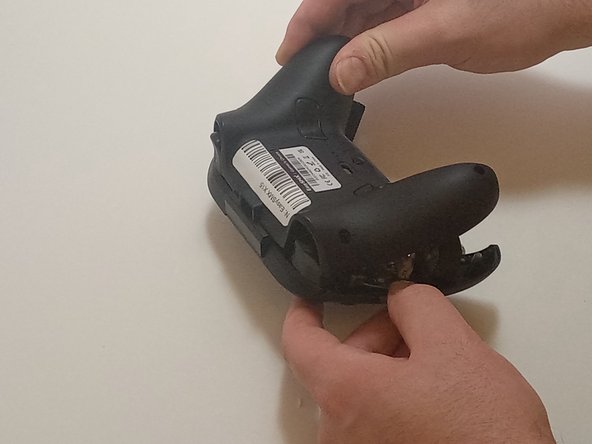
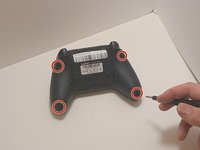
  1. EasySMX X15 D-Pad Replacement, Bottom Casing: 步骤 1 中的图像 1,2 EasySMX X15 D-Pad Replacement, Bottom Casing: 步骤 1 中的图像 2,2
    • Use a Phillips #00 screwdriver to remove the four 9 mm screws from the bottom of the EasySMX X15.

    • Use an opening tool to gently pry between the seams of the controller to separate the lower and upper casings.

    • Be gentle when separating the lower casing from the upper casing to avoid breaking any of the plastic snap tabs.

    询问修复机器人
  2. EasySMX X15 D-Pad Replacement, Main Board: 步骤 2 中的图像 1,1
    • Disconnect the vibration motor cables from the connectors on the circuit board.

    • Use a Phillips #00 screwdriver to remove six, 6mm screws from the board.

    询问修复机器人
  3. EasySMX X15 D-Pad Replacement: 步骤 3 中的图像 1,1
    • Gently lift the board away from the upper casing, maneuvering it around the triggers by lifting it from the bottom, away from the upper casing.

    询问修复机器人
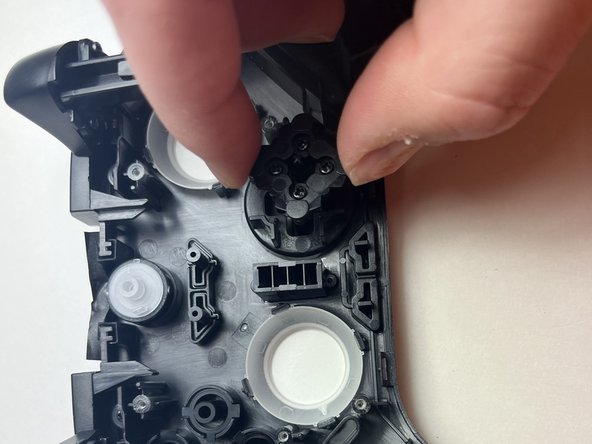
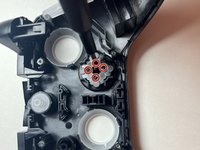
  4. EasySMX X15 D-Pad Replacement, D-Pad: 步骤 4 中的图像 1,2 EasySMX X15 D-Pad Replacement, D-Pad: 步骤 4 中的图像 2,2
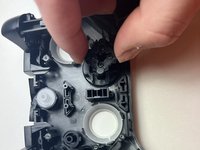
    • Use the Phillips #00 screwdriver to remove the four 4 mm screws securing the D-pad to the controller casing.

    • Lift the back of the D-pad, along with the membrane, to remove them from the controller.

    • Lift up the case, allowing the D-pad to detach from the top of the casing.

    询问修复机器人
结论

To reassemble your device, follow these instructions in reverse order.

0指南评论

添加评论

浏览统计数据:

过去 24 小时: 1

过去 7 天: 10

过去 30 天: 54

总计 530