此翻译由机器生成,尚未经过人工审核。 会说这种语言吗? 查看评论。
简介
本指南将向你展示如何更换 Dyson V11 Torque Drive 吸尘器的扳机。由于扳机由塑料制成,因此很容易损坏。如果你的 Dyson V11 Torque Drive 扳机坏了,吸尘器将无法启动。即使电池已充满电,Dyson V11 Torque Drive 也无法开始工作。更换扳机后,你的 Dyson V11 Torque Drive 吸尘器应该就能恢复正常,并能正常启动吸尘了。
更换 Dyson V11 Torque Drive 吸尘器扳机所需的工具包括:Phillips #1 螺丝刀、Phillips #0 螺丝刀和撬棒。
你所需要的
-
-
-
-
-
-
电路板盖板非常坚硬,可能难以拆下。关键在于使用撬棒在矩形凸起附近撬动,因为这些位置覆盖着塑料卡扣。
-
你也可以尝试将撬片滑入刚才拆下螺丝的位置下方,从那里撬起以松开这一侧。
-
-
-
电路板上可能覆盖着大量半透明胶水。我们需要清理掉这些覆盖物,以便接触到下方的三个部位:两个电源连接处以及电源开关线缆。
-
小心地刮掉或切除螺丝头和电源线周围的胶水。
-
以同样的方式,清理出电源开关线缆及其插头。
-
-
在这个步骤中使用的工具:Tweezers$4.99
-
拧下线缆盖板上的两颗螺丝。
-
撬起线缆盖板以松开卡扣。你可能需要用螺丝刀或 镊子 按压卡扣。
-
将盖板从线缆上滑出。
-

 询问修复机器人


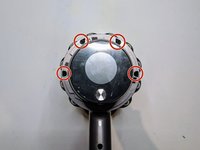
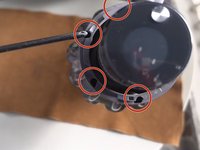


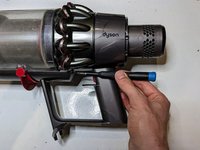
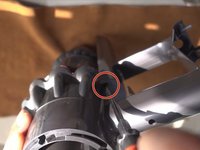


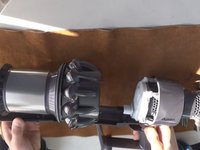
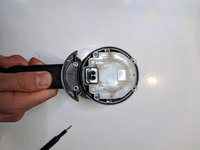


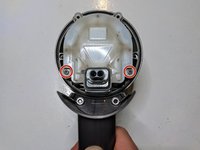
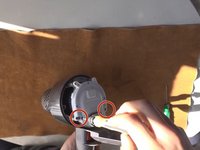


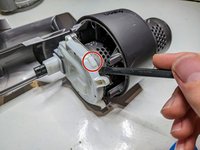
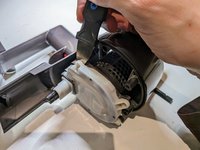
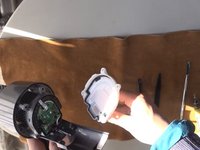


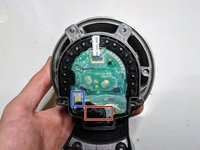
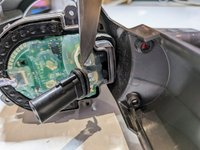


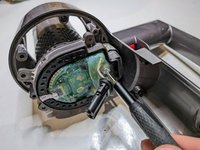
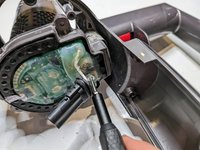
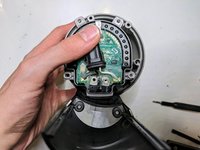


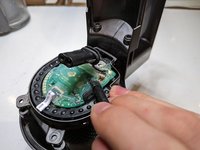
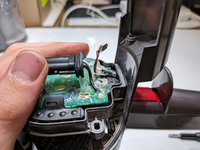


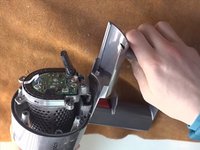
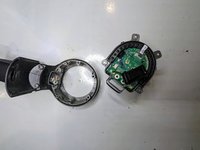


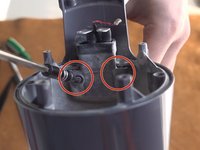
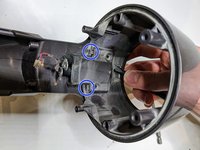
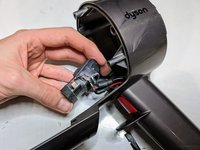


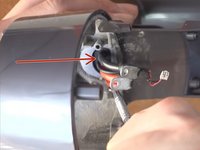
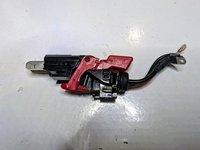
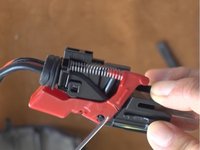
要重新组装设备,请按相反顺序执行这些说明。
59等其他人完成本指南。

团队

York University, Team 1-29, O'Regan Winter 2022 York University, Team 1-29, O'Regan Winter 2022 的会员
YORK-O'REGAN-W22S1G29
1 名成员
创作了12篇指南
26指南评论
Some of the screws in this repair (step 8 and 9) require a T8 Torx bit instead of a Phillips. The Torx screwdriver should be at least 10 cm long and relatively thin to be able to fit into the base of the vacuum. The screwdriver I used from my iFixit essentials kit was too short and too wide to fit into the compartment. That should be added to the guide.
James Leung - 回复 分享
L'assemblage de cet appareil le rend assez compliqué à démonter... surtout la partie avec les câbles de puissance qui vont à la batterie.
Par expérience, en ce qui concerne la gâchette c'est faisable. La gâchette peut se trouver facilement sur internet, ça permet de réparer à pas cher et souvent certaines pièces génériques sont renforcées.
Also applicable to the v10. Some philips are T8 and as one comment already said, they need to be long and thin for some screws - but otherwise a good guide. Step 1 should be remove battery. My dust cover over the circuit board had little retaining clips which made it feel stuck. The small connector attaching the red/white wires lifts out vertically, with a little retaining clip. The final step, I needed a large screw driver to push the trigger part out. I couldn't get the leverage with the shorter spudger.
I chose to buy the full body and replace it after 6 years of use. I hadn't realized how the performance had degraded over time. My early release V11 animal with a screw on battery works better than new and now I have the upgraded display. I am going to deep clean the old body and replace the trigger as a backup but I didn't have a T8 long enough and skinny enough to remove all the screws.
Missing the punch line! This is a good review all until the last step, which is INCOMPLETE and incorrect. The switch assembly must be removed from the arm, and this is much easier to do with a pliers than by pushing on the top. Once the assembly is removed, you must be careful to note the orientation of the broken switch trigger, remove the old, and replace the new trigger, not forgetting to attach the spring.
