跳转到主内容

你所需要的

这个拆解是不是维修指南。 要维修你的的Motorola ES400,请使用我们的维修手册

  1. Disassembling Motorola ES400, Logic Board: 步骤 1 中的图像 1,2 Disassembling Motorola ES400, Logic Board: 步骤 1 中的图像 2,2
    • Take the battery cover and battery out of the device and put the unit on its front.

  2. Disassembling Motorola ES400: 步骤 2 中的图像 1,2 Disassembling Motorola ES400: 步骤 2 中的图像 2,2
    • Remove a total of 6 T5 torx screws

  3. Disassembling Motorola ES400: 步骤 3 中的图像 1,3 Disassembling Motorola ES400: 步骤 3 中的图像 2,3 Disassembling Motorola ES400: 步骤 3 中的图像 3,3
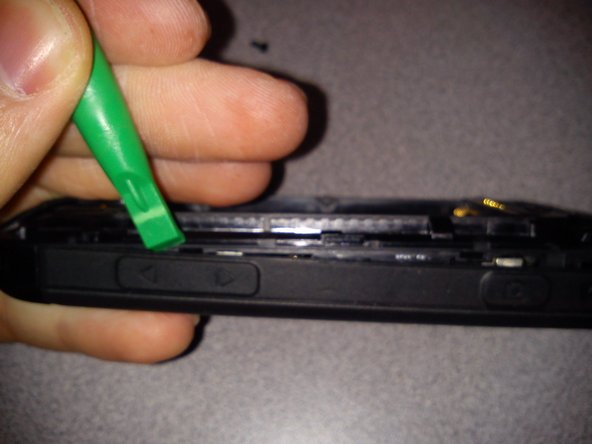
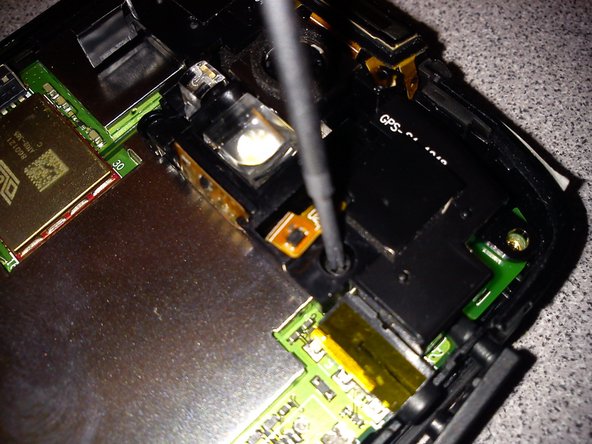
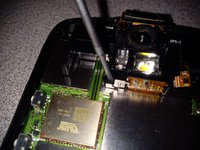
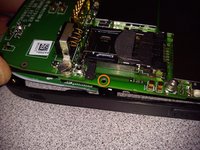
    • After all 6 screws have been removed, start by using a plastic pry tool to separate the back panel from the side frame.

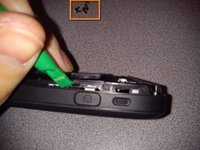
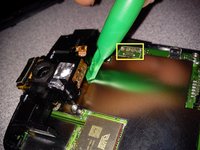
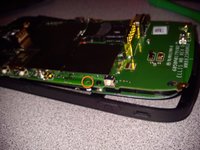
    • Continue along the side near the volume buttons slowly seperating the back panel from the frame.

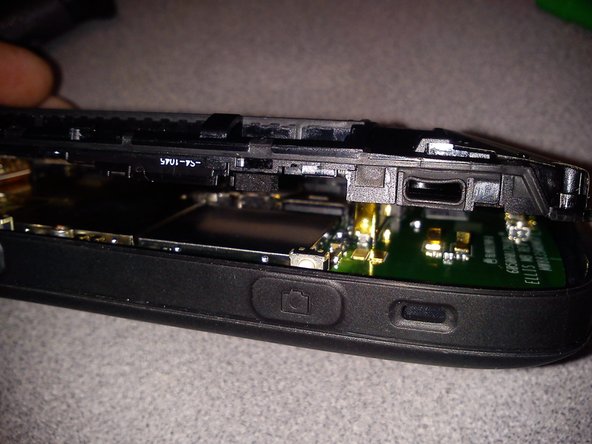
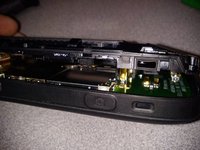
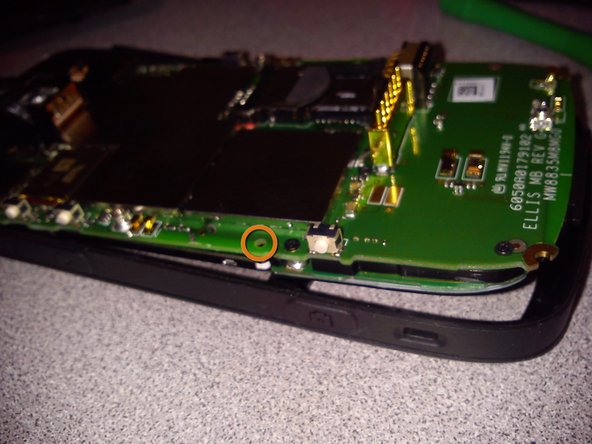
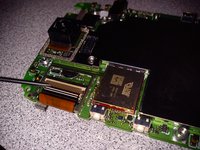
    • Once the back panel has been seperated from the frame slowly take it off, being careful not to break any plastic parts/clips.

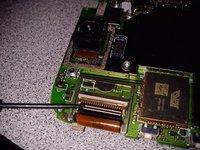
    • Keep track of your screws.

  4. Disassembling Motorola ES400: 步骤 4 中的图像 1,1
    • Remove the back panel and set it aside.

  5. Disassembling Motorola ES400: 步骤 5 中的图像 1,3 Disassembling Motorola ES400: 步骤 5 中的图像 2,3 Disassembling Motorola ES400: 步骤 5 中的图像 3,3
    • Unscrew the 2 Philips head (+) screws to remove the camera flash module.

    • This unit has a broken micro usb charging port.

  6. Disassembling Motorola ES400: 步骤 6 中的图像 1,1
    • After the camera module has been removed pull up any tape covering the digitizer flex cable.

    • Flip up the plastic lever and then slowly nudge the flex cable out of the socket.

  7. Disassembling Motorola ES400: 步骤 7 中的图像 1,1
    • Near the memory card slot on the right side carefully lift the logic board over the finger to release the logic board from the frame.

  8. Disassembling Motorola ES400: 步骤 8 中的图像 1,1
    • On the left side carefully lift the logic board over the finger to release the logic board from the frame.

  9. Disassembling Motorola ES400: 步骤 9 中的图像 1,1
    • After all the fingers and clips have been released/removed, use a plastic prying tool to carefully pry the logic board out of the frame.

  10. Disassembling Motorola ES400: 步骤 10 中的图像 1,2 Disassembling Motorola ES400: 步骤 10 中的图像 2,2
    • Slowly lift the logic board out of the frame starting at the bottom of the phone.

    • (Fingers are released shown in orange)

  11. Disassembling Motorola ES400: 步骤 11 中的图像 1,1
    • Pry off metal cap to remove shielding to access LCD flex cable.

  12. Disassembling Motorola ES400: 步骤 12 中的图像 1,2 Disassembling Motorola ES400: 步骤 12 中的图像 2,2
    • Use a flat head screwdriver to flip up the FPC connector.

    • Once the plastic flipper has been flipped, slowly nudge the flex cable out of the socket.

  13. Disassembling Motorola ES400: 步骤 13 中的图像 1,1
    • Slowly lift the LCD from the logic board

    • Be mindful of double-sided tape on the backside of the LCD holding the mainboard to the screen.

    • Always handle the LCD with care so you do not crack it or apply any finger prints to the face of the LCD

  14. Disassembling Motorola ES400: 步骤 14 中的图像 1,1
    • Lay all the parts out so you can easily see what needs replacing or repairing.

Jordan Wires

于07/28/11注册

141 声望

撰写一个指南

一条评论

This disassembly guide was provided by Wires Computing Electronics Repair. for help with any repairs in Burlington Vermont please visit: www.wirescomputing.com

Wires Computing - 回复

添加评论

浏览统计数据:

过去 24 小时: 0

过去 7 天: 2

过去 30 天: 4

总计 5,986