简介
Upgrading or replacing the graphics card in your computer can significantly enhance your system's visual performance. This guide is tailored specifically for the Dell XPS 720 H2C, providing you with step-by-step instructions on how to safely remove an old graphics card, install a new one, or simply reseat the existing card to ensure optimal connectivity. Before you begin, it's crucial to verify that your new graphics card is compatible with your Dell XPS setup to guarantee a smooth and successful upgrade. Follow along to boost your computer's display capabilities effectively and efficiently.
-
-
Remove the cover panel on the side of the computer by pulling out the latch on the back panel and pulling the panel downwards towards the ground.
 询问修复机器人
-
-
-
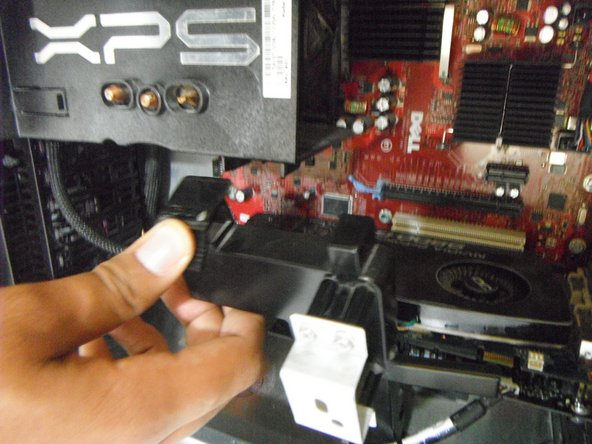
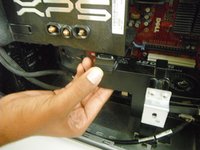
Locate the graphics card near the bottom-right area of the computer, just below the XPS processor cooler.
-
Before entering into the "guts" of the computer, make sure you have the computer powered off and unplugged. Following that, you will want to unplug any video cables, including DVI and VGA cables, that are connected to the graphics port on the back panel of the computer.
-
-


To reassemble your device, follow these instructions in reverse order.
3等其他人完成本指南。
团队

Cal Poly, Team 4-16, Maness Spring 2013 Cal Poly, Team 4-16, Maness Spring 2013 的会员
CPSU-MANESS-S13S4G16
3 名成员
创作了3篇指南