跳转到主内容
加入维修社区 - 创建账户

Dell Venue 8 Display Replacement

你所需要的

    1. Dell Venue 8 Display Replacement, Rear Case/Midframe: 步骤 1 中的图像 1,1
      • Hold the device with the screen facing up. Gently wedge your plastic opening tool into the crease, and run it along the perimeter of the case

      • You will hear click sounds as the clips unhinge

      • Remove the back panel of the device.

      询问修复机器人

      添加评论

    2. Dell Venue 8 Display Replacement: 步骤 2 中的图像 1,3 Dell Venue 8 Display Replacement: 步骤 2 中的图像 2,3 Dell Venue 8 Display Replacement: 步骤 2 中的图像 3,3
      • Remove the 14 screws with the T-5 Torx screwdriver. (11 black 3.6mm screws, and three 4.45mm screws)

      • The silver screws are marked with an "S" or a sticker [S1.6(Silver)] See the corrected image

      • 4.45mm Silver screws

      • 3.6mm Black screws

      • Gently snap the perimeter clips open, and remove the internal plastic case.

      添加评论

    1. Dell Venue 8 Display Replacement, Battery: 步骤 3 中的图像 1,1
      • Unclip the power clip from the motherboard by pulling down gently towards the bottom of the tablet.

      询问修复机器人

      添加评论

    2. Dell Venue 8 Display Replacement: 步骤 4 中的图像 1,1
      • Gently pry the battery away from the device with the plastic opening tool to remove it.

      • The battery is held on to the tablet by a light adhesive

      询问修复机器人

      添加评论

    1. Dell Venue 8 Display Replacement, Speaker: 步骤 5 中的图像 1,1
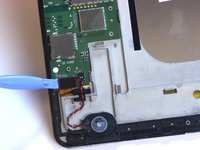
      • Using your plastic opening tool, unclip the speaker connection from the logic board.

      • Caution: Pull directly up, not out, on the connection

      添加评论

    2. Dell Venue 8 Display Replacement: 步骤 6 中的图像 1,1
      • Remove the speaker by placing using your plastic opening tool in the gap on the top of the speaker and prying it up.

      • The speaker is held on by light adhesive

      询问修复机器人

      添加评论

    1. Dell Venue 8 Display Replacement, Display: 步骤 7 中的图像 1,2 Dell Venue 8 Display Replacement, Display: 步骤 7 中的图像 2,2
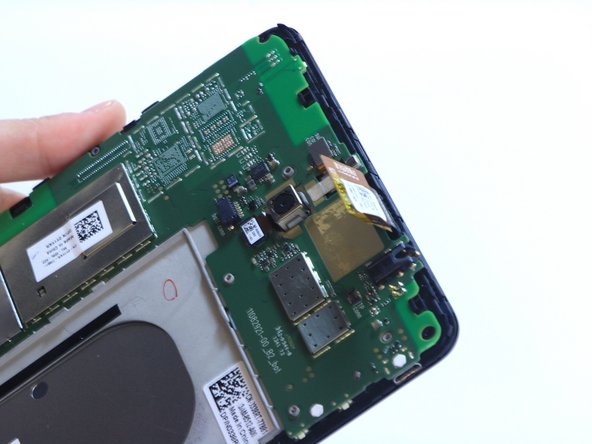
      • Disconnect the display clip found next to the speaker.

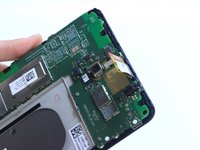
      • Disconnect the Display connection located at the top of the tablet.

      询问修复机器人

      添加评论

    2. Dell Venue 8 Display Replacement: 步骤 8 中的图像 1,1
      • Unclip the logic board from the Display.

      询问修复机器人

      添加评论

结论

To reassemble your device, follow these instructions in reverse order.

取消:我没有完成这个指南。

7等其他人完成本指南。

Mitul

于02/19/15注册

673 声望

撰写一个指南

团队

USF Tampa, Team 9-2, Leahy Winter 2015 USF Tampa, Team 9-2, Leahy Winter 2015 的会员

USFT-LEAHY-W15S9G2

3 名成员

创作了12篇指南

2指南评论

LOL. Who rated this as a difficult repair? Seriously? T5 screws too much for you? The only issue with the repair for this device is the adhesive between the digi and frame is a REAL pain to remove, and the plastic frame is likely to melt if you use too much/high heat. Otherwise, it's very simple. Just be careful when installing the new digi, as the motherboard needs to be slightly lifted to feed the connector.

Rene - 回复 分享

Thanks for the instructions!

Is there a part 2 for this guide? The instructions is incomplete and doesn't not include steps to actually remove the digitizer.

Franklin Ramos - 回复 分享

添加评论

浏览统计数据:

过去 24 小时: 2

过去 7 天: 9

过去 30 天: 34

总计 7,706