跳转到主内容
加入维修社区 - 创建账户

Dell Studio 1555 Display Replacement

你所需要的

    1. Dell Studio 1555 Display Replacement, Battery: 步骤 1 中的图像 1,1
      • Turn off and unplug the laptop.

      • Failure to properly turn off device before handling the battery could result in electrical shock.

      • Flip the laptop so the underside is facing up with the battery closest to you.

      询问修复机器人

      添加评论

    2. Dell Studio 1555 Display Replacement: 步骤 2 中的图像 1,3 Dell Studio 1555 Display Replacement: 步骤 2 中的图像 2,3 Dell Studio 1555 Display Replacement: 步骤 2 中的图像 3,3
      • Slide the locking switch to the left to release the battery.

      询问修复机器人

      添加评论

    3. Dell Studio 1555 Display Replacement: 步骤 3 中的图像 1,1
      • Gently pull the battery away from the device.

      询问修复机器人

      添加评论

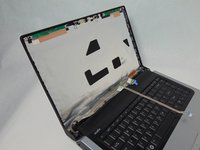
    1. Dell Studio 1555 Display Replacement, Display: 步骤 4 中的图像 1,2 Dell Studio 1555 Display Replacement, Display: 步骤 4 中的图像 2,2
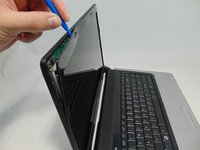
      • Insert a plastic opening tool between the bezel and the display cover.

      • Wiggle it to the release the latches.

      • Separate the bezel from the cover.

      询问修复机器人

      添加评论

    2. Dell Studio 1555 Display Replacement: 步骤 5 中的图像 1,2 Dell Studio 1555 Display Replacement: 步骤 5 中的图像 2,2
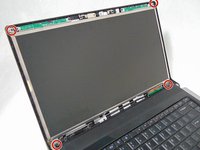
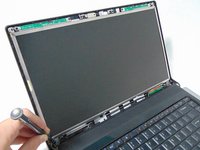
      • Remove the four 3 mm screws securing the LCD using the #1 Phillips screwdriver.

      询问修复机器人

      添加评论

    3. Dell Studio 1555 Display Replacement: 步骤 6 中的图像 1,1
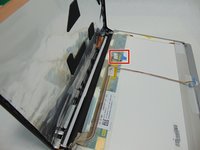
      • Separate the LCD assembly from the display cover so you will be able to access the webcam cable.

      • Unplug the camera cable.

      询问修复机器人

      添加评论

    4. Dell Studio 1555 Display Replacement: 步骤 7 中的图像 1,2 Dell Studio 1555 Display Replacement: 步骤 7 中的图像 2,2
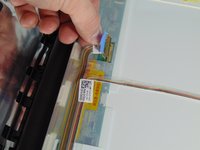
      • Place the LCD face down on the top cover.

      • Remove the sticky tape securing the video cable connector.

      • Unplug the video cable from the screen.

      询问修复机器人

      添加评论

    5. Dell Studio 1555 Display Replacement: 步骤 8 中的图像 1,3 Dell Studio 1555 Display Replacement: 步骤 8 中的图像 2,3 Dell Studio 1555 Display Replacement: 步骤 8 中的图像 3,3
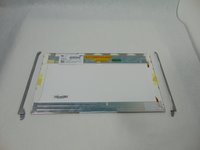
      • Remove the LCD from the laptop.

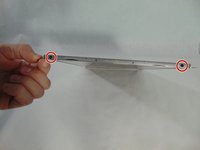
      • Remove the four 3mm screws holding the mounting brackets using the #1 Phillips screwdriver. Two on each side.

      • You will have to transfer the mounting brackets to the new screen.

      询问修复机器人

      添加评论

结论

To reassemble your device, follow these instructions in reverse order.

取消:我没有完成这个指南。

3等其他人完成本指南。

Josh Boone

于10/10/16注册

586 声望

创作了4篇指南

团队

0指南评论

添加评论

浏览统计数据:

过去 24 小时: 2

过去 7 天: 9

过去 30 天: 26

总计 1,930