跳转到主内容
加入维修社区 - 创建账户

Dell OptiPlex FX170 CMOS Battery Replacement

你所需要的

  1. Dell OptiPlex FX170 CMOS Battery Replacement, Case: 步骤 1 中的图像 1,1
    • With the base stand facing upwards, unscrew the 6mm Phillips #2 screw.

    • Pull the base stand straight up from the device.

    询问修复机器人
  2. Dell OptiPlex FX170 CMOS Battery Replacement: 步骤 2 中的图像 1,2 Dell OptiPlex FX170 CMOS Battery Replacement: 步骤 2 中的图像 2,2
    • Unscrew and remove the eight 4mm Phillips #0 screws (four on top, four on bottom) from the top and bottom of the device.

    询问修复机器人
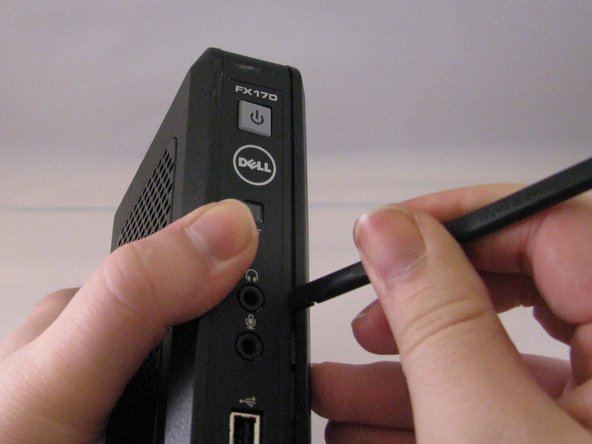
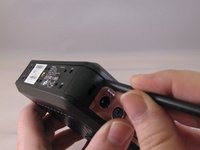
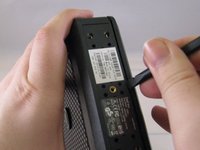
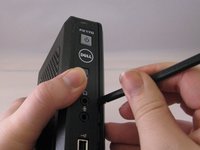
  3. Dell OptiPlex FX170 CMOS Battery Replacement: 步骤 3 中的图像 1,3 Dell OptiPlex FX170 CMOS Battery Replacement: 步骤 3 中的图像 2,3 Dell OptiPlex FX170 CMOS Battery Replacement: 步骤 3 中的图像 3,3
    • Run the flat side of the spudger along the entire line of the case starting from the back where the power plug and a small screw are located.

    • Use care to not apply excessive force that could damage retaining clips while running the spudger along the case.

    询问修复机器人
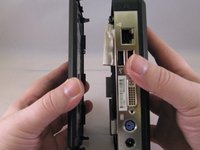
  4. Dell OptiPlex FX170 CMOS Battery Replacement: 步骤 4 中的图像 1,2 Dell OptiPlex FX170 CMOS Battery Replacement: 步骤 4 中的图像 2,2
    • Once the clips have been released, gently disengage the cover from the rest of case by pulling in opposite directions.

    询问修复机器人
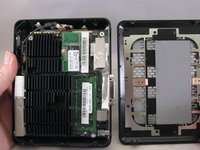
  5. Dell OptiPlex FX170 CMOS Battery Replacement, Memory Board: 步骤 5 中的图像 1,1
    • Using the spudger, gently push on the underside of the memory board to loosen it. Gently grasp each side and pull up to release the memory board.

    询问修复机器人
  6. Dell OptiPlex FX170 CMOS Battery Replacement, CMOS Battery: 步骤 6 中的图像 1,1
    • To remove the battery, pull up on the connector that is plugged into the motherboard.

    询问修复机器人
结论

To reassemble your device, follow these instructions in reverse order.

0指南评论

添加评论

浏览统计数据:

过去 24 小时: 0

过去 7 天: 4

过去 30 天: 63

总计 1,314