跳转到主内容
加入维修社区 - 创建账户

Dell Alienware 13 Touch pad Replacement

你所需要的

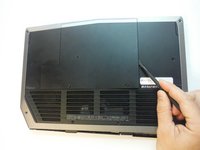
  1. Dell Alienware 13 Touch pad Replacement, Base Panel: 步骤 1 中的图像 1,1
    • Working on an electrical device while plugged in can cause injury due to electrical shock. Ensure that all external power is disconnected from the device.

    • Close the device and turn the device over.

    询问修复机器人
    添加评论

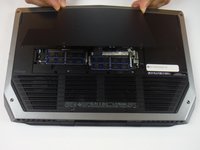
  2. Dell Alienware 13 Touch pad Replacement: 步骤 2 中的图像 1,1
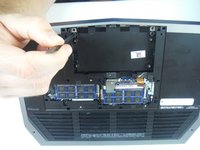
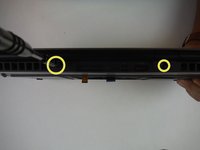
    • Remove (2) 5 mm Phillips head screws attaching the small access panel to the base using a Phillips # 1 screwdriver.

    • The (2) screws are attached to the base panel with retaining clips and won't completely detach from the panel.

    询问修复机器人
    添加评论

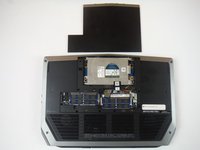
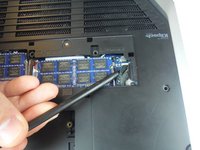
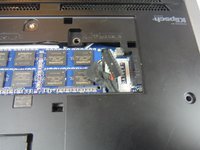
  3. Dell Alienware 13 Touch pad Replacement: 步骤 3 中的图像 1,3 Dell Alienware 13 Touch pad Replacement: 步骤 3 中的图像 2,3 Dell Alienware 13 Touch pad Replacement: 步骤 3 中的图像 3,3
    在这个步骤中使用的工具:
    Heavy-Duty Spudger
    $4.99
    询问修复机器人
    添加评论

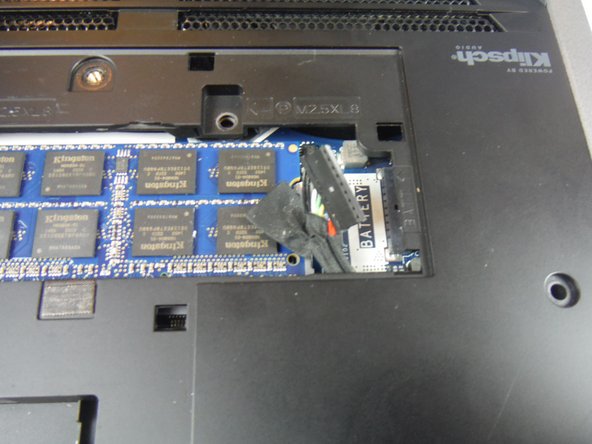
  4. Dell Alienware 13 Touch pad Replacement, Touch pad: 步骤 4 中的图像 1,2 Dell Alienware 13 Touch pad Replacement, Touch pad: 步骤 4 中的图像 2,2
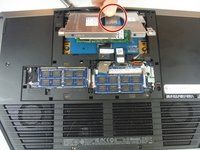
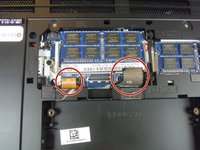
    • Disconnect the battery cable from the battery cable terminal.

    询问修复机器人
    添加评论

  5. Dell Alienware 13 Touch pad Replacement: 步骤 5 中的图像 1,1
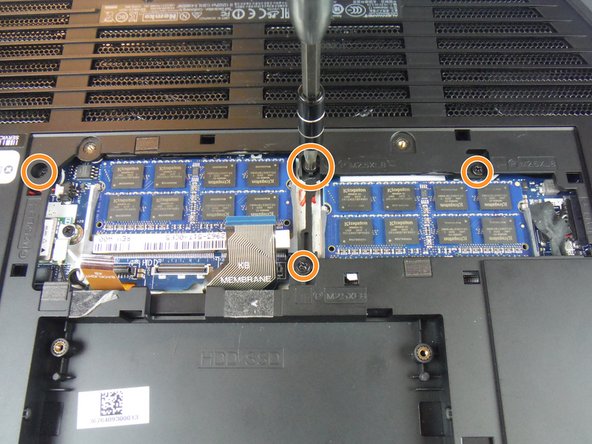
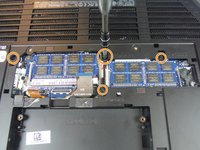
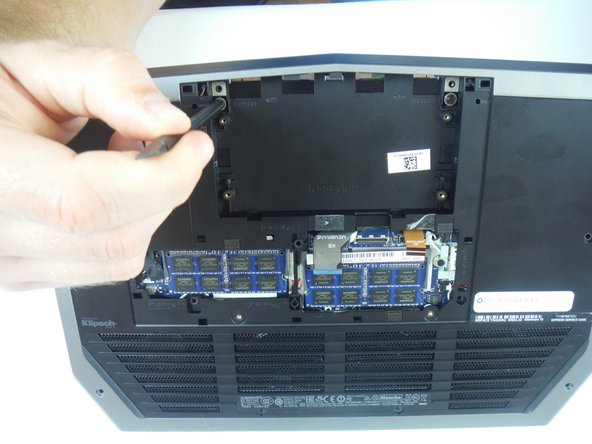
    • Remove (4) 6 mm Phillips head screws from the solid-state metal drive bracket, using a Phillips # 1 screwdriver.

    询问修复机器人
    添加评论

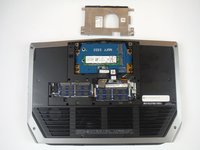
  6. Dell Alienware 13 Touch pad Replacement: 步骤 6 中的图像 1,2 Dell Alienware 13 Touch pad Replacement: 步骤 6 中的图像 2,2
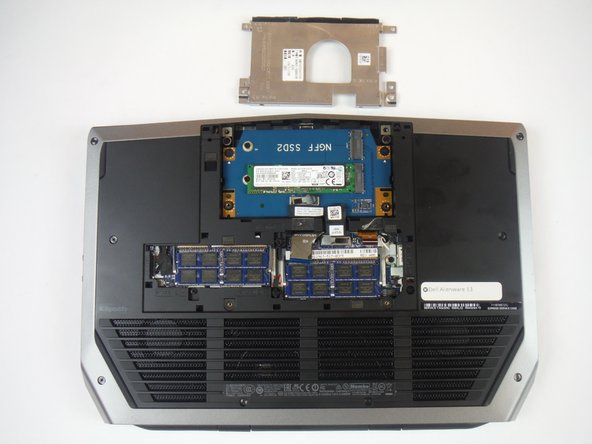
    • Grab the pull tab to pivot the solid-state drive bracket upwards. Remove the bracket from the computer base.

    询问修复机器人

    添加评论

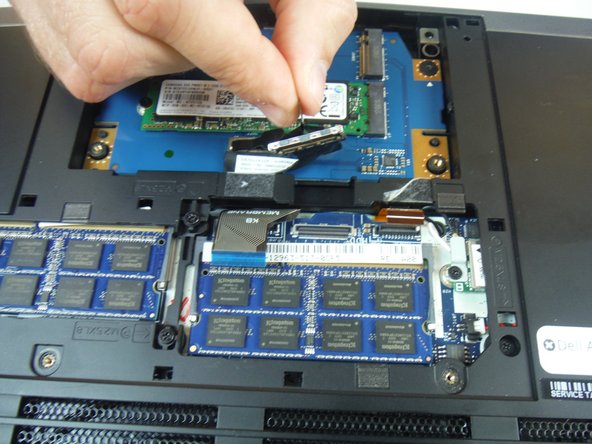
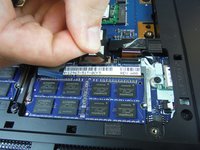
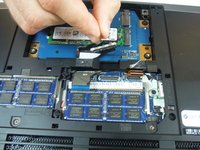
  7. Dell Alienware 13 Touch pad Replacement: 步骤 7 中的图像 1,2 Dell Alienware 13 Touch pad Replacement: 步骤 7 中的图像 2,2
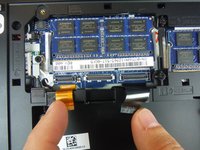
    • Using the pull tab, disconnect the black solid-state drive cable from the system board.

    询问修复机器人
    添加评论

  8. Dell Alienware 13 Touch pad Replacement: 步骤 8 中的图像 1,1
    • Remove (2) 3 mm Phillips head screws, using a Phillips # 0 screwdriver, that connect the solid-state drive assembly to the computer base.

    询问修复机器人
    添加评论

  9. Dell Alienware 13 Touch pad Replacement: 步骤 9 中的图像 1,2 Dell Alienware 13 Touch pad Replacement: 步骤 9 中的图像 2,2
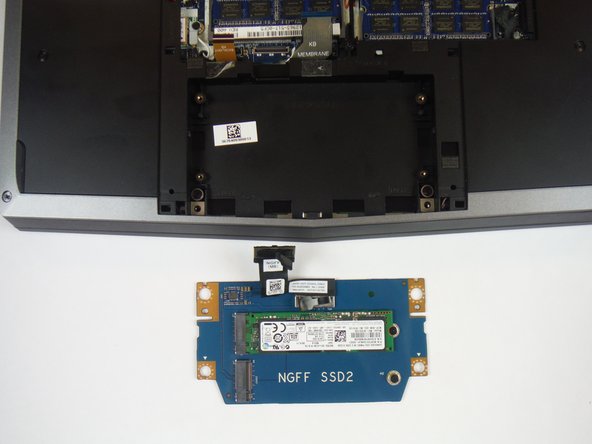
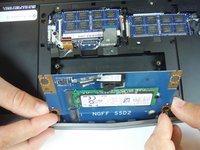
    • Lift up on the solid-state drive assembly to remove it from the computer base.

    询问修复机器人

    添加评论

  10. Dell Alienware 13 Touch pad Replacement: 步骤 10 中的图像 1,2 Dell Alienware 13 Touch pad Replacement: 步骤 10 中的图像 2,2
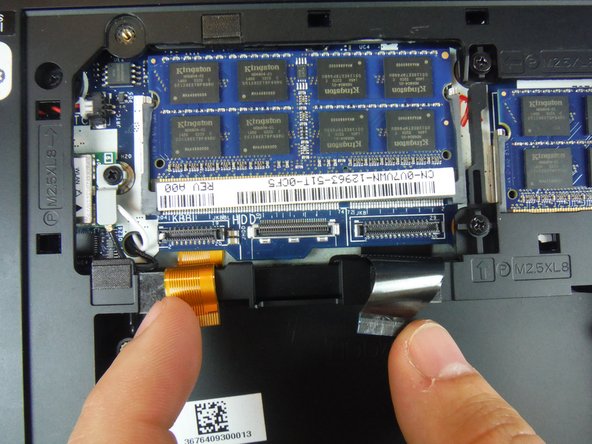
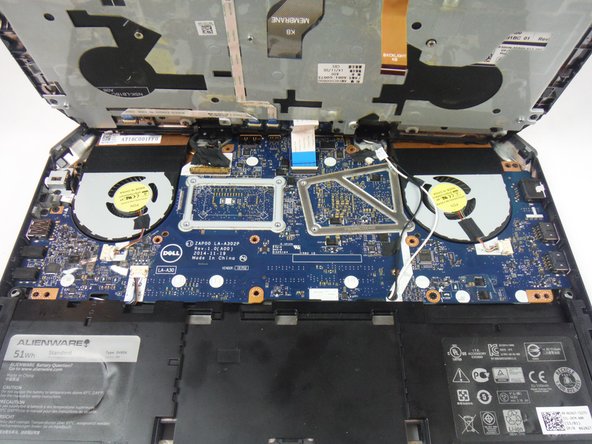
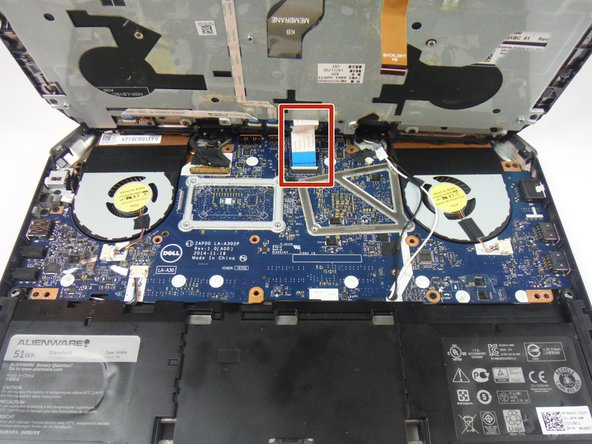
    • Locate two cables labeled, "KB Backlight" (orange) and "KB Membrane" (black). Lift up on the latches to disconnect the cables from the system board.

    询问修复机器人

    添加评论

  11. Dell Alienware 13 Touch pad Replacement: 步骤 11 中的图像 1,3 Dell Alienware 13 Touch pad Replacement: 步骤 11 中的图像 2,3 Dell Alienware 13 Touch pad Replacement: 步骤 11 中的图像 3,3
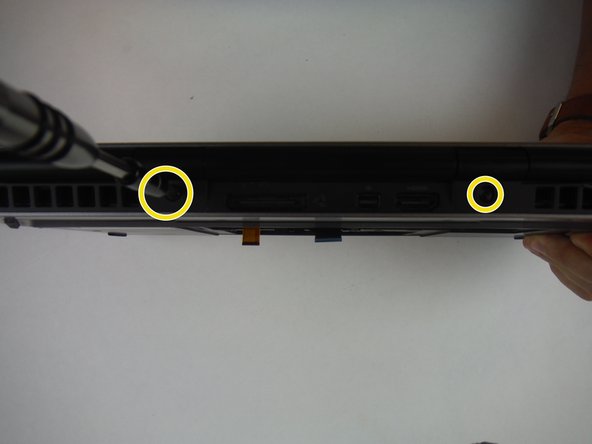
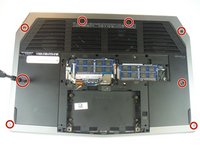
    • Remove (8) 9 mm Phillips head screws using a Phillips # 1 screwdriver, that secures the palm-rest assembly to the computer base.

    • Remove (4) 8 mm Phillips head screws using a Phillips # 1 screwdriver.

    • Remove (2) 7 mm Phillips head screws using a Phillips # 1 screwdriver.

    询问修复机器人

    添加评论

  12. Dell Alienware 13 Touch pad Replacement: 步骤 12 中的图像 1,2 Dell Alienware 13 Touch pad Replacement: 步骤 12 中的图像 2,2
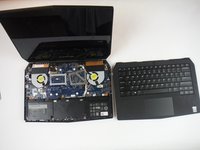
    • Lift the computer base slightly towards you and push the release tabs on the palm-rest assembly until it pops out using a spudger.

    询问修复机器人

    添加评论

  13. Dell Alienware 13 Touch pad Replacement: 步骤 13 中的图像 1,3 Dell Alienware 13 Touch pad Replacement: 步骤 13 中的图像 2,3 Dell Alienware 13 Touch pad Replacement: 步骤 13 中的图像 3,3
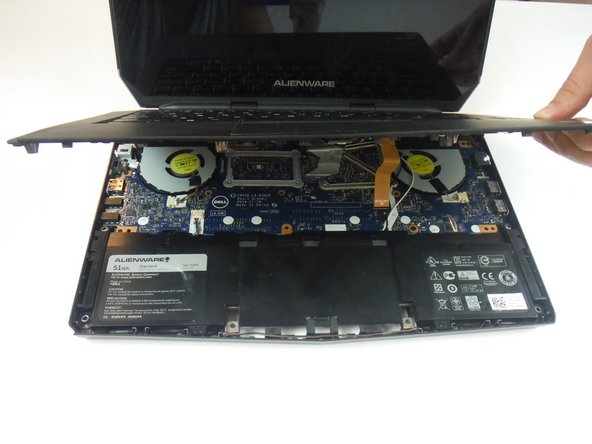
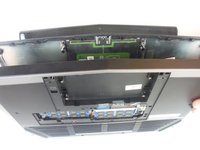
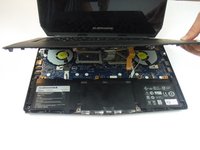
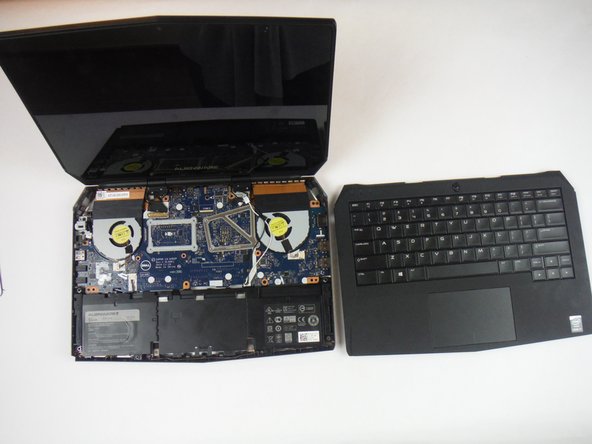
    • Turn the computer over and open the display as far as possible.

    • Using a plastic spudger, pry up along the edges of the palm-rest assembly.

    • Gently lift the palm-rest assembly.

    询问修复机器人

    添加评论

  14. Dell Alienware 13 Touch pad Replacement: 步骤 14 中的图像 1,3 Dell Alienware 13 Touch pad Replacement: 步骤 14 中的图像 2,3 Dell Alienware 13 Touch pad Replacement: 步骤 14 中的图像 3,3
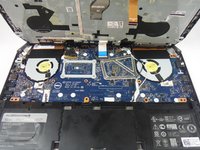
    • Lift the connector latch and disconnect the power-button board cable from the system board. Identified as a cable with a blue tab.

    • Lift the palm-rest assembly off the computer base.

    询问修复机器人

    添加评论

  15. Dell Alienware 13 Touch pad Replacement: 步骤 15 中的图像 1,2 Dell Alienware 13 Touch pad Replacement: 步骤 15 中的图像 2,2
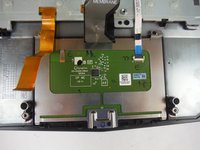
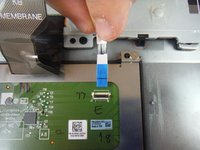
    • Disconnect the touch pad cable from the touch pad.

    询问修复机器人

    添加评论

  16. Dell Alienware 13 Touch pad Replacement: 步骤 16 中的图像 1,3 Dell Alienware 13 Touch pad Replacement: 步骤 16 中的图像 2,3 Dell Alienware 13 Touch pad Replacement: 步骤 16 中的图像 3,3
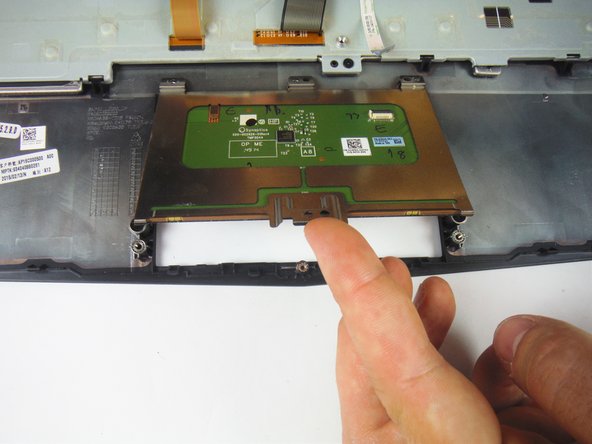
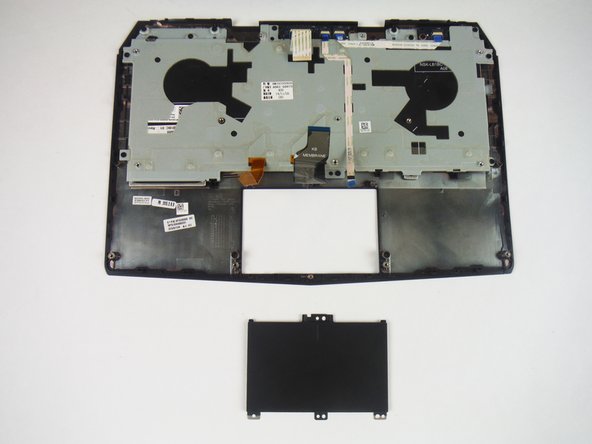
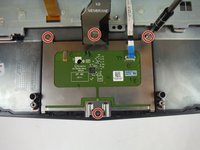
    • Remove (4) 3 mm Phillips head screws securing the touch pad to the palm rest assembly using a Phillips # 0 screwdriver.

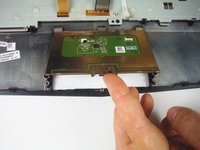
    • Lift up and remove the touch pad from the palm rest assembly.

    询问修复机器人

    添加评论

结论

To reassemble your device, follow these instructions in reverse order.

取消:我没有完成这个指南。

团队

USF Tampa, Team 14-2, Eyestone Fall 2016 USF Tampa, Team 14-2, Eyestone Fall 2016 的会员

USFT-EYESTONE-F16S14G2

3 名成员

创作了7篇指南

0指南评论

添加评论

浏览统计数据:

过去 24 小时: 0

过去 7 天: 4

过去 30 天: 24

总计 634