跳转到主内容
加入维修社区 - 创建账户

D-Link DIR-890L Heat Sink Replacement

你所需要的

    1. D-Link DIR-890L Heat Sink Replacement, Case: 步骤 1 中的图像 1,3 D-Link DIR-890L Heat Sink Replacement, Case: 步骤 1 中的图像 2,3 D-Link DIR-890L Heat Sink Replacement, Case: 步骤 1 中的图像 3,3
      • Peel off the four rubber rectangular feet with your fingers.

      • The feet may be hard to remove. Apply additional force if necessary.

      询问修复机器人

      添加评论

    2. D-Link DIR-890L Heat Sink Replacement: 步骤 2 中的图像 1,3 D-Link DIR-890L Heat Sink Replacement: 步骤 2 中的图像 2,3 D-Link DIR-890L Heat Sink Replacement: 步骤 2 中的图像 3,3
      • Unscrew the 5mm screws in each corner using the Phillips #1 screwdriver.

      询问修复机器人

      添加评论

    3. D-Link DIR-890L Heat Sink Replacement: 步骤 3 中的图像 1,3 D-Link DIR-890L Heat Sink Replacement: 步骤 3 中的图像 2,3 D-Link DIR-890L Heat Sink Replacement: 步骤 3 中的图像 3,3
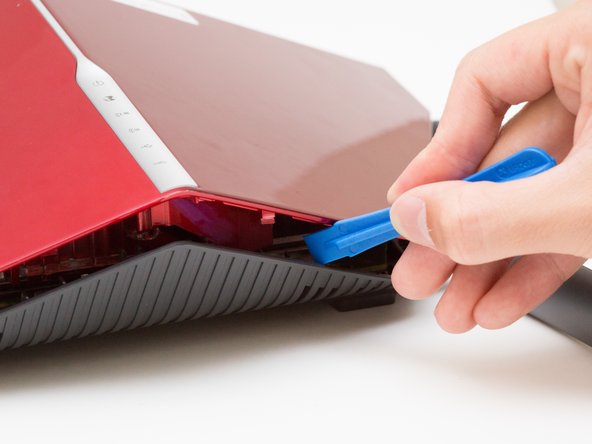
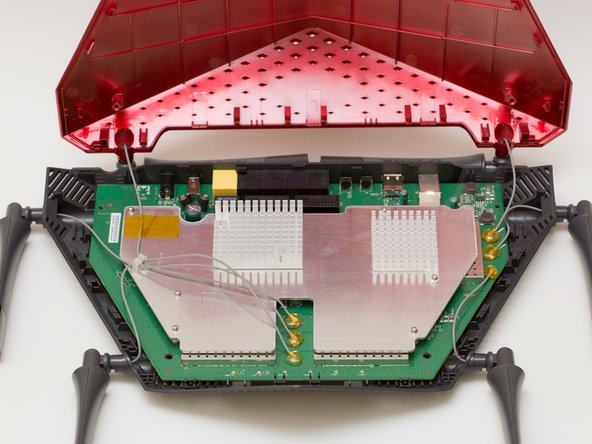
      • Wedge the opening tool between the red top panel and the gray bottom panel.

      • Twist the opening tool to separate the panels. Work your way around the case until both of the panels are separated.

      询问修复机器人

      添加评论

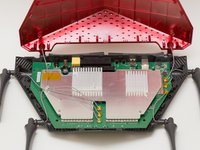
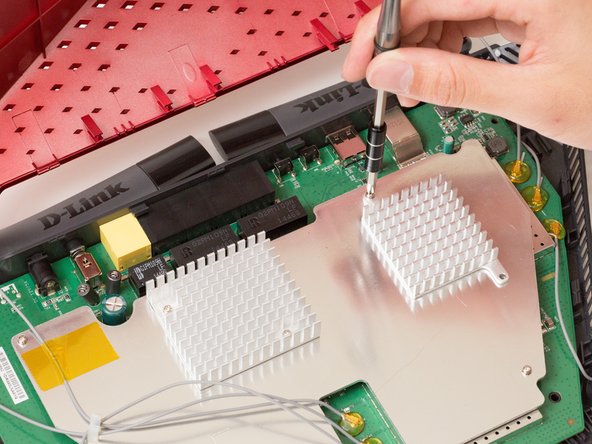
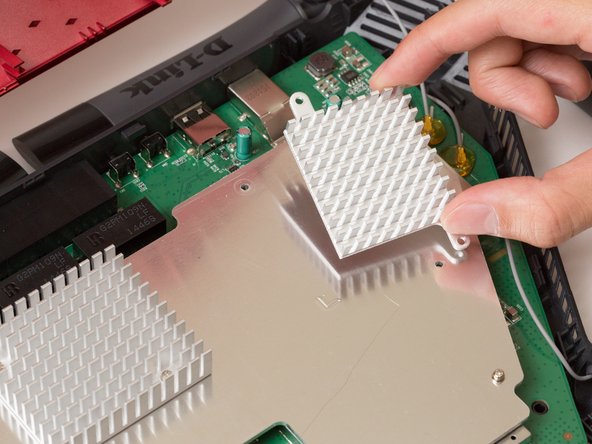
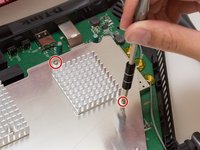
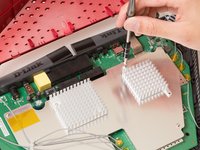
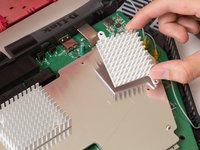
    1. D-Link DIR-890L Heat Sink Replacement, Heat Sink: 步骤 4 中的图像 1,3 D-Link DIR-890L Heat Sink Replacement, Heat Sink: 步骤 4 中的图像 2,3 D-Link DIR-890L Heat Sink Replacement, Heat Sink: 步骤 4 中的图像 3,3
      • Unscrew the two 7mm screws with a Phillips #1 screwdriver.

      • Lift the heat sink off the metal plate with your fingers.

      询问修复机器人

      添加评论

结论

To reassemble your device, follow these instructions in reverse order.

取消:我没有完成这个指南。

另外一个人完成了本指南。

团队

Cal Poly, Team 10-7, Livingston Fall 2016 Cal Poly, Team 10-7, Livingston Fall 2016 的会员

CPSU-LIVINGSTON-F16S10G7

4 名成员

创作了36篇指南

0指南评论

添加评论

浏览统计数据:

过去 24 小时: 0

过去 7 天: 8

过去 30 天: 31

总计 1,530