跳转到主内容
加入维修社区 - 创建账户

Craig Electronics CMP773 Screen Replacement

你所需要的

    1. Craig Electronics CMP773 Screen Replacement, Screen: 步骤 1 中的图像 1,2 Craig Electronics CMP773 Screen Replacement, Screen: 步骤 1 中的图像 2,2
      • Remove two screws on the charging port side of the tablet using the Phillips #00 screwdriver.

      询问修复机器人

      添加评论

    2. Craig Electronics CMP773 Screen Replacement: 步骤 2 中的图像 1,3 Craig Electronics CMP773 Screen Replacement: 步骤 2 中的图像 2,3 Craig Electronics CMP773 Screen Replacement: 步骤 2 中的图像 3,3
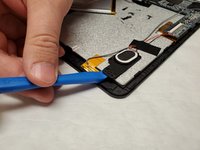
      • Insert a plastic opening tool between the screen and the back of the tablet.

      • Insert another opening tool along the same side of the tablet and pry them in opposite directions until the casing pops.

      • Once roughly half of the case has been unlatched, it can be removed by hand.

      询问修复机器人

      添加评论

    3. Craig Electronics CMP773 Screen Replacement: 步骤 3 中的图像 1,2 Craig Electronics CMP773 Screen Replacement: 步骤 3 中的图像 2,2
      • Use the spudger to gently pry the camera from the casing.

      询问修复机器人

      添加评论

    4. Craig Electronics CMP773 Screen Replacement: 步骤 4 中的图像 1,2 Craig Electronics CMP773 Screen Replacement: 步骤 4 中的图像 2,2
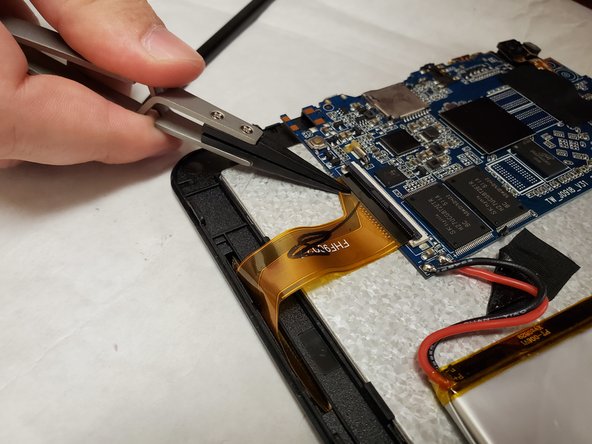
      • Using your finger, remove the clamp that connects the screen power rib to the motherboard.

      • Using needle nose pliers, remove the ribbon.

      询问修复机器人

      添加评论

    5. Craig Electronics CMP773 Screen Replacement: 步骤 5 中的图像 1,3 Craig Electronics CMP773 Screen Replacement: 步骤 5 中的图像 2,3 Craig Electronics CMP773 Screen Replacement: 步骤 5 中的图像 3,3
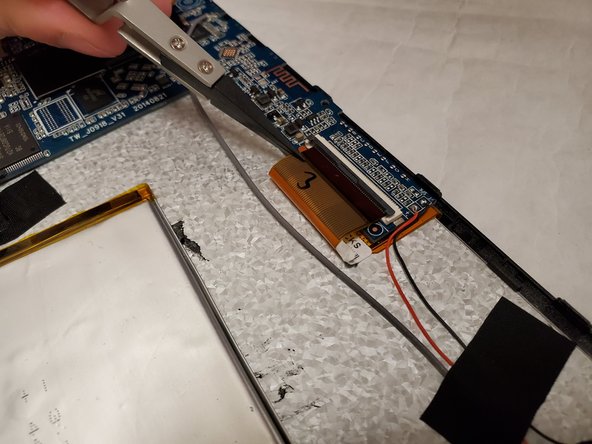
      • Remove the second screen power connection from the motherboard using the same procedure as step 4.

      询问修复机器人

      添加评论

    6. Craig Electronics CMP773 Screen Replacement: 步骤 6 中的图像 1,3 Craig Electronics CMP773 Screen Replacement: 步骤 6 中的图像 2,3 Craig Electronics CMP773 Screen Replacement: 步骤 6 中的图像 3,3
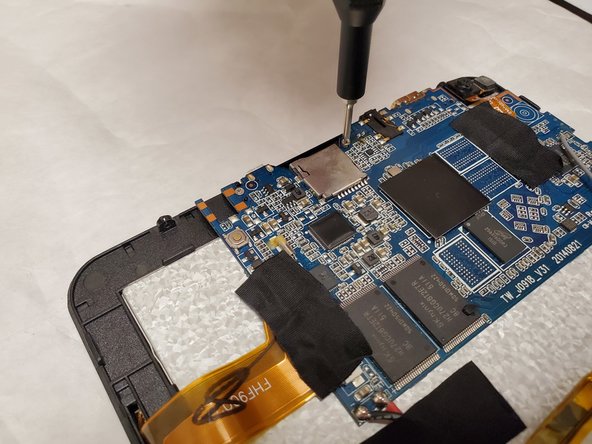
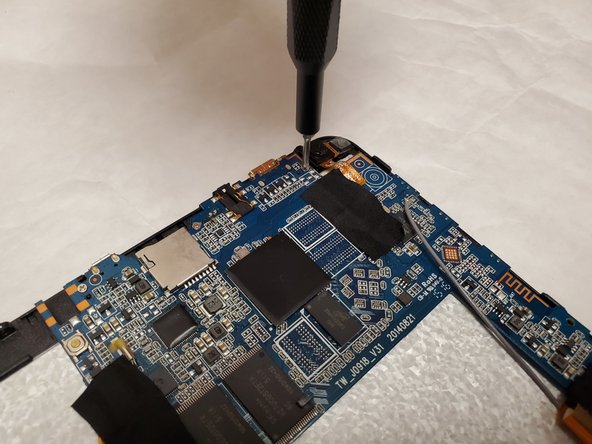
      • Remove four screws from the motherboard using the Phillips #00 screwdriver.

      询问修复机器人

      添加评论

    7. Craig Electronics CMP773 Screen Replacement: 步骤 7 中的图像 1,2 Craig Electronics CMP773 Screen Replacement: 步骤 7 中的图像 2,2
      • Remove a single screw from the speaker using the Phillips #00 screwdriver.

      • Pry up on the locking tabs with the flat spudger.

      询问修复机器人

      添加评论

    8. Craig Electronics CMP773 Screen Replacement: 步骤 8 中的图像 1,1
      • Using needle nose pliers, remove the ground wire from the casing.

      询问修复机器人

      添加评论

    9. Craig Electronics CMP773 Screen Replacement: 步骤 9 中的图像 1,1
      • Using the plastic opening tool, remove the battery.

      询问修复机器人

      添加评论

    10. Craig Electronics CMP773 Screen Replacement: 步骤 10 中的图像 1,2 Craig Electronics CMP773 Screen Replacement: 步骤 10 中的图像 2,2
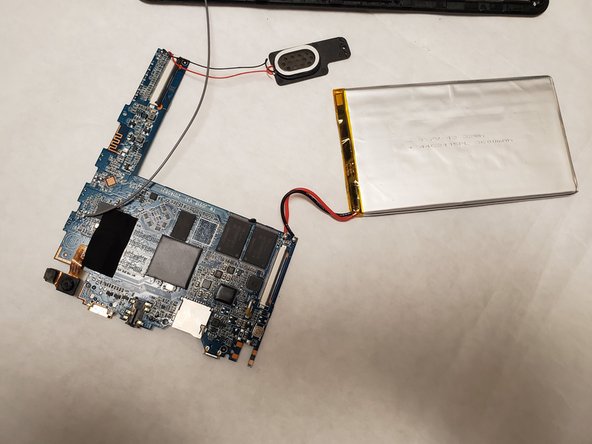
      • With all screws and components removed, gently remove the motherboard from the casing.

      询问修复机器人

      添加评论

    11. Craig Electronics CMP773 Screen Replacement: 步骤 11 中的图像 1,3 Craig Electronics CMP773 Screen Replacement: 步骤 11 中的图像 2,3 Craig Electronics CMP773 Screen Replacement: 步骤 11 中的图像 3,3
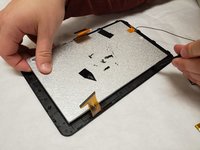
      • Insert the spudger in between the screen and case. Work your way around the outside of the screen.

      询问修复机器人

      添加评论

    12. Craig Electronics CMP773 Screen Replacement: 步骤 12 中的图像 1,3 Craig Electronics CMP773 Screen Replacement: 步骤 12 中的图像 2,3 Craig Electronics CMP773 Screen Replacement: 步骤 12 中的图像 3,3
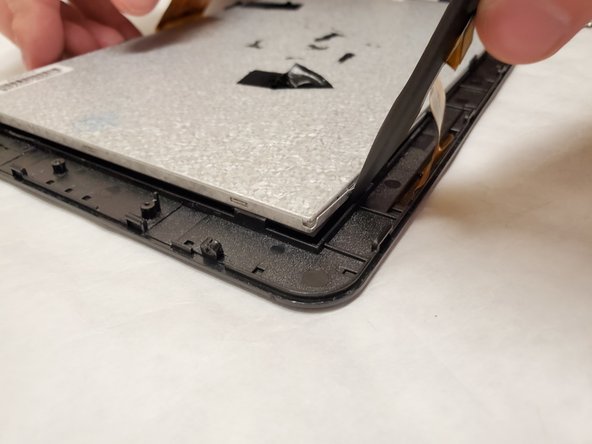
      • Grasp the exposed screen corner and gently separate the screen from the housing.

      询问修复机器人

      添加评论

结论

To reassemble your device, follow these instructions in reverse order.

取消:我没有完成这个指南。

Justin mersch

于11/07/19注册

205 声望

撰写一个指南

团队

IUPUI, Team S3-G4, Harley Fall 2019 IUPUI, Team S3-G4, Harley Fall 2019 的会员

IUPUI-HARLEY-F19S3G4

4 名成员

创作了3篇指南

1指南评论

What kind of battery does this device specifically use

Kris Miller - 回复 分享
添加评论

浏览统计数据:

过去 24 小时: 2

过去 7 天: 7

过去 30 天: 22

总计 482