简介
If your Chromebook’s wireless or cellular connection is patchy, non‑existent, or acting erratically, the culprit may be the internal network card. The Cr‑48 Chromebook shipped with a combined Wi‑Fi and cellular network card that is accessible and replaceable using this guide.
The repair is needed when you notice symptoms such as loss of Wi‑Fi, inability to detect networks, intermittent connectivity, or cellular data failure (if your model supports it). It’s also possible the card has become physically loose or was exposed to moisture, which might degrade its connections.
Before you begin, it’s important to power down the device completely and remove the battery so you avoid any risk of electrical shorting.
你所需要的
-
-
To take out the battery, slide the switch on the bottom of the laptop.
-
The battery should then pop out and you can remove it.
 询问修复机器人
-
-
在这个步骤中使用的工具:Tweezers$4.99
-
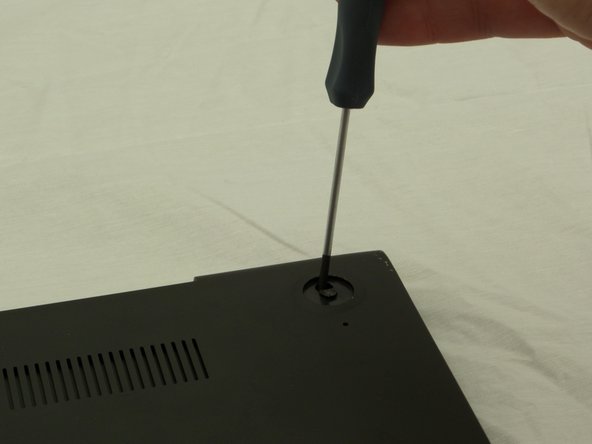
Using a pair of tweezers, remove the two rear rubber feet. You should then see the two screws underneath.
-
-
-
-
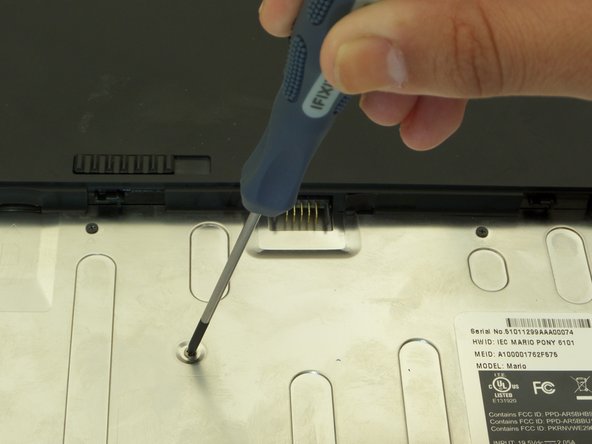
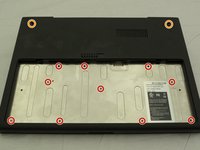
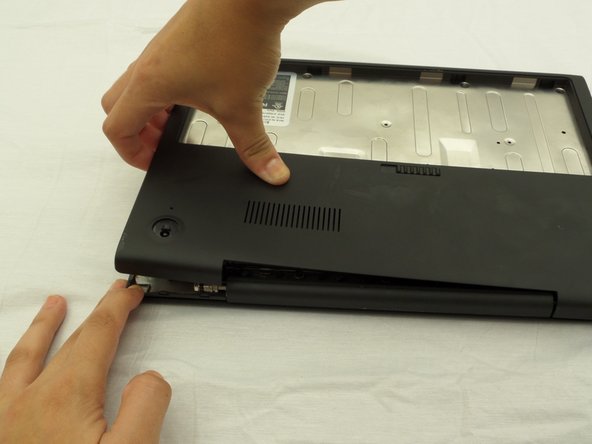
First, position the computer to have the silver battery compartment closest to you. Then, using a Phillips #00 screwdriver, remove the ten 3 mm screws in the battery compartment.
-
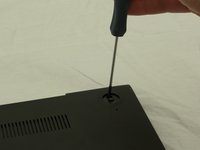
Now, using the same screwdriver, remove the two 4.5 mm screws that were underneath the previously removed rubber feet.
-
-
-
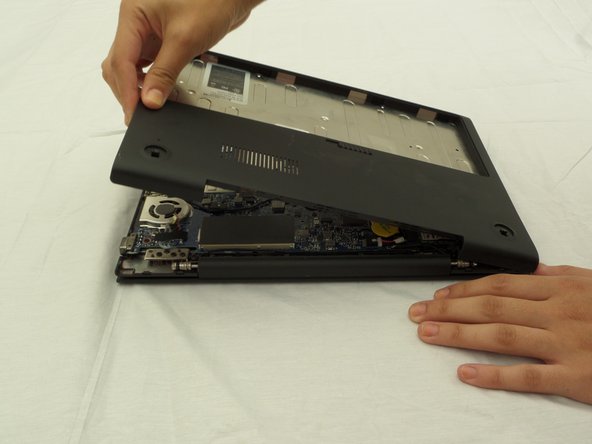
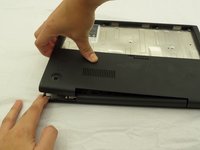
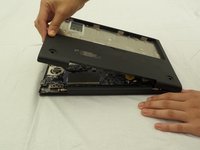
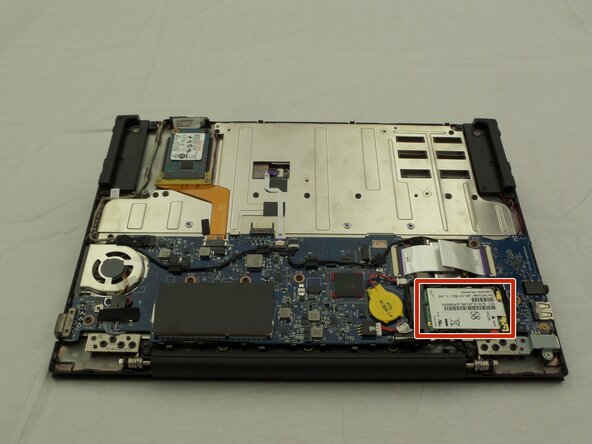
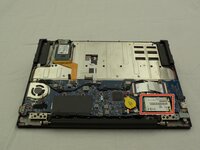
With the lower case removed, look for the network card. It’s typically located in the corner near one of the USB ports.
-
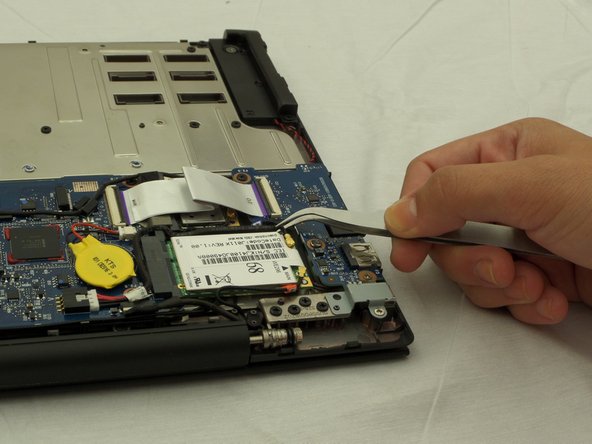
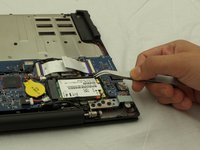
Use tweezers or forceps to carefully lift off the wire connectors attached to the network card.
-
-
-
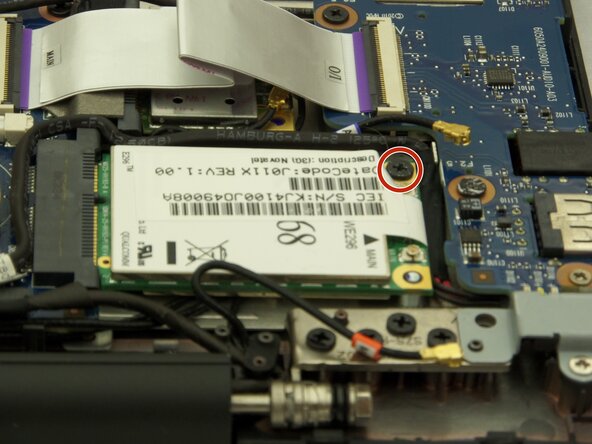
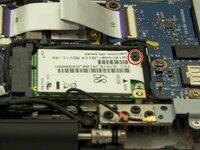
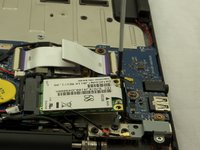
Remove the single 3 mm screw securing the network card to the board.
-
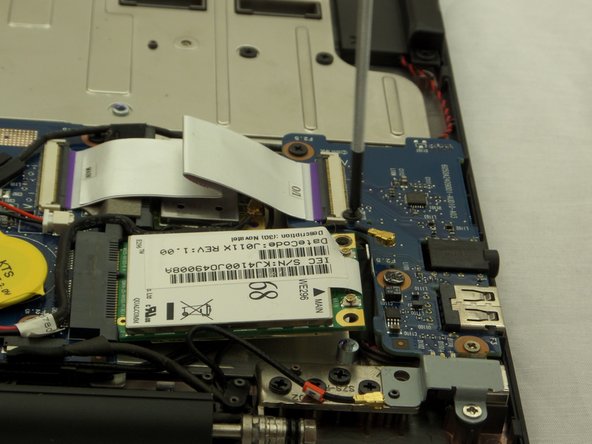
Once the screw is out, the card should pivot upward slightly (“pop up”).
-
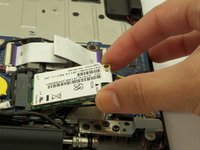
Gently pull the network card out of its socket at an angle and remove it completely.
-





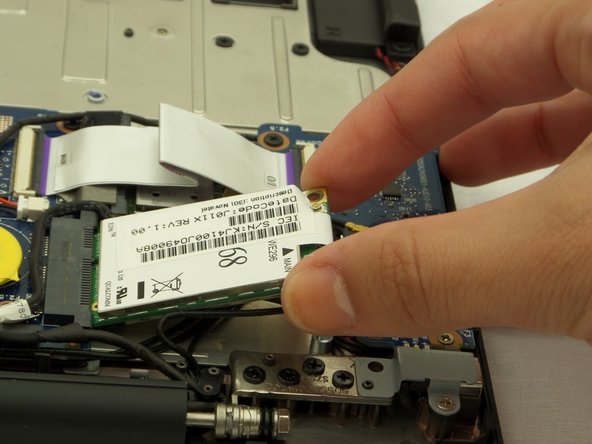
To reassemble your device, follow these instructions in reverse order. Take your e-waste to an E-Waste certified recycler.

团队

CSU Fullerton, Team 2-2, Bruce Fall 2014 CSU Fullerton, Team 2-2, Bruce Fall 2014 的会员
CSUF-BRUCE-F14S2G2
3 名成员
创作了10篇指南
1指南评论
The card identified in the pictures is not a combined Wi-Fi / Cellular card. It is just a 3G cellular card; the WiFi card is the other card tucked under the flat ribbon next to the card pictured in this guide
Jorge Gomes - 回复 分享
