跳转到主内容
加入维修社区 - 创建账户

Connecting the Keypad

    1. Connecting the Keypad, Keypad: 步骤 1 中的图像 1,2 Connecting the Keypad, Keypad: 步骤 1 中的图像 2,2
      • Turn the calculator over so the blue Texas Instruments logo is facing you.

      • Slide the blue cover downwards until it is completely removed from the calculator.

      询问修复机器人

      添加评论

    2. Connecting the Keypad: 步骤 2 中的图像 1,1
      • If the keypad is not already connected, skip the next 2 steps.

      • Turn the calculator over so the keypad is facing down.

      • Locate the sliding latch towards the bottom of the calculator.

      询问修复机器人

      添加评论

    3. Connecting the Keypad: 步骤 3 中的图像 1,2 Connecting the Keypad: 步骤 3 中的图像 2,2
      • Slide the latch to the right to release the keypad.

      • At the same time, pull the keypad downwards.

      询问修复机器人

      添加评论

    4. Connecting the Keypad: 步骤 4 中的图像 1,2 Connecting the Keypad: 步骤 4 中的图像 2,2
      • Take note of where the keypad and the calculator connect.

      询问修复机器人

      添加评论

    5. Connecting the Keypad: 步骤 5 中的图像 1,3 Connecting the Keypad: 步骤 5 中的图像 2,3 Connecting the Keypad: 步骤 5 中的图像 3,3
      • Slide the keypad directly into where it connects to the calculator until you hear a click. Readjust as necessary.

      询问修复机器人

      添加评论

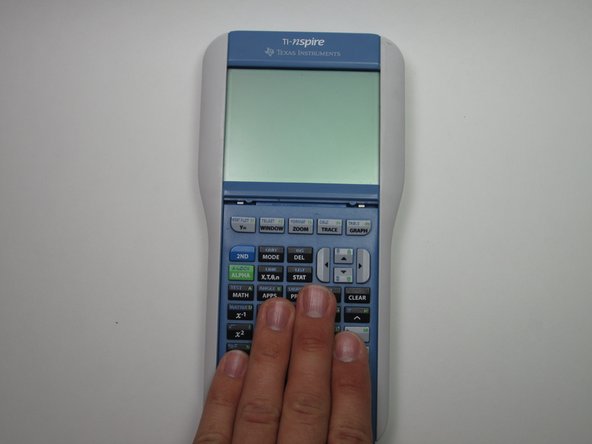
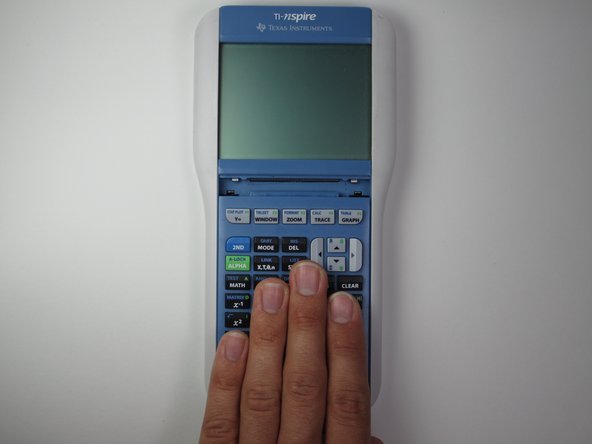
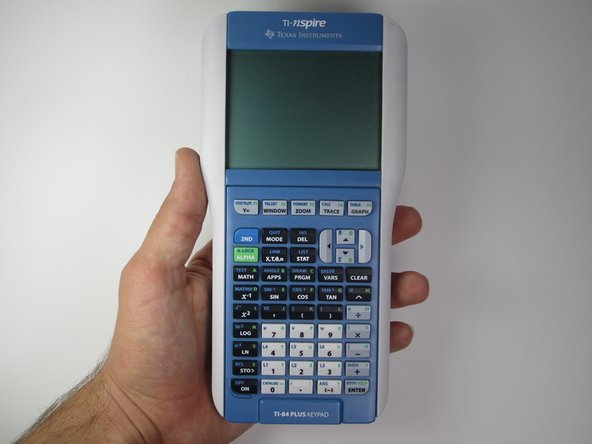
    6. Connecting the Keypad: 步骤 6 中的图像 1,1
      • Press the "ON" button to make sure that the calculator turns on. If the calculator turns on correctly, you have properly inserted the keypad.

      添加评论

结论

If the keypad was inserted properly, the calculator should turn on without any errors.

取消:我没有完成这个指南。

另外一个人完成了本指南。

团队

Cal Poly, Team 7-52, Forte Fall 2012 Cal Poly, Team 7-52, Forte Fall 2012 的会员

CPSU-FORTE-F12S7G52

5 名成员

创作了33篇指南

0指南评论

添加评论

浏览统计数据:

过去 24 小时: 3

过去 7 天: 8

过去 30 天: 25

总计 15,500