简介
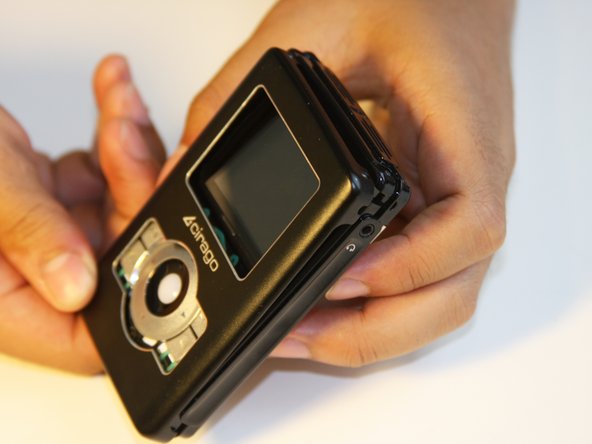
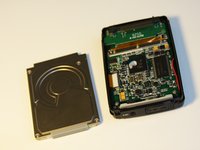
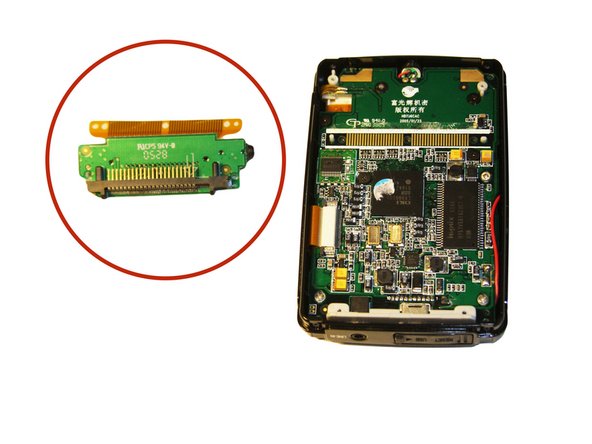
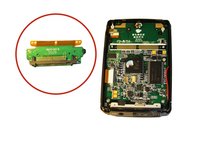
If your Cirago M9030 device is experiencing issues with data transfer or failing to recognize connected drives, the IDE connector may be the culprit.
This guide provides detailed, step-by-step instructions to help you safely replace the IDE connector in your Cirago M9030 MP3 player, restoring your device's functionality. Following these steps, you'll learn how to disassemble the device, remove the faulty connector, and install a new one, ensuring a reliable connection for your hard drive.
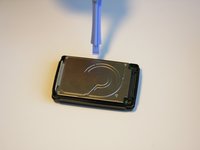
Before you begin this repair, turn off your device and unplug it from the charger.
你所需要的
-
-
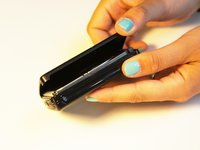
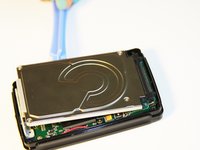
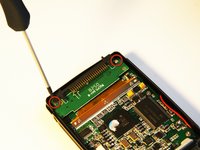
Use a Phillips #00 screwdriver to unscrew the four 1.1mm long screws on each corner located at the top of the cover.
 询问修复机器人
-
-
-
-
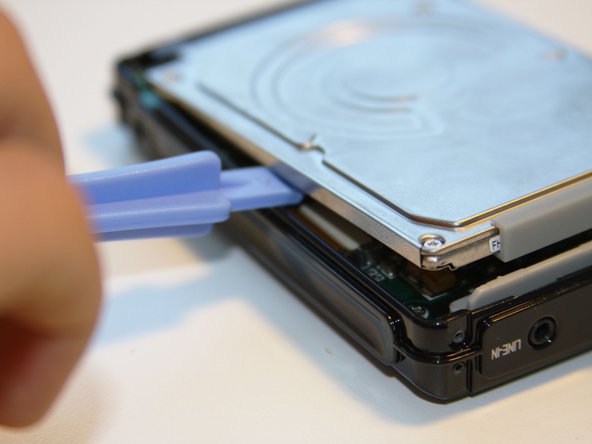
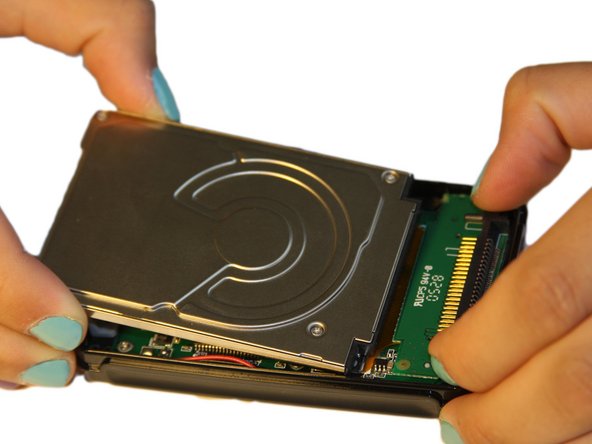
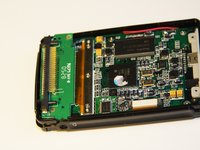
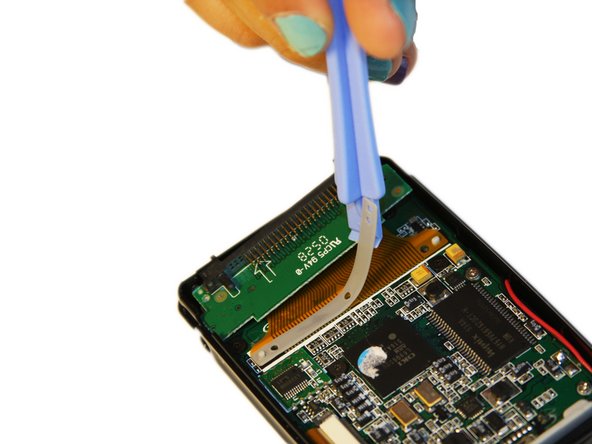
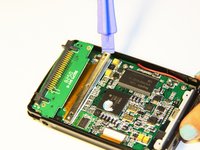
Using the Phillips #00 screwdriver, unscrew the two 1.5mm long screws holding the IDE connector to the motherboard located at the top.
-


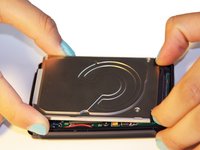


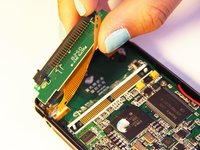
To reassemble your device, follow these instructions in reverse order. Once you've replaced the IDE connector and reassembled your Cirago M9030, your device should be able to detect hard drives properly again. If everything is connected correctly, your repair is complete. Great job!
Take your e-waste to an R2 or e-Stewards certified recycler.
另外一个人完成了本指南。
团队

Cal Poly, Team 1-4, Regan SU 2012 Cal Poly, Team 1-4, Regan SU 2012 的会员
CPSU-REGAN-SU12S1G4
4 名成员
创作了7篇指南