跳转到主内容
加入维修社区 - 创建账户

此翻译由机器生成,尚未经过人工审核。 会说这种语言吗? 查看评论

Fitbit Charge 3 拆解

你所需要的

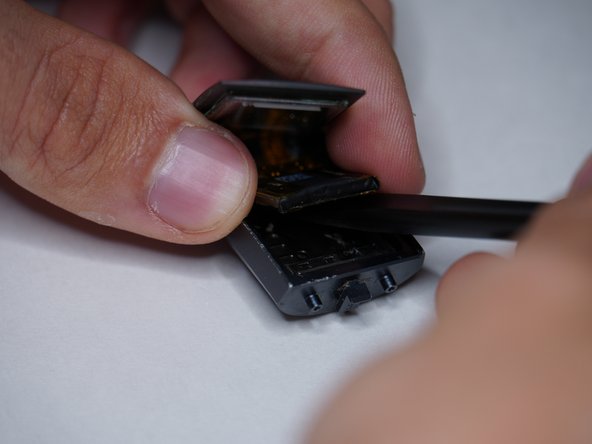
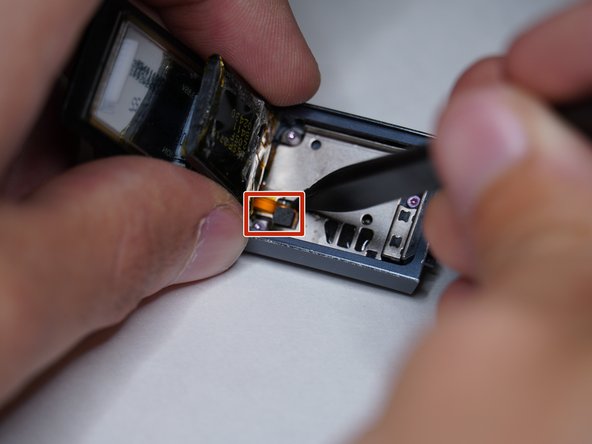
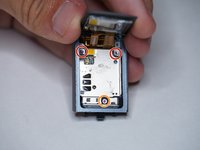
    1. Fitbit Charge 3 拆解, 表带连接器: 步骤 1 中的图像 1,3 Fitbit Charge 3 拆解, 表带连接器: 步骤 1 中的图像 2,3 Fitbit Charge 3 拆解, 表带连接器: 步骤 1 中的图像 3,3
      • 拧下两颗 T3 螺丝

      • 将塑料件向外并向上提起,使其滑出

      • 将塑料和弹簧组件从导轨上滑下

      添加评论

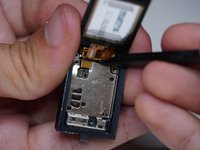
    2. Fitbit Charge 3 拆解, 显示屏: 步骤 2 中的图像 1,3 Fitbit Charge 3 拆解, 显示屏: 步骤 2 中的图像 2,3 Fitbit Charge 3 拆解, 显示屏: 步骤 2 中的图像 3,3
      • 用吹风机加热玻璃屏幕,以软化显示屏粘合剂

      • 从 Fitbit 字样下方的“相反侧”开始下一步。这是因为显示屏排线位于该处

      • 将剃须刀片插入玻璃和机身之间

      • 沿着显示屏边缘继续操作,直到其松动

      添加评论

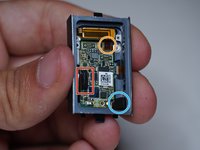
    3. Fitbit Charge 3 拆解, 线缆警告: 步骤 3 中的图像 1,1
      • 线缆在 Fitbit 字样下方非常靠近边缘,因此请务必小心。

      询问修复机器人
      添加评论

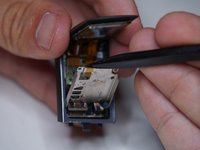
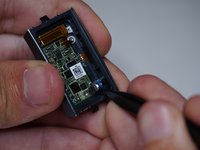
    4. Fitbit Charge 3 拆解, 电池: 步骤 4 中的图像 1,3 Fitbit Charge 3 拆解, 电池: 步骤 4 中的图像 2,3 Fitbit Charge 3 拆解, 电池: 步骤 4 中的图像 3,3
      • 轻轻抬起显示屏

      • 电池用少量显示屏粘合剂固定,因此请轻轻抬起

      • 断开电池连接器

      询问修复机器人
      添加评论

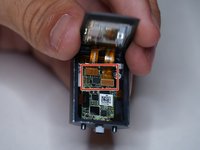
    5. Fitbit Charge 3 拆解, 振动器屏蔽罩: 步骤 5 中的图像 1,2 Fitbit Charge 3 拆解, 振动器屏蔽罩: 步骤 5 中的图像 2,2
      • 拧下两颗 T2 螺丝

      • 取下金属屏蔽罩

      询问修复机器人

      添加评论

    6. Fitbit Charge 3 拆解, 主屏蔽罩: 步骤 6 中的图像 1,3 Fitbit Charge 3 拆解, 主屏蔽罩: 步骤 6 中的图像 2,3 Fitbit Charge 3 拆解, 主屏蔽罩: 步骤 6 中的图像 3,3
      • 拧下两颗 T2 螺丝

      • 拧下一颗 T3 螺丝

      • 取下金属屏蔽罩

      添加评论

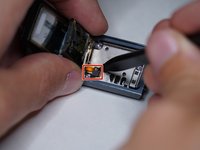
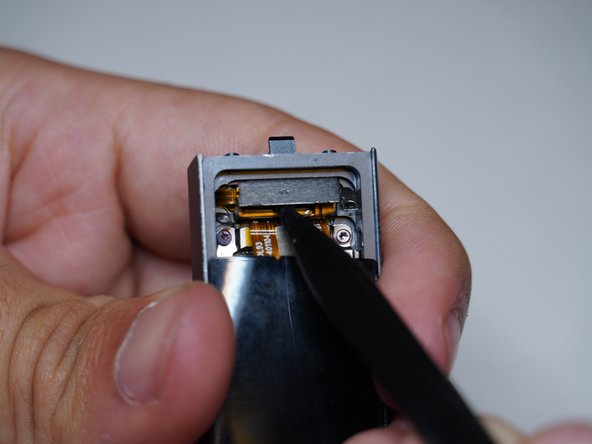
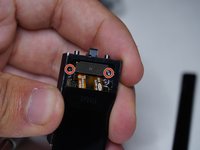
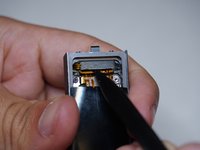
    7. Fitbit Charge 3 拆解, 显示屏连接器: 步骤 7 中的图像 1,3 Fitbit Charge 3 拆解, 显示屏连接器: 步骤 7 中的图像 2,3 Fitbit Charge 3 拆解, 显示屏连接器: 步骤 7 中的图像 3,3
      • 撬起两个显示屏连接器

      添加评论

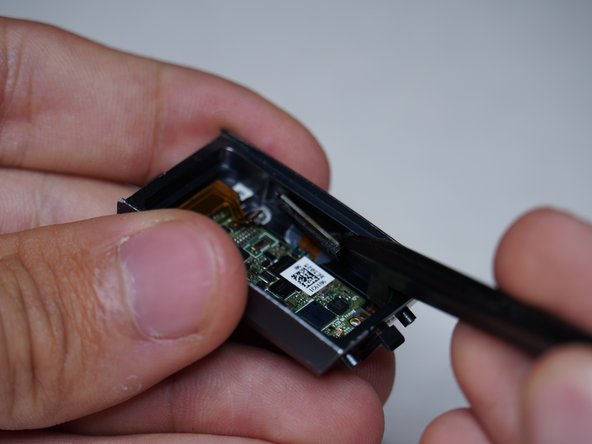
    8. Fitbit Charge 3 拆解, 断开连接器和高度计: 步骤 8 中的图像 1,2 Fitbit Charge 3 拆解, 断开连接器和高度计: 步骤 8 中的图像 2,2
      • 断开振动器连接器

      • 断开心率和充电连接器

      • 拆下高度计

      询问修复机器人
      添加评论

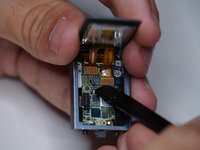
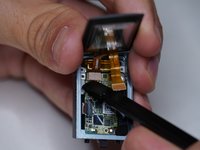
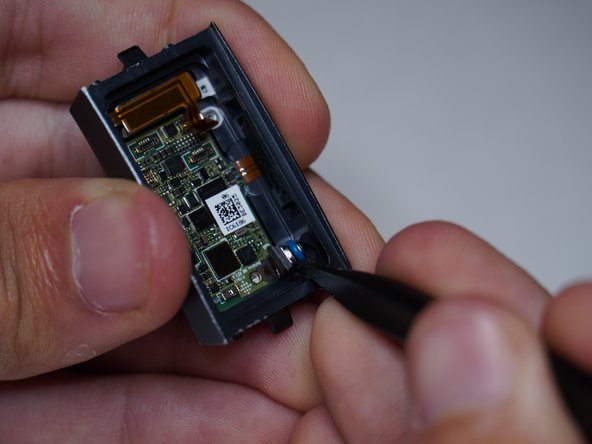
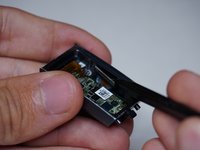
    9. Fitbit Charge 3 拆解, 侧边按钮和振动器: 步骤 9 中的图像 1,3 Fitbit Charge 3 拆解, 侧边按钮和振动器: 步骤 9 中的图像 2,3 Fitbit Charge 3 拆解, 侧边按钮和振动器: 步骤 9 中的图像 3,3
      • 从外壳中拆下按钮组件

      • 拆下振动器

      • 带有少量粘合剂,并且通过磁性吸附在外壳上

      询问修复机器人

      添加评论

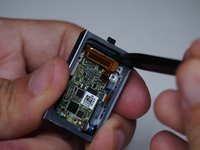
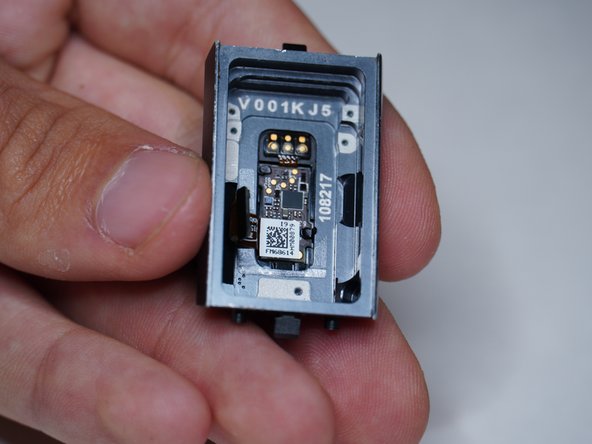
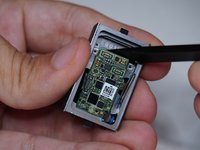
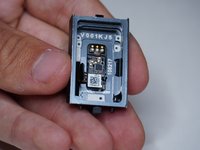
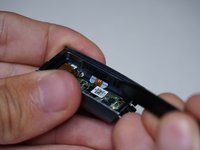
    10. Fitbit Charge 3 拆解, 主板: 步骤 10 中的图像 1,2 Fitbit Charge 3 拆解, 主板: 步骤 10 中的图像 2,2
      • 拆下主板

      • 心率传感器和充电触点似乎是模塑在壳体上的,我无法将它们拆下

      询问修复机器人
      添加评论

终点

取消:我没有完成这个指南。

4等其他人完成本指南。

ShellingRook27

于08/21/19注册

2,353 声望

创作了7篇指南

团队

Repair For You Repair For You 的会员

Business

1 名成员

创作了84篇指南

12指南评论

The tear down pictures are great, but in my Charge 3 I needed a T-1 and a T-2 driver

Julien Baldwin - 回复 分享

Same, my ifixit pro kit only had a driver for the external screws and did not come with a small enough driver to remove the screws inside the charge 3 unit. I'll need to get the smaller bit from a different kit.

Brian Hall - 回复 分享

Which step in the teardown guide needed the T1 driver?

ShellingRook27 - 回复 分享

Great job on this tear-down. Thank you, it really helped in my screen replacement.

AndyZ - 回复 分享

This tear down was very easy to follow. The heart rate monitor was also sealed in with some adhesive for me too but a little heat gun took it right off. I had suspected water leaked in and that in fact was the culprit after inspecting the connection. corrosion all around the HR monitor.

Nick Herbert - 回复 分享

添加评论

浏览统计数据:

过去 24 小时: 0

过去 7 天: 9

过去 30 天: 76

总计 12,481