简介
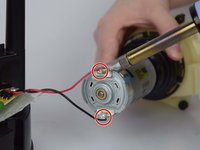
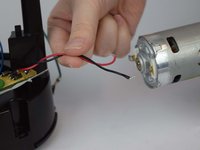
Is your Capresso Infinity not grinding your coffee even though it’s plugged in? Is the Grinder making odd noises, or seems like its not turning as fast as it should? If so here is the guide to fix the problem by replacing the motor. All you need is a Torx Security T10 Bit, Spudger, Opening Tool, and Soldering Iron.
你所需要的
-
-
-
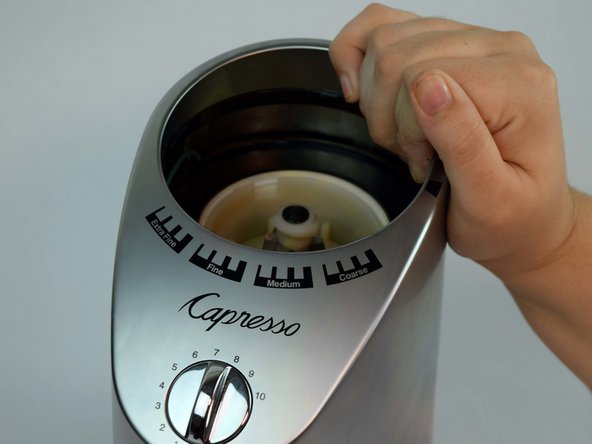
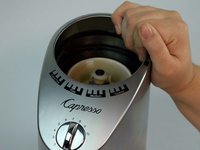
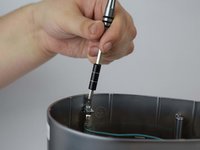
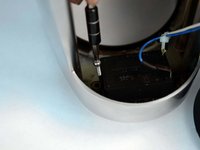
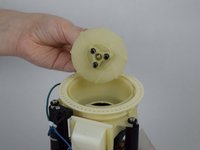
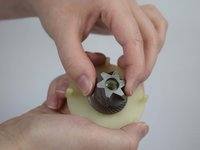
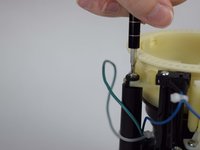
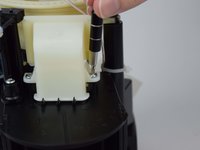
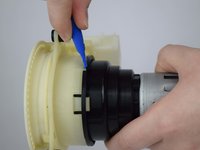
Twist the top plastic container to the left counterclockwise.
-
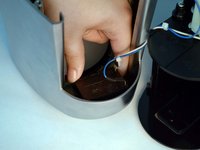
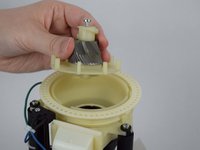
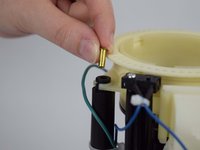
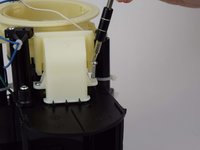
Pull upwards to remove.
 询问修复机器人
-
-
-
-
-
-
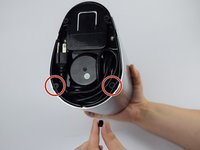
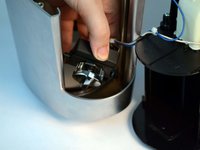
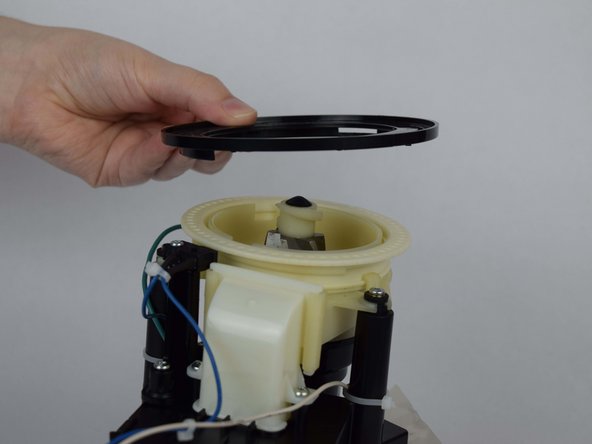
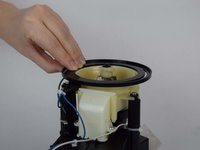
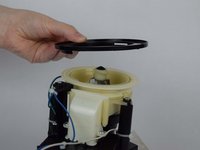
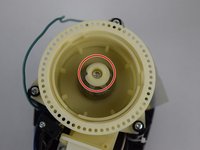
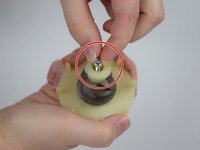
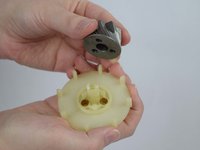
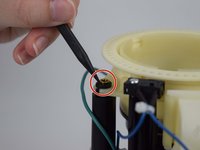
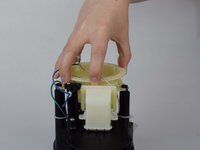
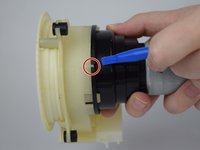
Grab the edge of the plastic black ring that sits on top of the device and gently pull up to release.
-
-
-
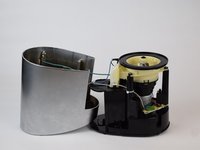
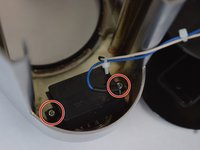
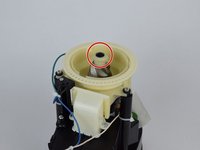
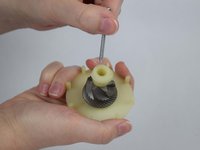
This is the correct position of bearings and springs when the screw and bottom burr are removed.
-
-
-
-
-
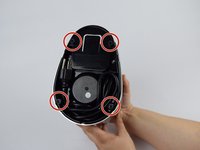
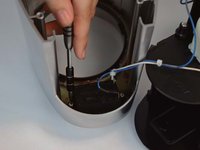
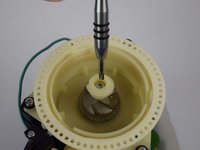
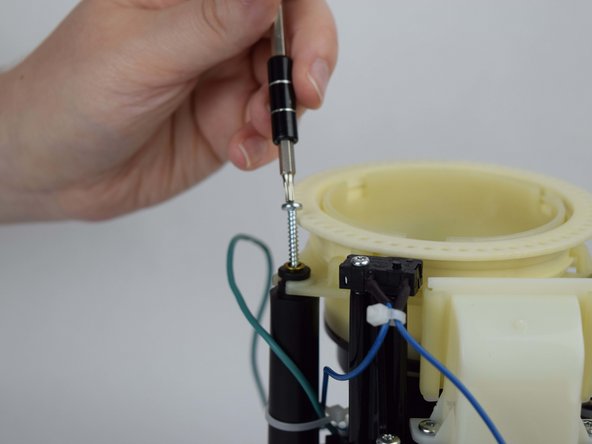
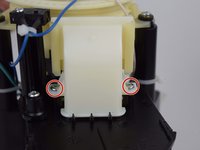
Remove the three 19.61 mm T10 screws surrounding the white plastic burr housing.
-
-
-
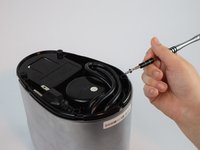
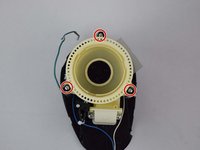
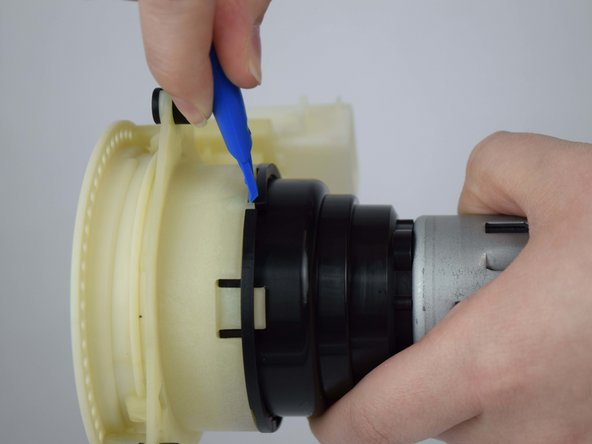
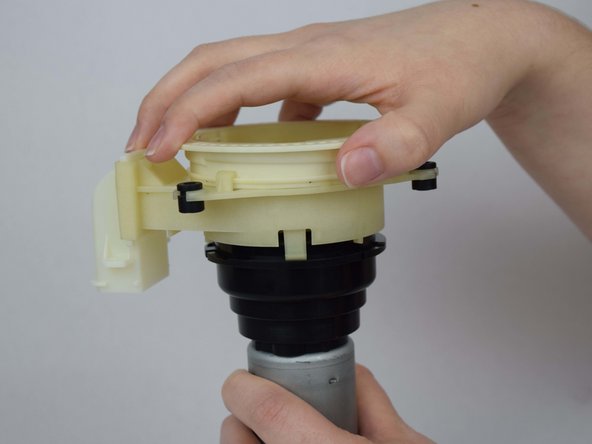
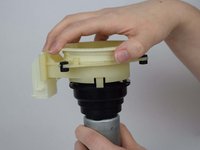
Locate the three knobs preventing the white plastic burr housing from being removed from the motor. They are all along the seam.
-
Pry the seam between the two pieces down enough to allow each knob to slide counterclockwise with an opening tool.
-
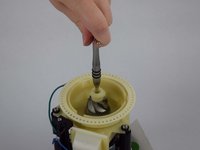
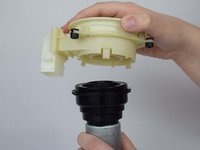
Twist the white plastic burr housing as far counterclockwise as you can.
-
-


To reassemble your device, follow these instructions in reverse order.
6等其他人完成本指南。

团队

USF Tampa, Team S1-G1, Leahy Fall 2018 USF Tampa, Team S1-G1, Leahy Fall 2018 的会员
USFT-LEAHY-F18S1G1
4 名成员
创作了15篇指南
14指南评论
I have a Capresso 565 with a burnt out motor. If I buy a 560, can I just swap out the stainless steel for the plastic? They look like the same unit with that one exception.
I have a Nivona CafeGrano 135, which is technical identical. I was able to remove the entire Motor unit.
In Germany, it can be bought, e.g. here: https://komtra.de/jura-ersatzteile/jura-...
(unfortunately for the same price like a new grinder.)
Is it possible to remove the motor from the black plastic? It should be possible to just replace the motor….
I have the plastic-housing version of this unit. I removed the (four) rubber feet, but underneath there was nothing but blank plastic, even though the structure looked exactly like there should be screws there.
The solution: the plastic housing is held in place by four latches around the base, each visible in a slot between the housing and the base. Pry them apart, and you can then pop the plastic housing off. (You may have to work your way around several times before the first latch doesn’t re-latch while you’re working on the other ones.)