简介
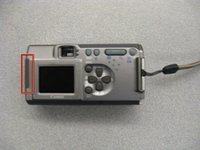
Use this guide to replace the LCD Display if it is cracked or not functioning properly on your Canon PowerShot A200.
A functioning LCD Display uses its liquid substances to properly create images on the screen of your camera.
A broken LCD screen could be hazardous to the skin. If broken, take appropriate precautions.
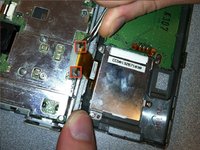
Once the case has been disassembled, a new LCD Display can be installed.
Make sure there is some experience with working with difficulty as soldering will be needed to reassemble the camera together.
你所需要的
-
-
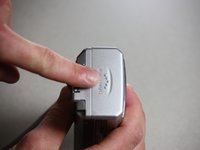
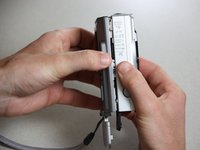
Use a Phillips #00 screwdriver to remove the two screws located at the bottom of the camera.
 询问修复机器人
-
-
-
-
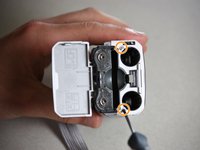
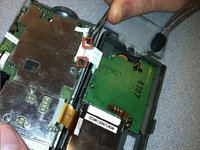
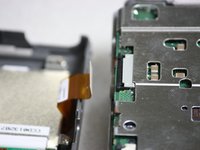
Use a Phillips head screwdriver to remove the four screws from the corners of the LCD.
-


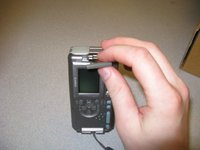


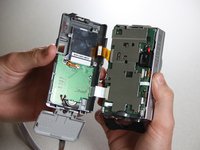


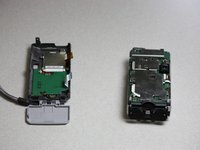


Follow the instructions in the prerequisite guide Disassembling the Canon PowerShot A200 Case.
Once completed, proceed with installing a new LCD Display.
团队

Cal Poly, Team 7-37, Regan Winter 2011 Cal Poly, Team 7-37, Regan Winter 2011 的会员
CPSU-REGAN-W11S7G37
4 名成员
创作了10篇指南