简介
If you're having scanning issues as a result of a faulty sensor bar, this is where you will want to begin.
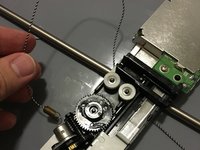
To replace the sensor bar in the Canon CanoScan N670U, you must:
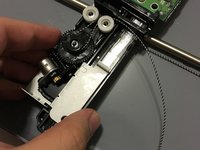
- Remove the two plastic bars that hold the glass scanner bed.
- Set aside the scanner bed.
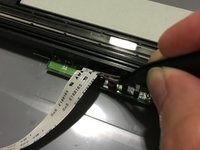
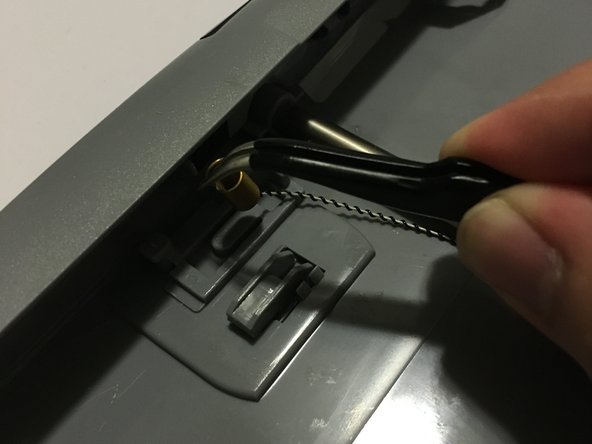
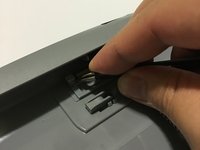
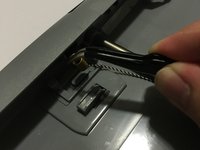
- Loosen the belt from the plastic hook.
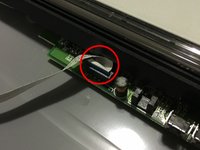
- Remove the sensor bar for replacement.
你所需要的
-
-
-
Open up your Canon CanoScan N670U to an upright position.
 询问修复机器人
-
-
-
-


结论
To reassemble your device, follow these instructions in reverse order.
另外一个人完成了本指南。
团队

USF Sarasota-Manatee, Team 1-1, Stewart Fall 2015 USF Sarasota-Manatee, Team 1-1, Stewart Fall 2015 的会员
USFSM-STEWART-F15S1G1
5 名成员
创作了38篇指南