此翻译由机器生成,尚未经过人工审核。 会说这种语言吗? 查看评论。
简介
本指南以一台已更换为 CR-10S 同款主板的旧款 CR-10 Mini 为例。首先拆下控制盒,将其放置在照明良好且你能够舒适操作的地方。
开始前请通读这些步骤:
- 在拆卸机器上的任何组件之前,请先预览整个流程。确保你有信心且能够完成这些任务。
- 确认你的机器具有 USB 连接功能。你可以尝试先进行固件更新。这样如果出现问题,你的机器仍然可以正常使用,你也可以在升级前先解决 USB 连接问题。
- 确保你有足够的时间和所需的工具来完成升级。任务进行到一半却因为缺少东西而被迫中断,这可不是什么好体验。
-
-
-
在橡胶圈松开的状态下,你可以将线束 A 穿过橡胶圈,2 针和 3 针连接器端先行。
-
留出 4-5 英寸(约 10-13 厘米)的松散针脚,然后重新安装橡胶圈。
-
-
-
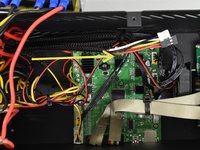
将线束 A 穿入控制盒后,请注意各部件的连接位置,以便在需要拔下 LCD 等部件连接以接触新连接点时进行还原。
-
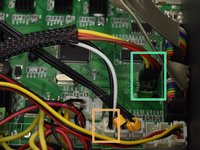
将 3 针连接器插入 D11 排针,红色导线需连接至 V 针脚。对于 CR-10S 机型,该位置是距离 LCD 连接处最近的针脚。
-
将 2 针连接器插入原先连接 Z 轴限位开关的位置。对于 CR-10S 机型,此处即为 Z- 接口。
-
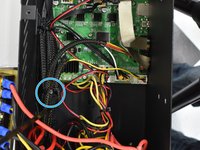
用扎带将线束 A 固定在原有线束组上,以减轻线材受力。
-
-
-
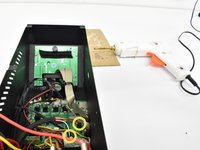
如果你打算用胶水粘接新的连接点,现在进行操作。
-
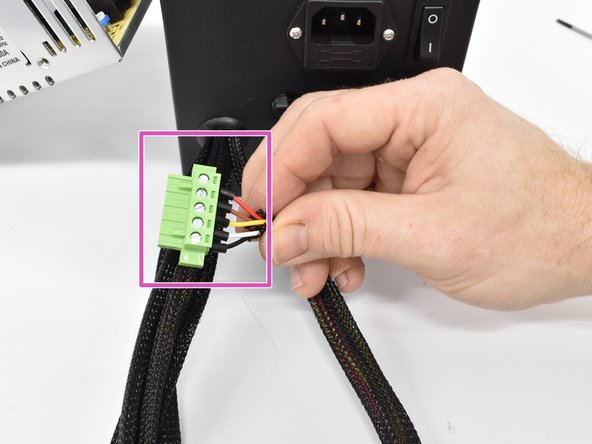
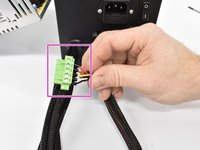
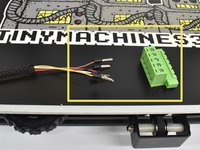
将公头绿色凤凰连接器安装到线束 A 上。
-
使用一字螺丝刀将端子拧松 3-4 圈,然后将导线插入其中。
-
重新安装电源并拧紧螺丝。
-
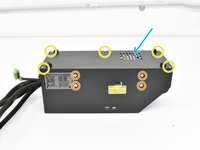
重新安装底盖并拧紧螺丝。
-
-
-
-
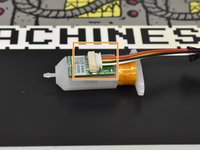
将连接器的小端插入探头。由于连接器只能单向插入,请勿用力强行插入。
-
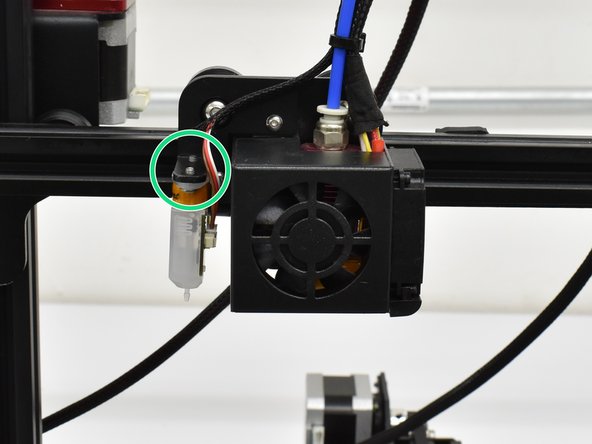
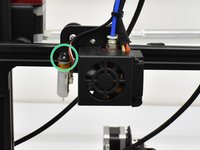
按图示安装探头,确保连接处朝向热端。使用 M2 内六角扳手安装随附的 M3x6 螺丝。
-
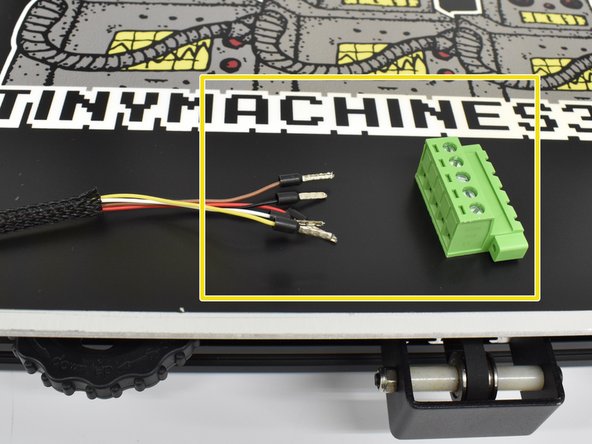
现在,你可以将预压接的布线安装到凤凰连接器中。请确保颜色顺序与主板侧匹配。
-
-
-
仔细检查主板侧和探头侧的颜色是否对应,然后将主板侧连接到探头侧。
-
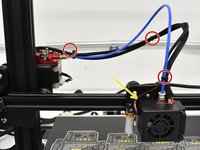
可以使用提供的扎带将新线束固定在如图所示的位置,与原线束连接在一起。
-
请确保探头线束留有一定的余量,这样在 X 轴来回移动时就不会拉扯到线束。
-


 询问修复机器人



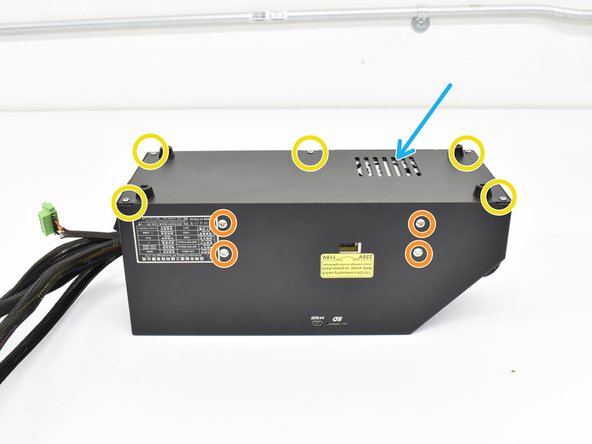


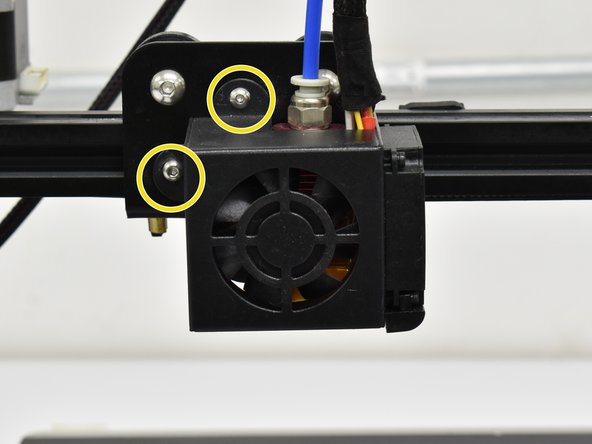

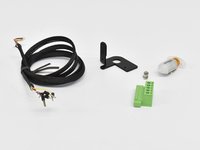
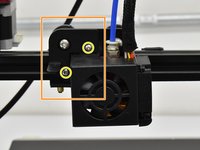


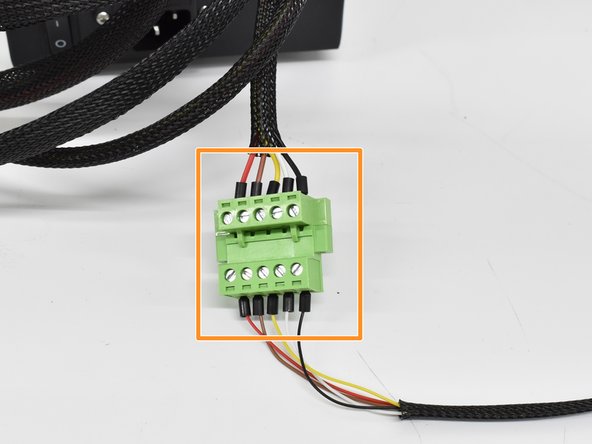

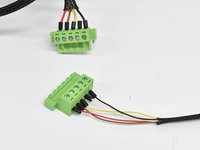
要重新组装设备,请按相反顺序执行这些说明。
2等其他人完成本指南。

团队

6指南评论
For the CR-10S, the 3 wire and 2 wire plug use this diagram: https://imgur.com/a/qvfqlAn. It can be hard to find the D11. Make sure the red wire is pointed towards the outside of the motherboard edge. The 2 wire plug will require you to cut the glue from the original Z connector, use a razor blade to do this. Follow the rest of the directions. The software you download and the hex file: Make sure you select the correct install as multiple come in the hex file. I only had one COM to select and the Baud was automatic. I did not plug the power cord back into the control box. I connected the box via USB and it powered on over USB. I did the firmware update like this without issue. The update took about 2 minutes and then your LCD screen will restart. Reset the items per the instructions (you will get an odd beep for each item and that's it). Once done, plug in your power cord and turn on the machine and then remove the USB. Turn machine on and Auto Home it and test the probe which should stop Z axis. Good Luck
Lastly, this is an excellent install with great customer support. Took me an hour to do while taking my time. I recommend this to anyone with a CR-10
Hi, I'm asking for help installing the CR-10S BL Touch
I assembled the wires on the motherboard and updated version 1.1.6BL_V3
The problem is that the sensor does not stop the Z axis
Thanks
Try switching the pins on the two pin z stop connector. I was wiring a CR touch and that did the trick for me. (A sharp pin or very small flathead can depress the catch and allow you to slide the wire end from the plastic bracket so you can slide them out and switch)
