跳转到主内容
加入维修社区 - 创建账户

CASIO CDP-230R Pitch Bend Replacement

你所需要的

    1. CASIO CDP-230R Pitch Bend Replacement, Panels: 步骤 1 中的图像 1,3 CASIO CDP-230R Pitch Bend Replacement, Panels: 步骤 1 中的图像 2,3 CASIO CDP-230R Pitch Bend Replacement, Panels: 步骤 1 中的图像 3,3
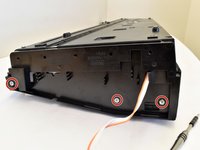
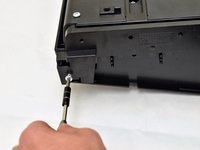
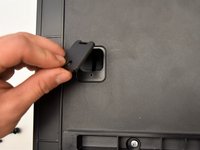
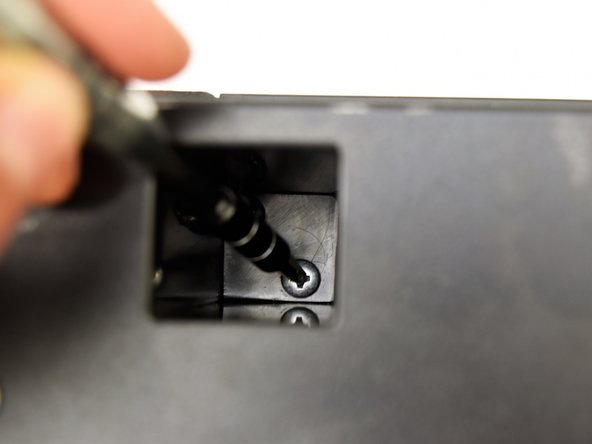
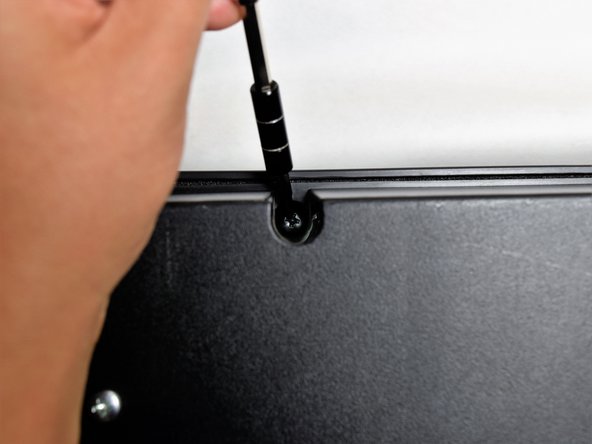
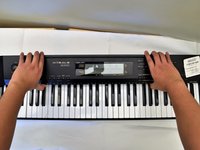
      • Flip the keyboard upside down, with the keys on a flat surface.

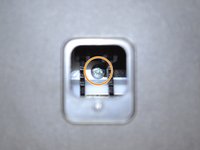
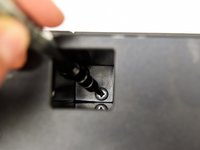
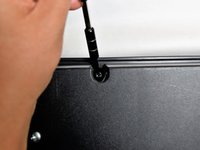
      • Remove the three black 14mm Japanese Industrial Standard (J) head screws using a J1 screwdriver on the top half of the outermost side panel.

      添加评论

    2. CASIO CDP-230R Pitch Bend Replacement: 步骤 2 中的图像 1,3 CASIO CDP-230R Pitch Bend Replacement: 步骤 2 中的图像 2,3 CASIO CDP-230R Pitch Bend Replacement: 步骤 2 中的图像 3,3
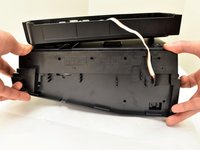
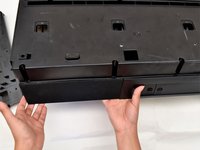
      • Use two hands to grab the side panel from both sides.

      • Pull the panel apart from the device one side at a time.

      • There will be popping sounds when you remove this panel.

      • One side panel will not have an orange & white cable connected to it.

      询问修复机器人

      添加评论

    3. CASIO CDP-230R Pitch Bend Replacement: 步骤 3 中的图像 1,3 CASIO CDP-230R Pitch Bend Replacement: 步骤 3 中的图像 2,3 CASIO CDP-230R Pitch Bend Replacement: 步骤 3 中的图像 3,3
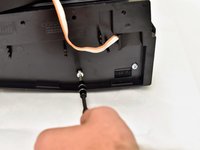
      • Remove the three silver 10mm screws with a J1 screwdriver on the bottom half of the innermost side panel of the device.

      • One side panel will not have an orange & white cable running through.

      询问修复机器人

      添加评论

    4. CASIO CDP-230R Pitch Bend Replacement: 步骤 4 中的图像 1,3 CASIO CDP-230R Pitch Bend Replacement: 步骤 4 中的图像 2,3 CASIO CDP-230R Pitch Bend Replacement: 步骤 4 中的图像 3,3
      • Remove the innermost side panel by pinching the top and bottom of the panel and pulling the panel off with both hands.

      • There will be popping sounds when you remove this panel.

      • Repeat steps one through four to remove the other side panel of the keyboard.

      添加评论

    5. CASIO CDP-230R Pitch Bend Replacement: 步骤 5 中的图像 1,3 CASIO CDP-230R Pitch Bend Replacement: 步骤 5 中的图像 2,3 CASIO CDP-230R Pitch Bend Replacement: 步骤 5 中的图像 3,3
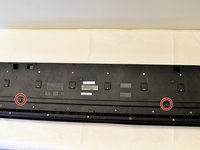
      • Remove the two black 30 mm J head screws with a J1 screwdriver to remove the long black bar.

      • Remove the four silver 8mm x 2mm J head screws with a J1 screwdriver and the two brackets from the back panel.

      • There will be two screws per bracket.

      询问修复机器人

      添加评论

    6. CASIO CDP-230R Pitch Bend Replacement: 步骤 6 中的图像 1,3 CASIO CDP-230R Pitch Bend Replacement: 步骤 6 中的图像 2,3 CASIO CDP-230R Pitch Bend Replacement: 步骤 6 中的图像 3,3
      • Remove the eight silver 10mm x 1.5mm J head screws with a J1 screwdriver and the square tabs from the back panel.

      • Remove the eight silver 10mm J head screws with a J1 screwdriver underneath the square tabs.

      添加评论

    7. CASIO CDP-230R Pitch Bend Replacement: 步骤 7 中的图像 1,3 CASIO CDP-230R Pitch Bend Replacement: 步骤 7 中的图像 2,3 CASIO CDP-230R Pitch Bend Replacement: 步骤 7 中的图像 3,3
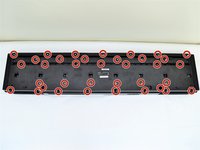
      • Remove the 36 silver 10mm J head screws with a J1 screwdriver from the back panel.

      添加评论

    8. CASIO CDP-230R Pitch Bend Replacement: 步骤 8 中的图像 1,3 CASIO CDP-230R Pitch Bend Replacement: 步骤 8 中的图像 2,3 CASIO CDP-230R Pitch Bend Replacement: 步骤 8 中的图像 3,3
      • Place a hand on the front panel and speakers and carefully flip the keyboard over with the keys facing up.

      • Having a extra pair of hands will be useful.

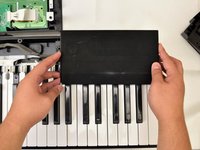
      • Grab the center of the front panel with two hands and lift to remove panel.

      • Grab the speakers from the sides and lift to remove. Once you have done this for the first speaker, repeat with the second speaker.

      添加评论

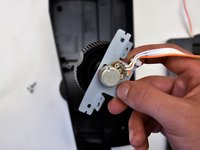
    1. CASIO CDP-230R Pitch Bend Replacement, Pitch Bend: 步骤 9 中的图像 1,3 CASIO CDP-230R Pitch Bend Replacement, Pitch Bend: 步骤 9 中的图像 2,3 CASIO CDP-230R Pitch Bend Replacement, Pitch Bend: 步骤 9 中的图像 3,3
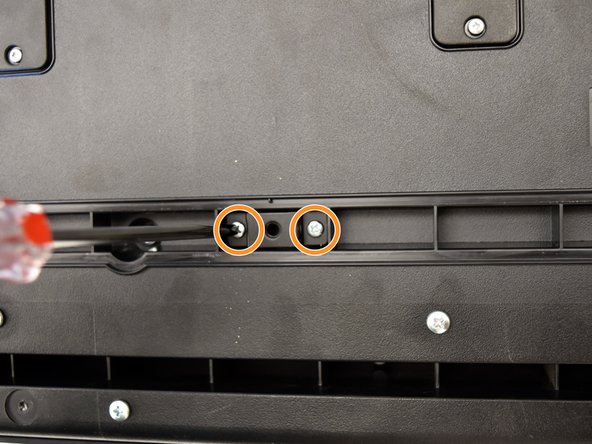
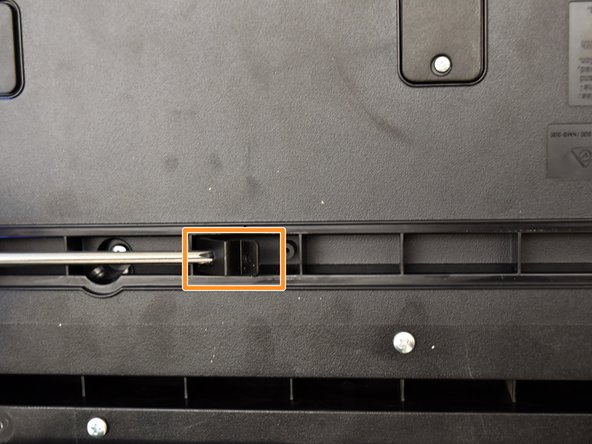
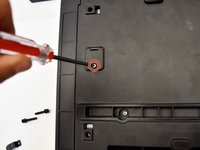
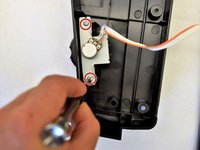
      • Remove the two 8mm x 1.5mm J screws from the inside of the side panel by using a J1 head screwdriver.

      • Slide the pitch bend out of the side panel.

      询问修复机器人

      添加评论

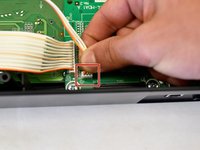
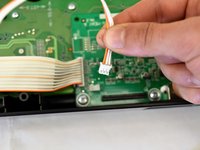
    2. CASIO CDP-230R Pitch Bend Replacement: 步骤 10 中的图像 1,2 CASIO CDP-230R Pitch Bend Replacement: 步骤 10 中的图像 2,2
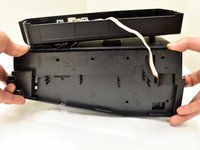
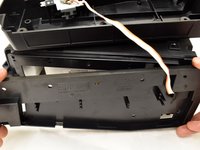
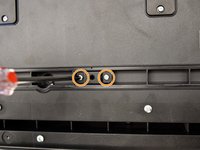
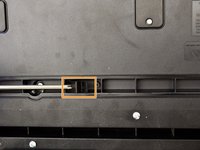
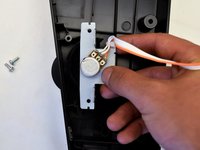
      • Follow the white and orange cable to the white end that is attached to the button panel

      • Pinch the white end and pull the cord out

      询问修复机器人

      添加评论

    3. CASIO CDP-230R Pitch Bend Replacement: 步骤 11 中的图像 1,1
      • Run the white and orange cable through the innermost side panel and pull out

      询问修复机器人

      添加评论

结论

To reassemble your device, follow these instructions in reverse order.

取消:我没有完成这个指南。

另外一个人完成了本指南。

Areli Reyes

于10/01/17注册

545 声望

创作了4篇指南

团队

Cal Poly, Team S4-G2, Livingston Fall 2017 Cal Poly, Team S4-G2, Livingston Fall 2017 的会员

CPSU-LIVINGSTON-F17S4G2

4 名成员

创作了6篇指南

0指南评论

添加评论

浏览统计数据:

过去 24 小时: 0

过去 7 天: 7

过去 30 天: 22

总计 890