简介
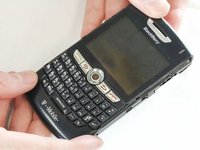
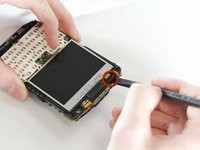
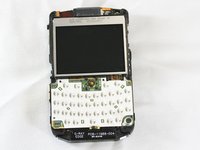
If your BlackBerry 8820 is displaying distorted images, missing pixels, or is cracked, you may have a damaged or malfunctioning screen. Be careful with broken glass when handling your phone and use this guide to safely replace your LCD screen.
Before using this guide, restart your phone to ensure the issue is with the screen. Restarting your phone can often resolve many issues by clearing memory space and stopping background apps from running. When these problems occur, they can slow down a phone and even make your screen appear unresponsive. To restart your Blackberry 8820, press Alt+Shift+Delete on the keyboard. After doing so, your phone should have a red light come on and your phone will restart. If the problem still persists and your LCD screen isn’t functioning properly, follow the guide to repair your phone.
Please make sure to power off your Blackberry before beginning this guide.
你所需要的
-
-
Remove the battery cover by applying pressure and sliding the silver square on the back of the phone downwards.
-


To reassemble your device, follow these instructions in reverse order.
团队

Cal Poly, Team 13-64, Johann Spring 2013 Cal Poly, Team 13-64, Johann Spring 2013 的会员
CPSU-JOHANN-S13S13G64
4 名成员
创作了7篇指南