跳转到主内容
加入维修社区 - 创建账户

Backbone One Direction Pad Replacement

你所需要的

  1. Backbone One Direction Pad Replacement, Unfasten the screws: 步骤 1 中的图像 1,1
    • Use a Phillips screwdriver to remove the four 5.9 mm-long screws.

    询问修复机器人

    添加评论

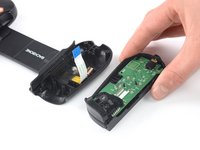
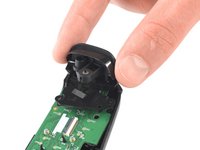
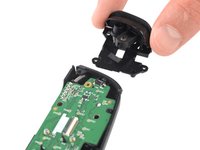
  2. Backbone One Direction Pad Replacement, Rotate the upper cover: 步骤 2 中的图像 1,3 Backbone One Direction Pad Replacement, Rotate the upper cover: 步骤 2 中的图像 2,3 Backbone One Direction Pad Replacement, Rotate the upper cover: 步骤 2 中的图像 3,3
    • Lift up the upper part of the controller.

    • Swing over the upper cover and place it on the controller case.

    • Take care that the interconnecting cable has no tension.

    询问修复机器人

    添加评论

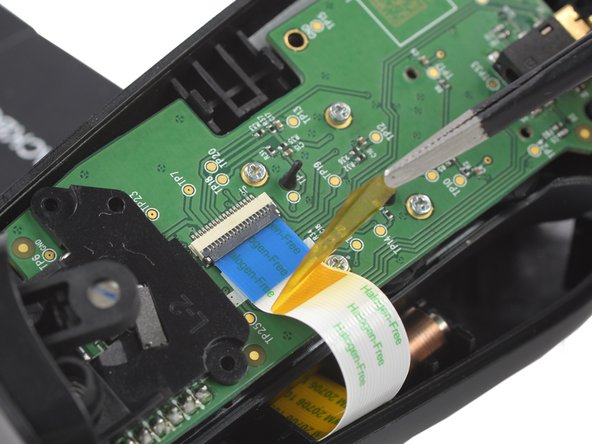
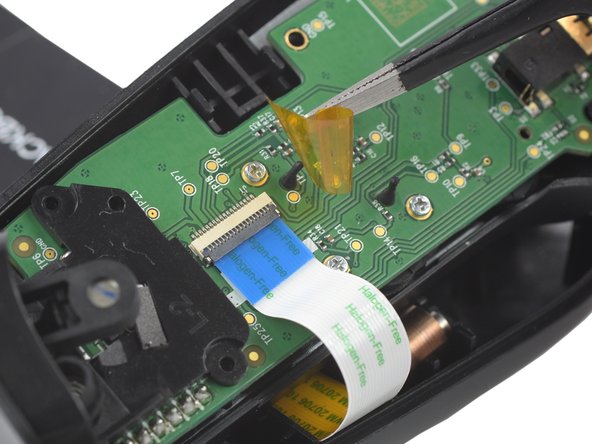
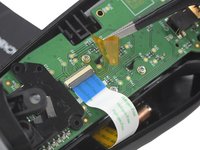
  3. Backbone One Direction Pad Replacement, Remove the protective tape: 步骤 3 中的图像 1,3 Backbone One Direction Pad Replacement, Remove the protective tape: 步骤 3 中的图像 2,3 Backbone One Direction Pad Replacement, Remove the protective tape: 步骤 3 中的图像 3,3
    在这个步骤中使用的工具:
    Tweezers
    $4.99
    • Use a pair of tweezers to remove the yellow protective tape which is placed over the interconnect cable connector.

    询问修复机器人

    添加评论

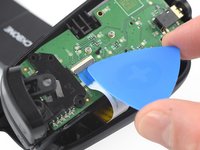
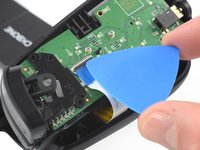
  4. Backbone One Direction Pad Replacement, Open the ZIF connector: 步骤 4 中的图像 1,2 Backbone One Direction Pad Replacement, Open the ZIF connector: 步骤 4 中的图像 2,2
    • Use the tip of an opening pick to open the gray flap of the ZIF connector by pushing it upwards.

    询问修复机器人

    添加评论

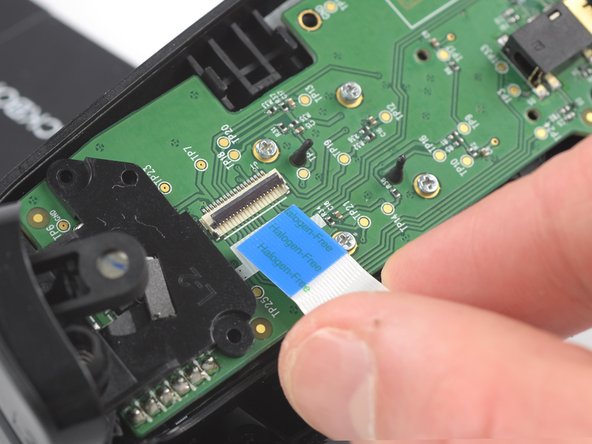
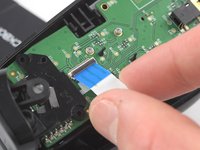
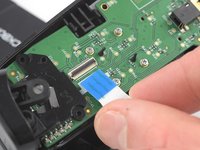
  5. Backbone One Direction Pad Replacement, Disconnect the interconnect cable: 步骤 5 中的图像 1,2 Backbone One Direction Pad Replacement, Disconnect the interconnect cable: 步骤 5 中的图像 2,2
    • Use your fingers to disconnect the interconnect cable from its connector.

    询问修复机器人

    添加评论

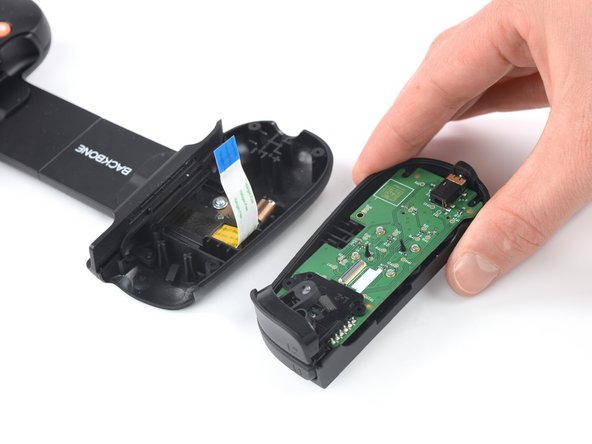
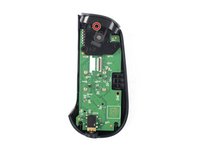
  6. Backbone One Direction Pad Replacement: 步骤 6 中的图像 1,2 Backbone One Direction Pad Replacement: 步骤 6 中的图像 2,2
    • Remove the upper half of the left controller assembly.

    询问修复机器人

    添加评论

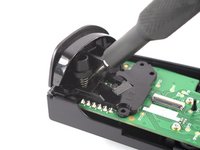
  7. Backbone One Direction Pad Replacement, Remove the screw: 步骤 7 中的图像 1,2 Backbone One Direction Pad Replacement, Remove the screw: 步骤 7 中的图像 2,2
    • Use a Phillips screwdriver to remove the 5.9 mm-long screw which is securing the trigger.

    • The screw is difficult to reach. Insert the screwdriver at an angle of 45 degrees.

    添加评论

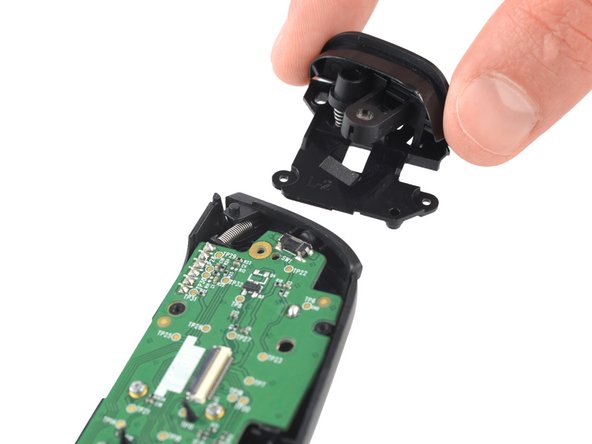
  8. Backbone One Direction Pad Replacement, Remove the trigger: 步骤 8 中的图像 1,2 Backbone One Direction Pad Replacement, Remove the trigger: 步骤 8 中的图像 2,2
    • Remove the left trigger.

    询问修复机器人

    添加评论

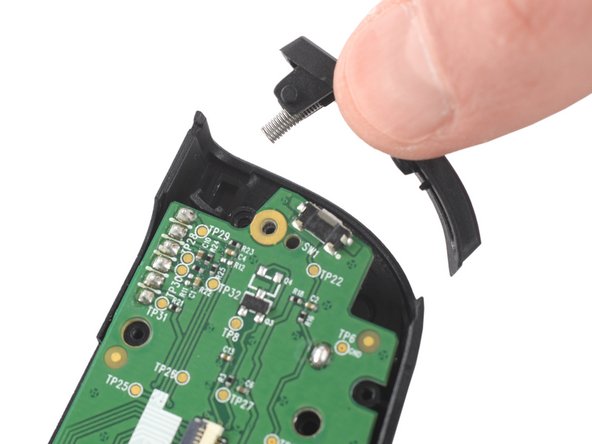
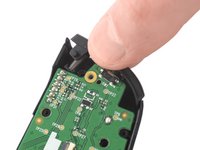
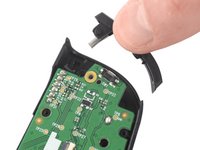
  9. Backbone One Direction Pad Replacement, Remove the bumper: 步骤 9 中的图像 1,2 Backbone One Direction Pad Replacement, Remove the bumper: 步骤 9 中的图像 2,2
    • Use your fingers to remove the left bumper.

    添加评论

  10. Backbone One Direction Pad Replacement, Remove the screws: 步骤 10 中的图像 1,1
    • Use a Phillips screwdriver to remove the four 3.9 mm-long screws.

    添加评论

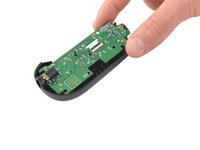
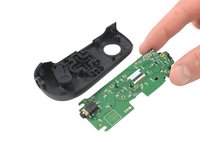
  11. Backbone One Direction Pad Replacement, Remove the mainboard: 步骤 11 中的图像 1,2 Backbone One Direction Pad Replacement, Remove the mainboard: 步骤 11 中的图像 2,2
    • Remove the mainboard.

    询问修复机器人

    添加评论

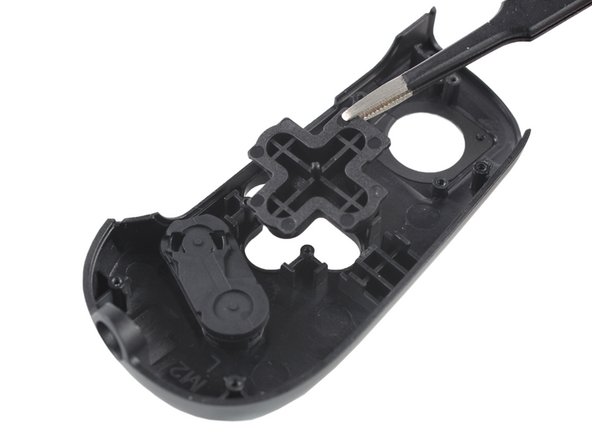
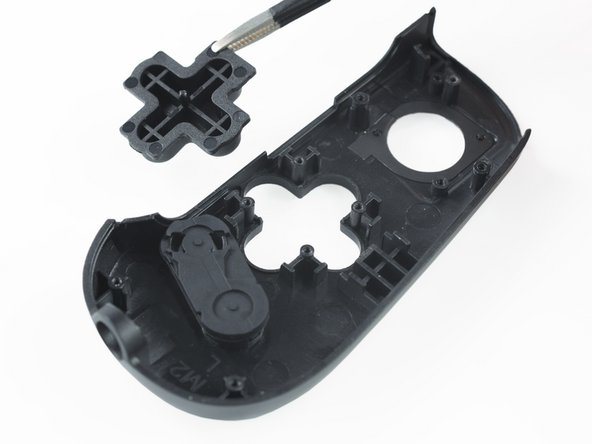
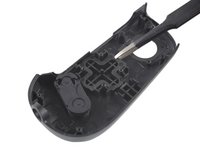
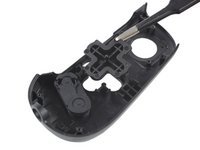
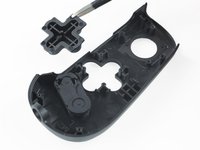
  12. Backbone One Direction Pad Replacement, Remove the direction pad: 步骤 12 中的图像 1,3 Backbone One Direction Pad Replacement, Remove the direction pad: 步骤 12 中的图像 2,3 Backbone One Direction Pad Replacement, Remove the direction pad: 步骤 12 中的图像 3,3
    在这个步骤中使用的工具:
    Tweezers
    $4.99
    • Use a pair of blunt nose tweezers to remove the direction pad.

    询问修复机器人

    添加评论

结论

To reassemble your device, follow these instructions in reverse order.

Repair didn’t go as planned? Ask our Answers community for help.

取消:我没有完成这个指南。

Adriana Zwink

于12/18/19注册

67,642 声望

创作了167篇指南

团队

iFixit iFixit 的会员

Staff

123 名成员

创作了28,230篇指南

0指南评论

添加评论

浏览统计数据:

过去 24 小时: 0

过去 7 天: 7

过去 30 天: 89

总计 3,272