跳转到主内容
加入维修社区 - 创建账户

Back Case

你所需要的

    1. Back Case, Battery: 步骤 1 中的图像 1,1
      • Orient camera to look directly at battery compartment side as shown.

      询问修复机器人
      添加评论

    2. Back Case: 步骤 2 中的图像 1,3 Back Case: 步骤 2 中的图像 2,3 Back Case: 步骤 2 中的图像 3,3
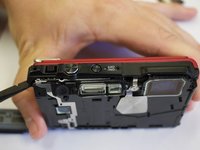
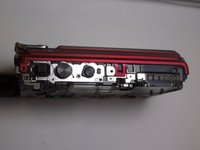
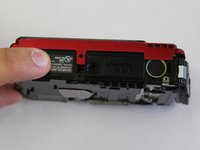
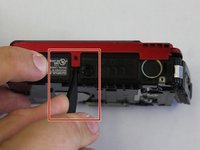
      • Locate the two latches on the battery compartment.

      • First, move the "lock" switch left to reveal red indicator.

      • Next, move the "cover latch" switch downward to reveal red indicator.

      • You have to move the switches in that order for the compartment to unlatch.

      询问修复机器人
      添加评论

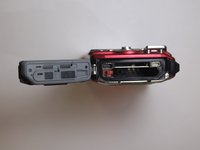
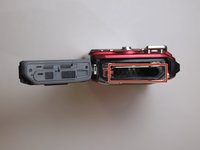
    3. Back Case: 步骤 3 中的图像 1,2 Back Case: 步骤 3 中的图像 2,2
      • Allow the battery compartment latch to completely open.

      • Insert battery with the writing face up.

      • The bigger slot is for the battery. The smaller slot is for the memory card.

      • Battery not shown.

      询问修复机器人

      添加评论

    1. Back Case, Back Case: 步骤 4 中的图像 1,1
      • Orient the camera so you are looking at the bottom.

      • Remove the three 3.85mm Phillips #00 screws from the bottom of the camera.

      询问修复机器人

      添加评论

    2. Back Case: 步骤 5 中的图像 1,1
      • Orient the camera so you are looking at the side plate.

      • Remove the two 3.15mm Phillips #00 screws from the side plate of the camera.

      询问修复机器人

      添加评论

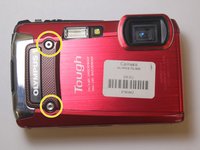
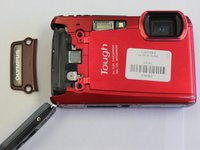
    3. Back Case: 步骤 6 中的图像 1,2 Back Case: 步骤 6 中的图像 2,2
      • Orient the camera so you are looking at the front plate.

      • Remove the two 3.8mm with the Phillips H1.5 from the front plate.

      • Remove the "Olympus" plate.

      添加评论

    4. Back Case: 步骤 7 中的图像 1,1
      • Remove face plate.

      询问修复机器人
      添加评论

    5. Back Case: 步骤 8 中的图像 1,3 Back Case: 步骤 8 中的图像 2,3 Back Case: 步骤 8 中的图像 3,3
      • Locate three small black screws inside of the battery compartment.

      • Remove the 3.85mm Phillips #00 screw on the far left side.

      • Remove the two 5mm Phillips #00 screws on the right side

      询问修复机器人
      添加评论

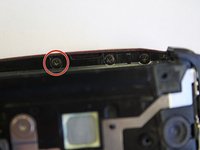
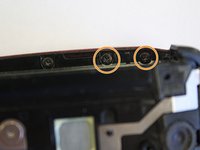
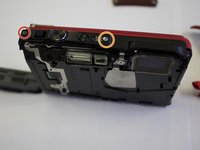
    6. Back Case: 步骤 9 中的图像 1,3 Back Case: 步骤 9 中的图像 2,3 Back Case: 步骤 9 中的图像 3,3
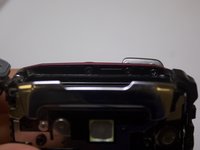
      • Orient the camera to be look at the top.

      • Remove the 5.4mm Phillips #00 screw on the top left side.

      • Remove the 7.4mm Phillips #00 screw next to the "ON/OFF" label.

      • Pry off top button plate with black nylon spudger.

      询问修复机器人
      添加评论

    7. Back Case: 步骤 10 中的图像 1,2 Back Case: 步骤 10 中的图像 2,2
      • Rotate to bottom of camera and locate bottom latch.

      • Wedge black nylon spudger in between bottom latch and camera base to release LCD Screen from camera.

      • Push firmly apart.

      • Some buttons might fall out.

      询问修复机器人

      添加评论

    8. Back Case: 步骤 11 中的图像 1,3 Back Case: 步骤 11 中的图像 2,3 Back Case: 步骤 11 中的图像 3,3
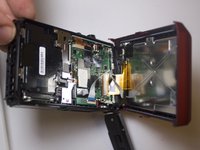
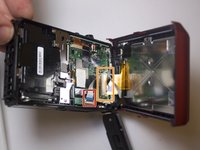
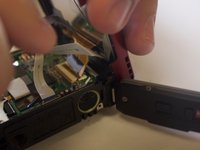
      • Orient the camera to the LCD screen side that is now wedged open.

      • Locate the white ribbon cable and pull out from motherboard.

      • Locate the brown ribbon cable and pull out from motherboard.

      询问修复机器人

      添加评论

结论

To reassemble your device, follow these instructions in reverse order.

取消:我没有完成这个指南。

团队

Clemson, Team 7-2, Benson Spring 2016 Clemson, Team 7-2, Benson Spring 2016 的会员

CLEM-BENSON-S16S7G2

4 名成员

创作了24篇指南

0指南评论

添加评论

浏览统计数据:

过去 24 小时: 1

过去 7 天: 9

过去 30 天: 34

总计 1,159