跳转到主内容
加入维修社区 - 创建账户

BLU Studio G Motherboard Replacement

你所需要的

    1. 注意:步骤 1-8 源自标记为进行中的 指南

      BLU Studio G Motherboard Replacement, Motherboard Prerequisite: 步骤 1 中的图像 1,3 BLU Studio G Motherboard Replacement, Motherboard Prerequisite: 步骤 1 中的图像 2,3 BLU Studio G Motherboard Replacement, Motherboard Prerequisite: 步骤 1 中的图像 3,3
      • To remove the back cover, turn the device over, locate the safety indented notch on the bottom left corner as the screen is facing down.

      • Using your finger (or spudger), prop upwards to detach the back cover properly from the rest of the device.

      询问修复机器人

      添加评论

    2. BLU Studio G Motherboard Replacement: 步骤 2 中的图像 1,2 BLU Studio G Motherboard Replacement: 步骤 2 中的图像 2,2
      • Locate the notch at the bottom of the battery for safe removal.

      • Carefully lift battery from the notch making sure not to puncture the battery rubber casting.

      询问修复机器人

      添加评论

    3. BLU Studio G Motherboard Replacement: 步骤 3 中的图像 1,2 BLU Studio G Motherboard Replacement: 步骤 3 中的图像 2,2
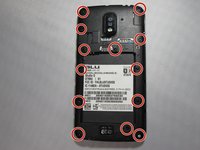
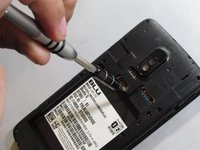
      • Unscrew the 13 Phillips #0 screws from the back of the phone.

      询问修复机器人

      添加评论

    4. BLU Studio G Motherboard Replacement: 步骤 4 中的图像 1,1
      • To remove the back panel, slide the metal spudger into 3 notches on left and right side outside edges of the device.

      • With some slow but strong pressure insert and dislodge the panel from the rest of the device. These are tough but small clips that hold together the back panel.

      询问修复机器人

      添加评论

    5. BLU Studio G Motherboard Replacement: 步骤 5 中的图像 1,2 BLU Studio G Motherboard Replacement: 步骤 5 中的图像 2,2
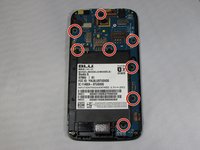
      • Remove all 8 3.175 mm screws that secure the motherboard in place.

      • Remove by turning counter clockwise using a Phillips #0 bit with the correct screwdriver using medium/ firm pressure, assuring that you don't strip the screws.

      • Set aside

      询问修复机器人

      添加评论

    6. BLU Studio G Motherboard Replacement: 步骤 6 中的图像 1,3 BLU Studio G Motherboard Replacement: 步骤 6 中的图像 2,3 BLU Studio G Motherboard Replacement: 步骤 6 中的图像 3,3
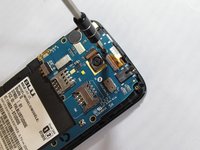
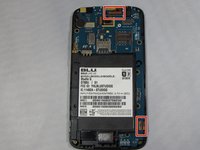
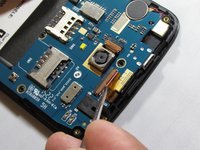
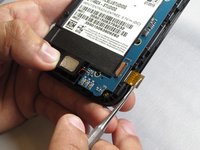
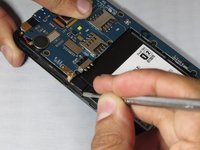
      • Locate the two connector clamps on the motherboard.

      • Carefully place the tip of a precision tweezer or metal spudger under the short light brown plastic clamp. This will release the connectors.

      • Gently pull out the connectors from the clamp inserts by pulling slowly away from of device using precision tweezers.

      询问修复机器人

      添加评论

    7. BLU Studio G Motherboard Replacement: 步骤 7 中的图像 1,1
      • Locate the speaker on the bottom of the device and slowly pry upwards and to the right as its wired to the motherboard.

      询问修复机器人

      添加评论

    8. BLU Studio G Motherboard Replacement: 步骤 8 中的图像 1,3 BLU Studio G Motherboard Replacement: 步骤 8 中的图像 2,3 BLU Studio G Motherboard Replacement: 步骤 8 中的图像 3,3
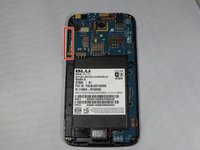
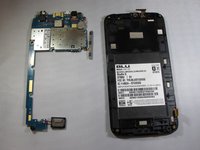
      • Locate the volume button strip on the left side of the device and slowly pry outwards from one end to the other from the device.

      • Carefully pull over the motherboard.

      询问修复机器人

      添加评论

结论

To reassemble your device, follow these instructions in reverse order.

取消:我没有完成这个指南。

0指南评论

添加评论

浏览统计数据:

过去 24 小时: 1

过去 7 天: 6

过去 30 天: 23

总计 587