简介
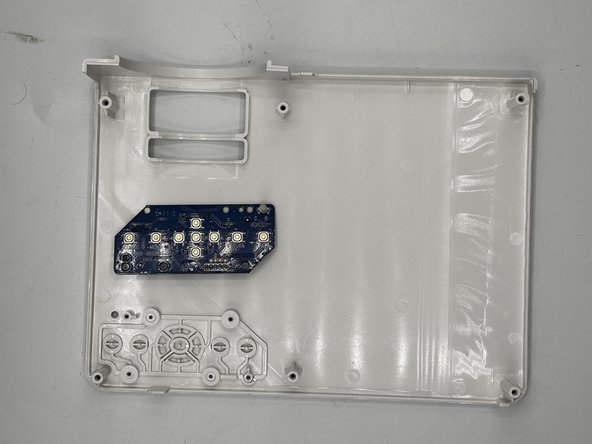
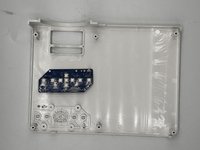
Use this guide to replace the power panel on your AuKing M8-F projector.
The power panel is a component found on devices responsible for controlling whether the device is powered on and functioning or turned off, conserving power and the state of the other components. A faulty power panel could lead to problems like turning the device on and off. This could over time damage the condition of certain components making them less functional.
If you are experiencing issues with the power button or the rest of the button panel, please take a look at the troubleshooting page to find another possible cause for your condition. If no other condition matches your problem, then the power panel might be the problem.
Before continuing this guide, be sure to turn off your projector completely.
你所需要的
-
-
-
Flip the projector on its opposite side.
-
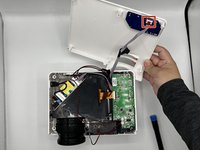
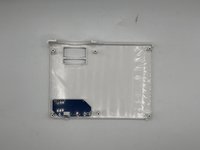
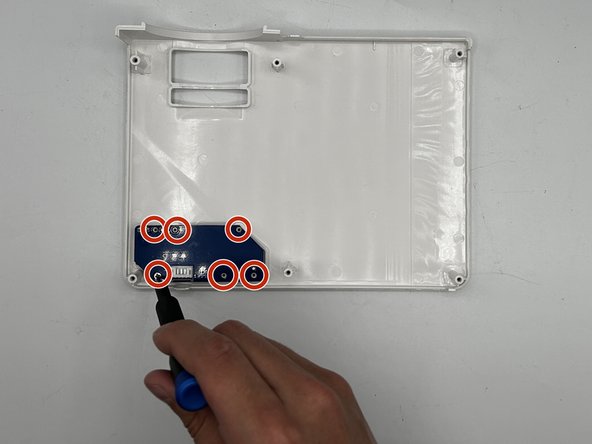
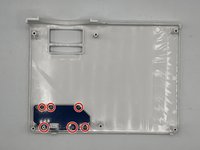
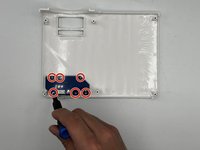
Remove all six of the 11 mm screws using a Phillips #1 screwdriver.
-
Remove the two 14 mm screws using a Phillips #1 screwdriver.
 询问修复机器人
-
-
-



To reassemble your device, follow these instructions in reverse order.

1指南评论
I have a problem not covered here.
When I power up, only a red light is lit. Any ideas?
sasquachnw@duck.com
sasquachnw - 回复 分享
